
Welcome to Week 7!
When I create a page or spread it’s usually with the “make something pretty” idea. Chronicling my days is not what I do; it’s just not my thing. Having said that, a lot of people use their journals as a diary of sorts and there are plenty who find journaling therapeutic; a way to vent or otherwise get their feelings out and noted on paper. One the words are there they often cover them up, symbolically blocking them out and getting rid of them.
While that’s not my process, the technique is of interest as that initial writing becomes an interesting first layer. Since I haven’t journaled in this fashion I’ve kind of missed out on that first text layer, and as we know, layers are often the backbone of an interesting page. So, today’s prompt: Create a page with an initial text layer. As you’ll see, much of my text is covered, but some is still visible, creating that interesting initial layer.
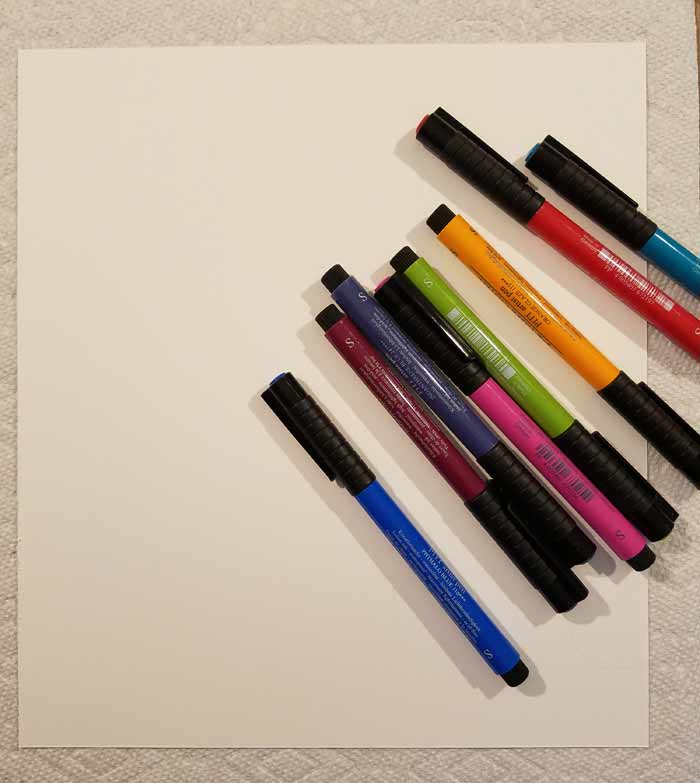
As usual, I’m working on a sheet of 140# hot press watercolor paper measuring 9″ x 10″. I cut 2″ off the sheets from a Fluid Watercolor 9″ x 12″ Hot Press block. I really enjoy working on this paper.
For the text layer of this page I chose PITT S (Superfine) tipped pens. I know they won’t bleed once I add the wet layers. There are 8 colors in addition to Black, Sanguine, and Dark Sepia; 4 cool and 4 warm.
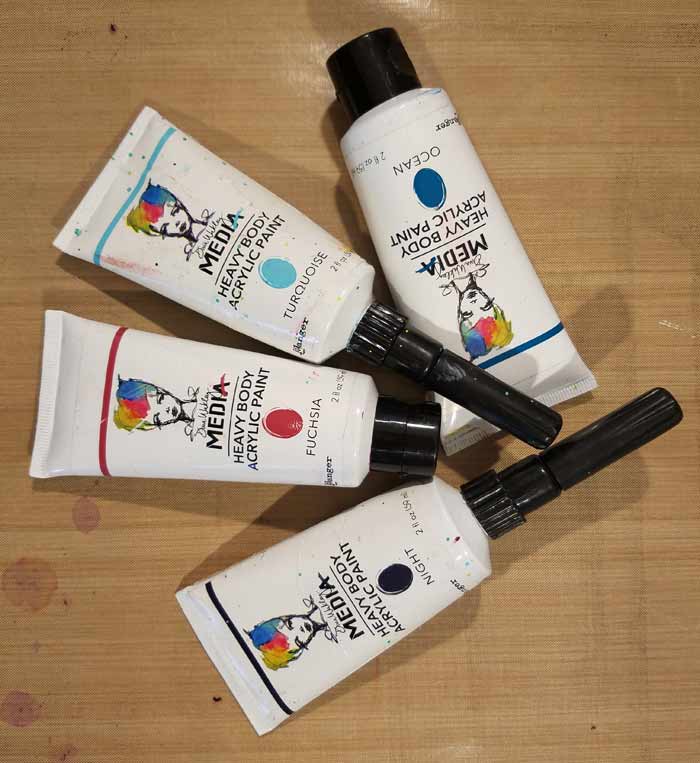
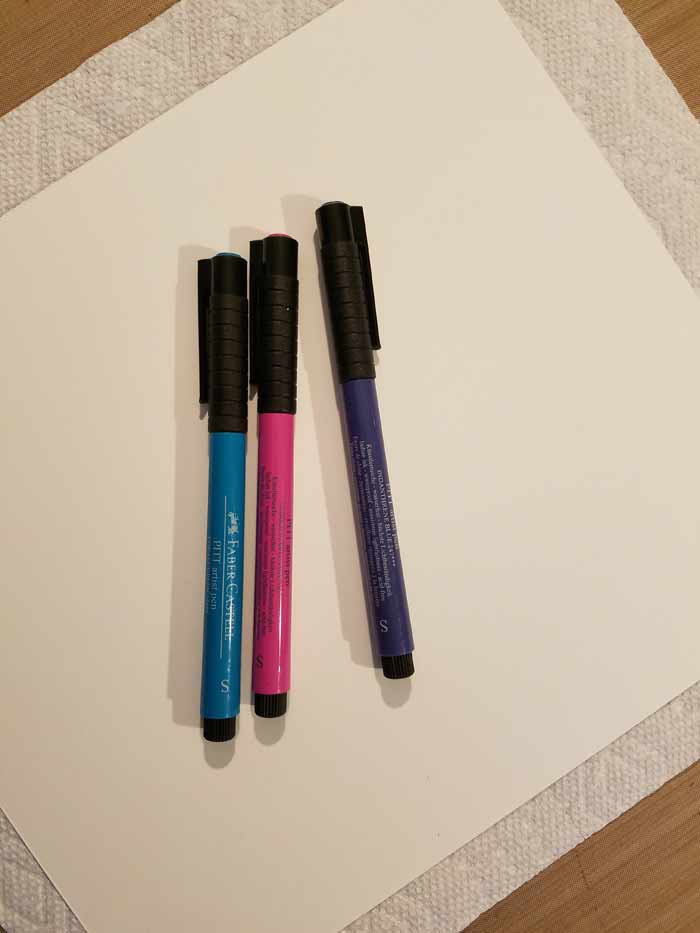
From the 8 options, I narrowed it to 4, once I decided which colors of Dina Wakley’s Media Paint I wanted to use as the background.
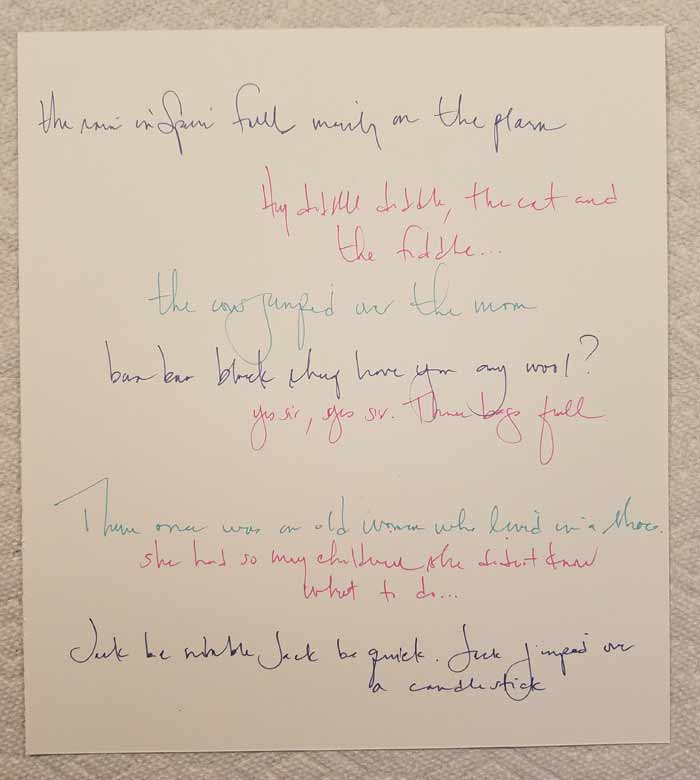
Then I wrote some silly, nonsense text and nursery rhymes. At this point it’s just about getting words on the page. In hindsight I probably should have written more and made the text layer denser. Live and learn. :+)
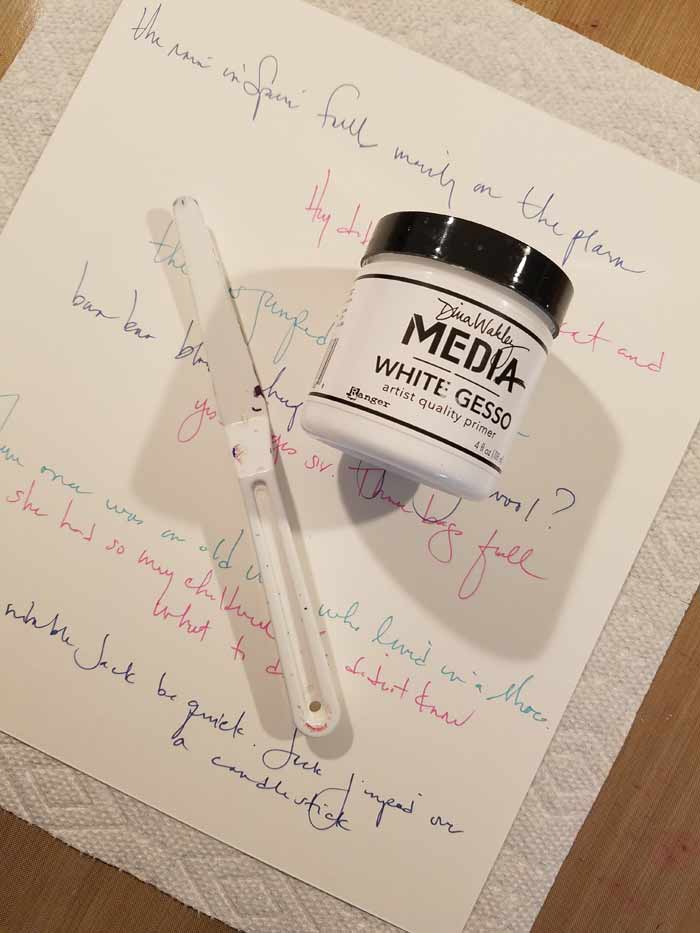
My next layer is going to be Dina Wakley’s White Gesso. Yours can be anything you have on hand or want to use instead.
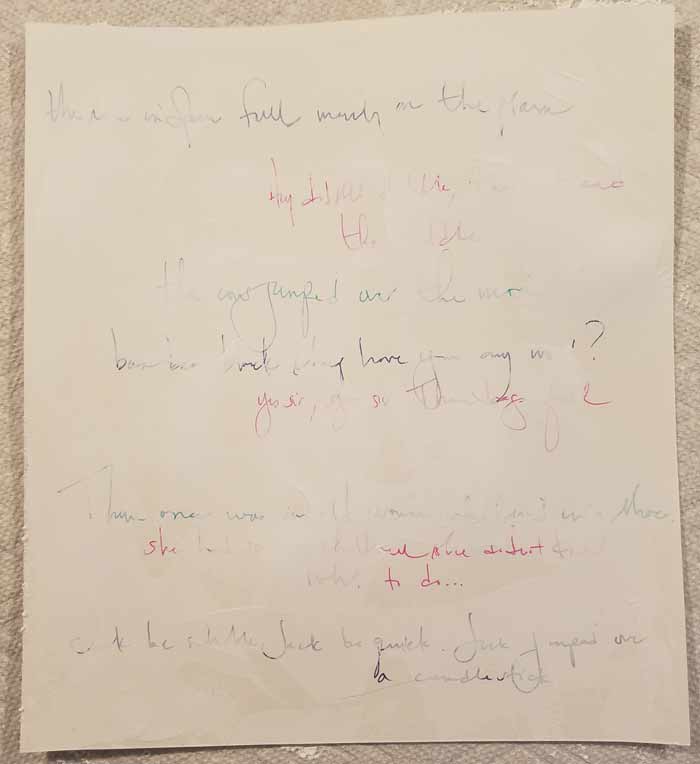
One layer of gesso added.
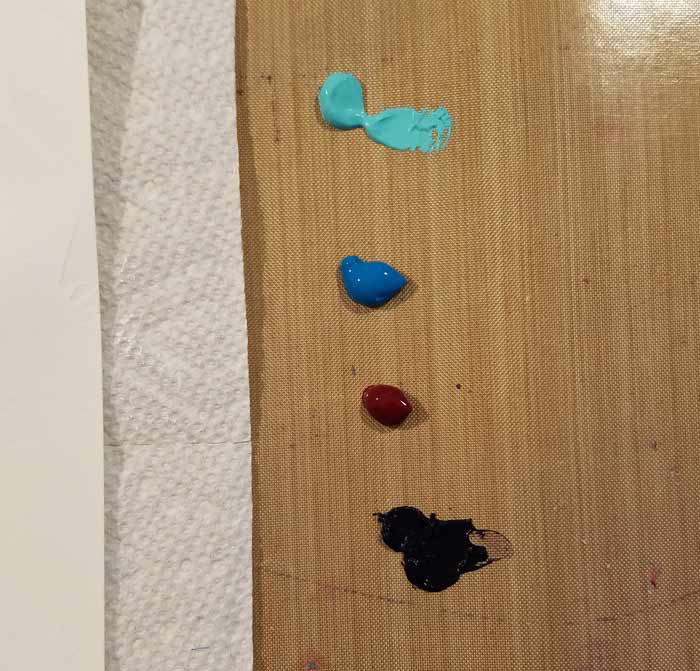
See this paint? It’s too much, even for a 9″ x 10″ page. Use less than I did and avoid wasting it. (I didn’t have time to use it on something else)
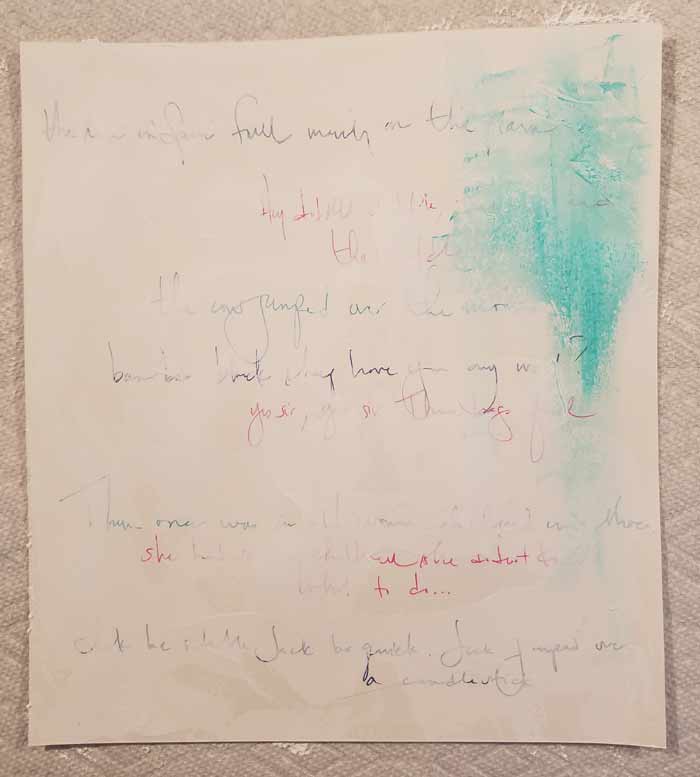
I tend to begin with the lightest color and progress to the darkest, which goes on last. Since I scraped the gesso on in a very uneven layer and did not cover the entire page I know it will automatically create texture as I add paint.
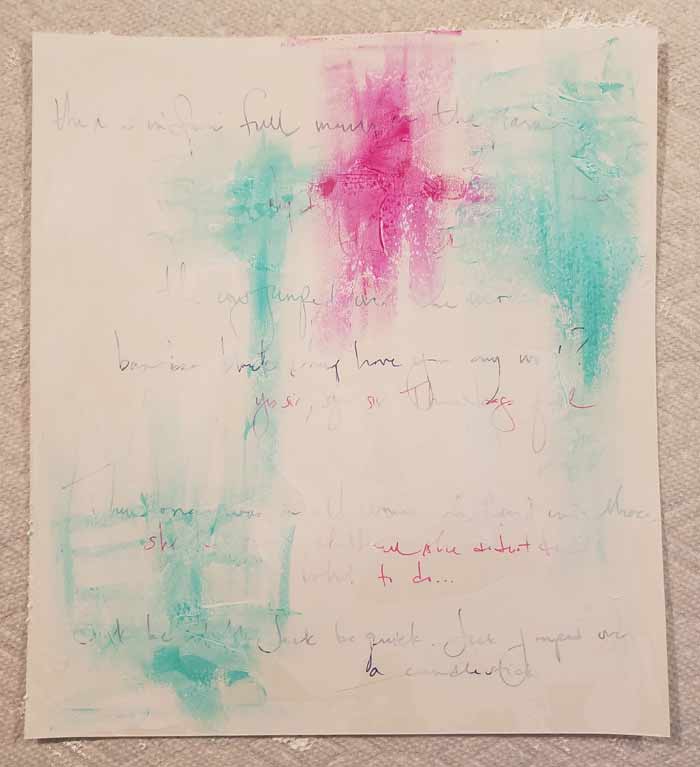
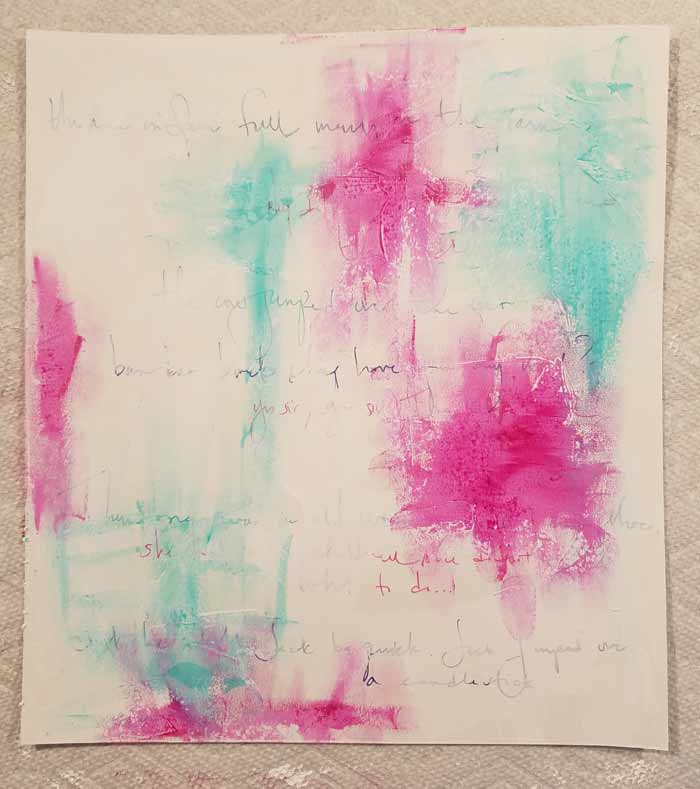

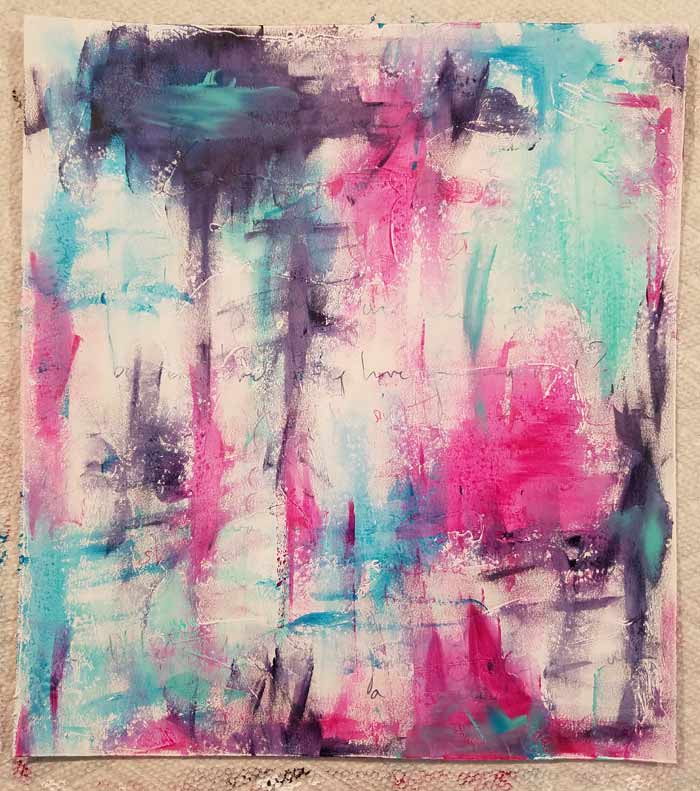
Paint layers complete. I may have covered a bit more of the text than I planned… ooops.
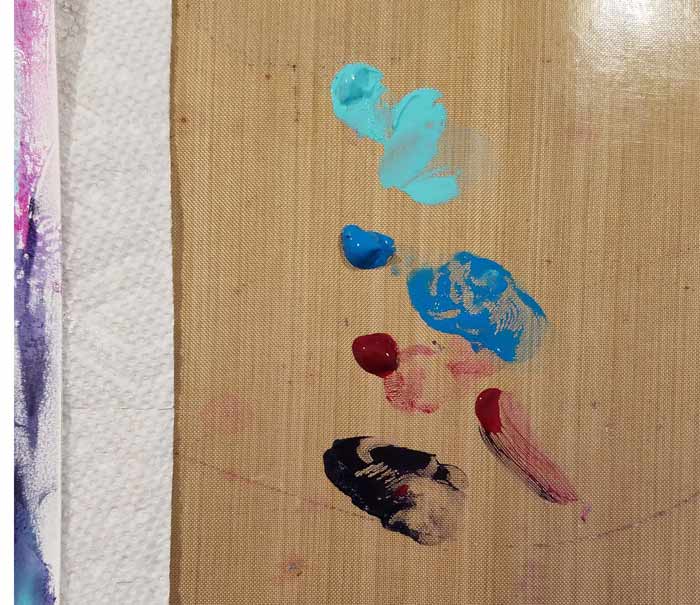
Leftover paint. Don’t let this happen to you… put out less to begin with!
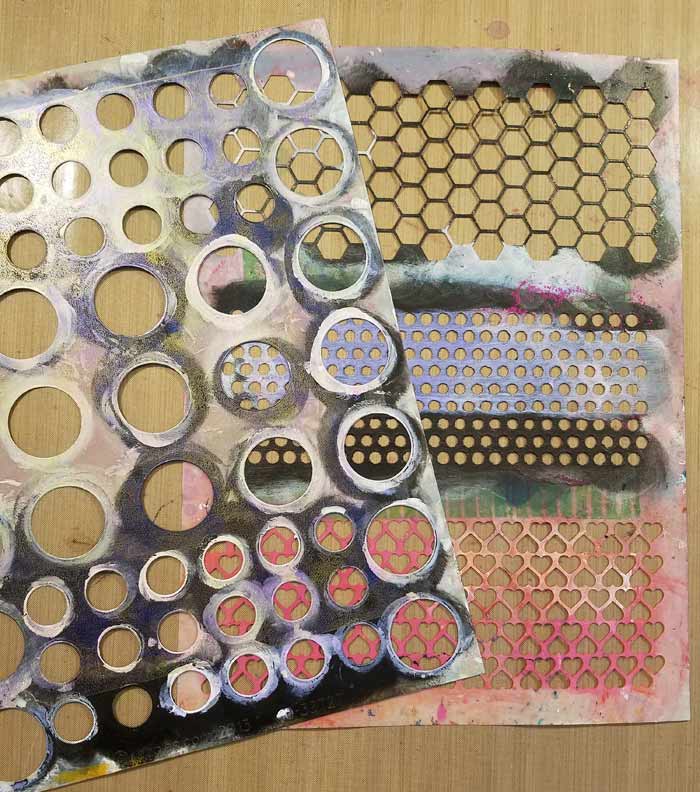
I want circles, in black, on the page and the easiest way to get ones of varying sizes is to use our Dotted Grid and Punchinella Trio #1 stencils. Black Marble Dylusions Paint is my black of choice today.

Large and XL black dots using the Dotted Grid stencil.
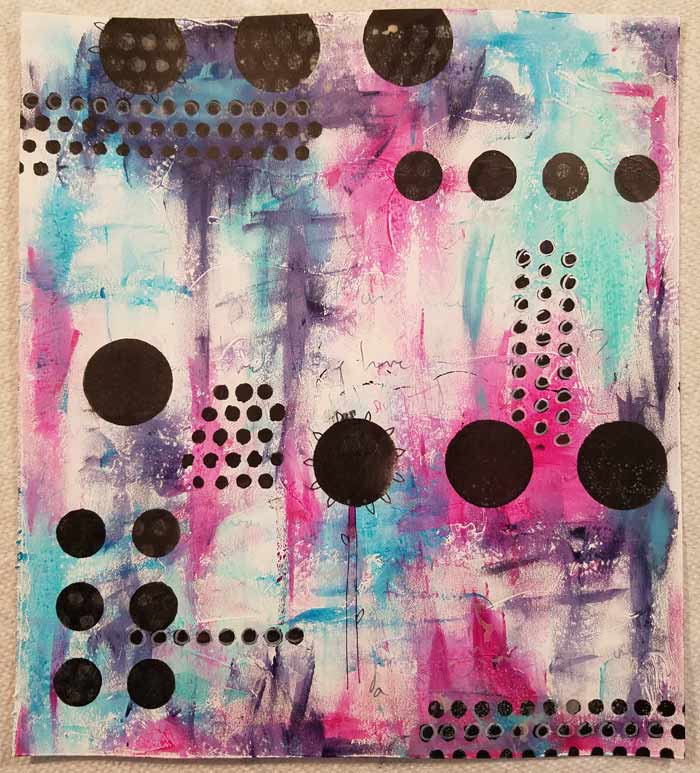
Then I added the smaller ones using the Punchinella Trio #1. You can also see that I’ve added some pen work and have sprayed a layer of one of the Lindy’s Starburst Sprays, also using the Punchinella Trio #1 stencil. It’s time to add some characters and text of another kind…
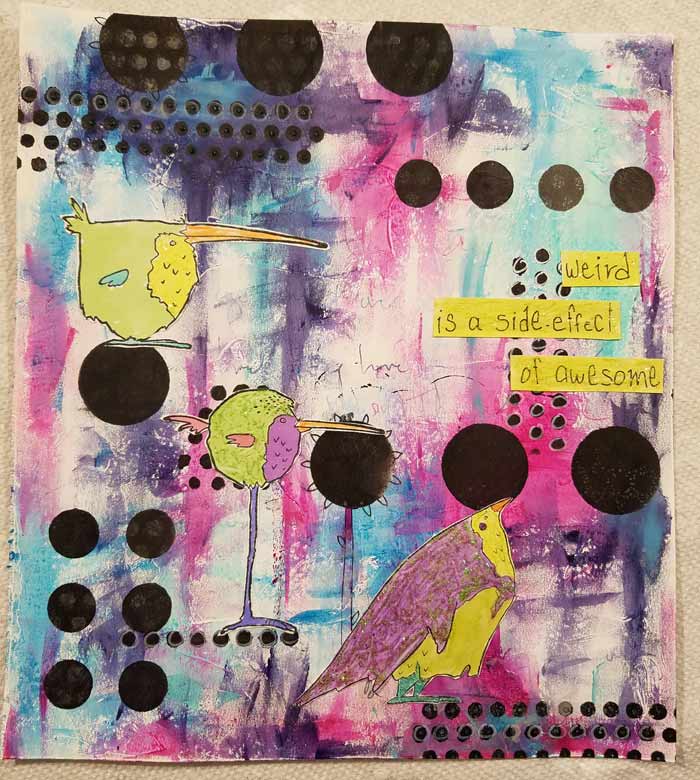
Because of the angle of this photograph you can’t see the glimmer from the Stickles, but there is some on each of “The Birds” The bird in the middle, with the long legs is Edgar. On the right is Elton, and on the left is Ernest.
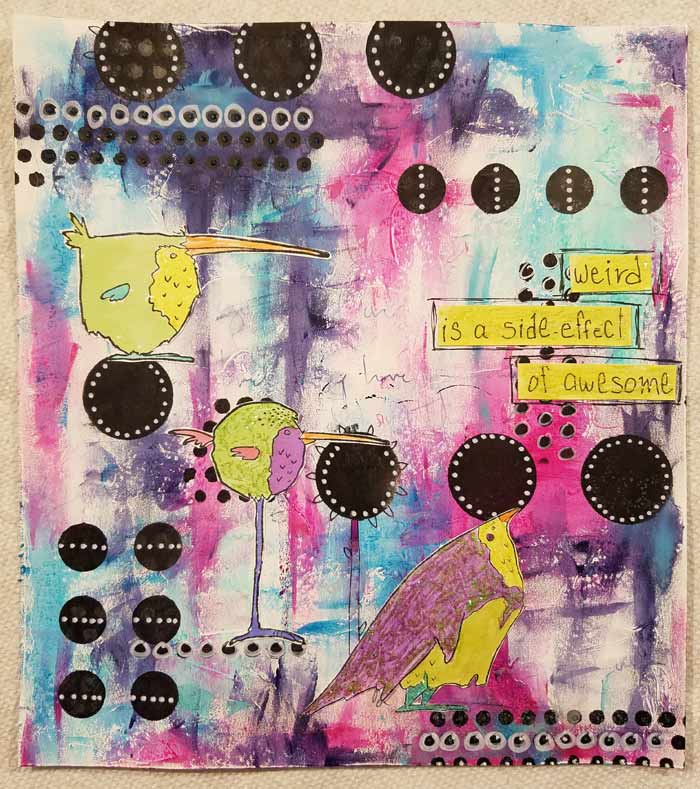
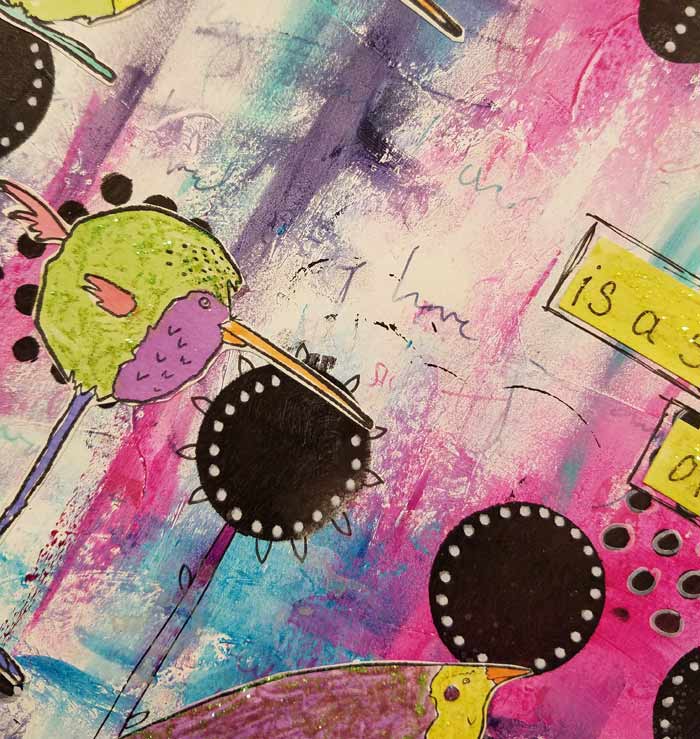
More pen work and lots of white dots complete the look. The text is still visible in places, though I wish I’d been more careful not to cover as much as I did. Still, it’s an interesting first layer that serves many purposes.








6 Comments
really interesting…I love your piece…now to get my thinking cap on!!
Looks like a Monday morning should…lol
Nice job Barb. I love the process.
I started do do a daily journal based on a book called No Excuses and found it a great help when DH asked now “where is…”, “when did…..”, what did i buy this for….” etc. It has been fun. You managed the start of a new obsession so very well.
What a nice piece of art, Barnara. Thanks for sharing all the steps, like you always do.
To be honest I wasn’t sure if I was liking the page. Love the birds, the layering and the colors. Then when that page came up with all the white dots WOW, that just brought that page to life.Thanks Barb