Chris is back today with a quick tutorial about how she creates mail art. I have to confess to having never tried, but think the idea intriguing.
You’ll find this post in the usual format of a supply photo and then step out photos of the process with explanations. If you scroll to the very end you’ll see several other examples that she sent. The process to create them is very similar and they were too nice not to share.
And, because she used our Joggles Collage Sheets as part of her work, we’re putting them on sale so you can experiment with her techniques! From now until Wednesday January 4th at 11:59 pm ET, you can save 25% on all of them. With more than 100 styles, I’m thinking you’ll discover a few you might like to work with.
Read on and enjoy what Chris has shared today!
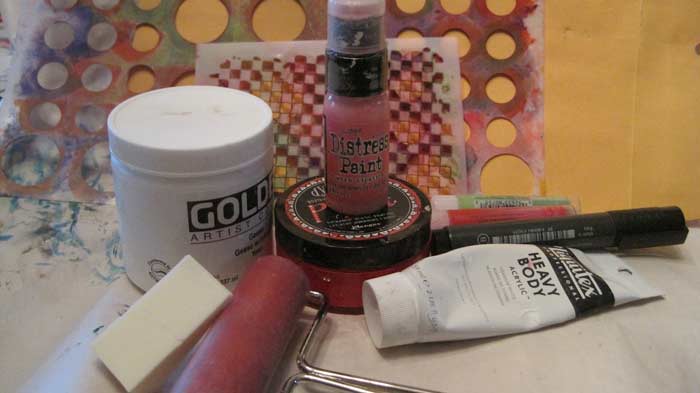
Supplies:
9″ x 12″ manila envelope
Gesso
Make-up sponges
Dylusions Paint Postbox Red
Liquitex Heavy Body Acrylic paint Titanium White
Tim Holtz Distress Paint Worn Lipstick
Brayer
4.75″ x 2.5″ Tag
Faber Castell Gelatos: Cherry & Lime
Joggles Stencils: Dotted Grid
Carabelle Studio Art Template: Grunge Check Pattern (Damier Grunge)
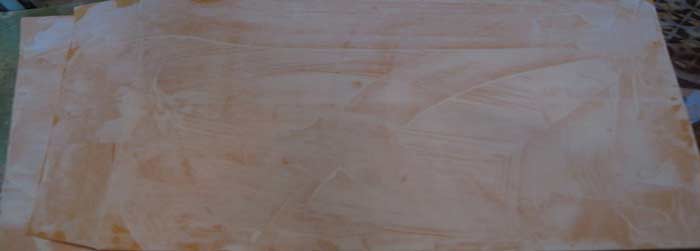
First apply gesso to the envelope. This will ensure that the colors you layer on top will not be affected by the color of the envelope. I like to scrape the gesso on using an old credit card to get a thin even layer that will dry quickly. (A piece of stiff cardboard would also work if you don’t have an old credit card).
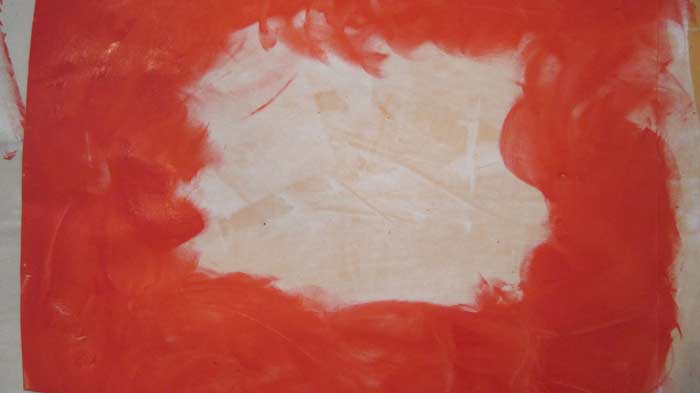
Apply the Dylusions Postbox Red paint to the outer border of the envelope using a make-up sponge.
Using the Tim Holtz Distress Paint Worn Lipstick, fill in the center of the envelope.
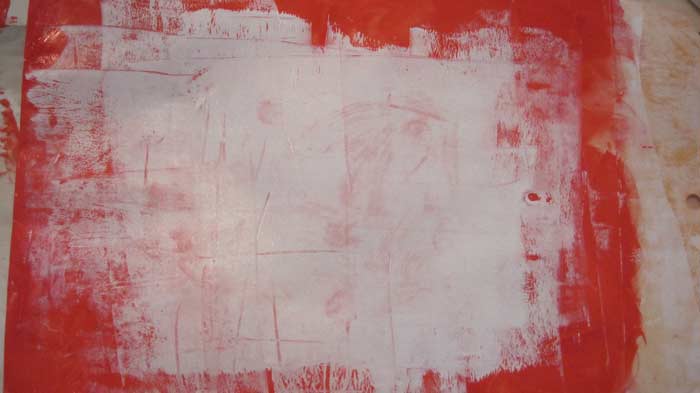
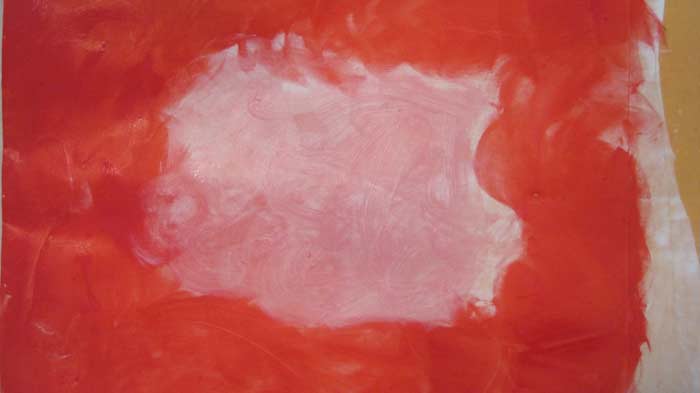
Apply a quarter size dab of the Liquitex Heavy Body Acrylic paint Titanium White to the center of the envelope and brayer this over the worn lipstick paint. Some of the pink will show through and you’ll get a nice texture from the brayer. Let dry.
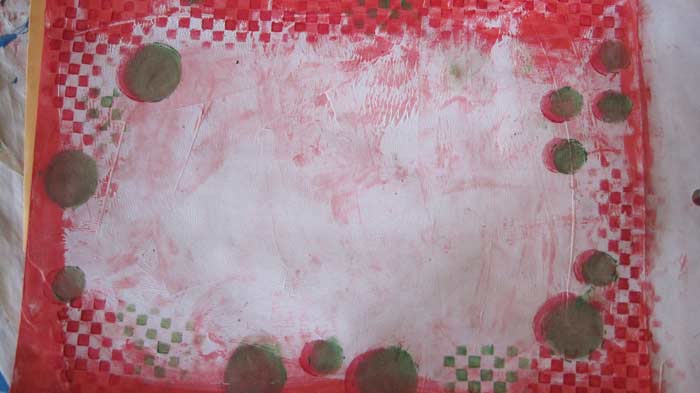
Use the Carabelle Studio Art Template – Grunge Check Pattern (Damier Grunge) stencil and the Red Cherry gelato, stencil the check pattern in various places along the outer edge of the envelope. My technique for this is to hold the stencil in place with one hand and rub the gelato over the stencil with the other hand. You are just ‘depositing color’ on the back of the stencil. Then use your finger to rub the color that is laying on the back of the stencil over the stencil. The color will sink into the openings in the stencil giving you control over where the stencil design is applied. Apply some of the lime gelato with the same stencil in this same manner.
Use the Joggles Dotted Grid Stencil to stencil some large and small circles with the Red Cherry gelato in this same manner. Let dry. Bump the circle stencil a bit to the right and stencil circles using the Lime gelato. You will get a shadow affect.
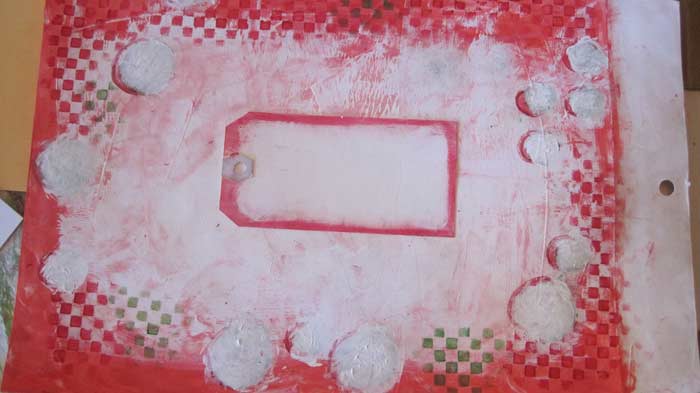
I wasn’t happy with the way this looked, so I used my finger to apply gesso over the green circles, and when that was dry I applied the Liquitex Titanium White paint to those areas.
Much better. Looks like snowballs to me.
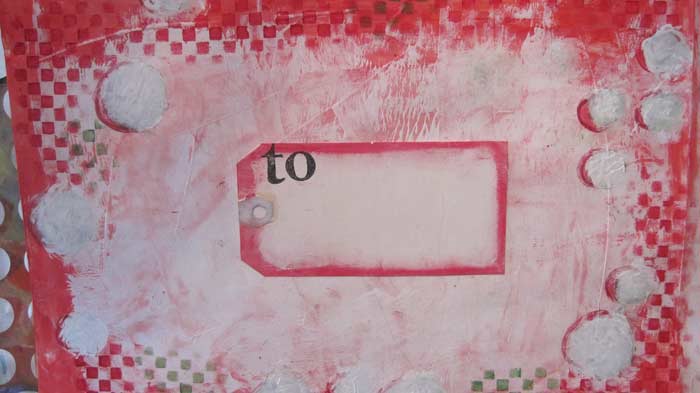
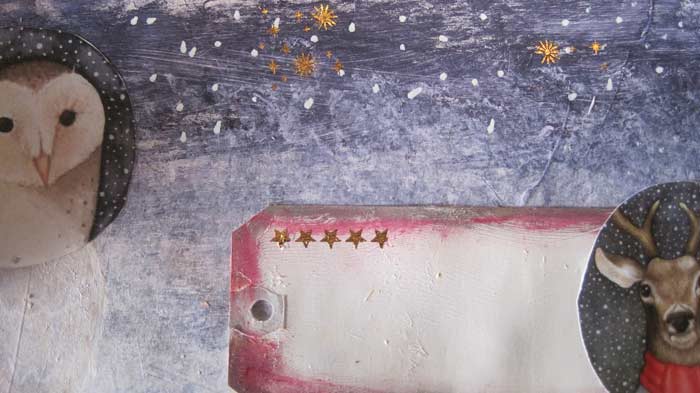
To finish: gesso a small shipping tag, paint it with the Liquitex Titanium White and when dry apply a small border of Dylusions Paint Postbox Red. When dry stamp the word ‘to’ using your favorite alphabet stencil. Glue in place.
Tip: after you address the envelope, apply clear packing tape over the shipping tag to make sure it isn’t damaged in transit.
This is just one approach for mail art. It gives you a chance to play with some supplies and try new things. If you are not happy with the results you can always gesso over the surface and start over.
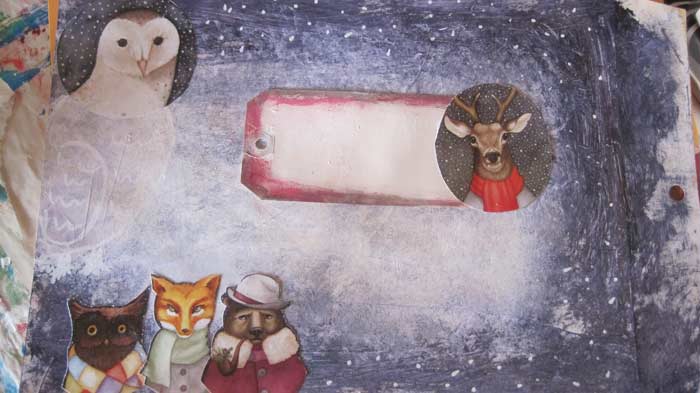
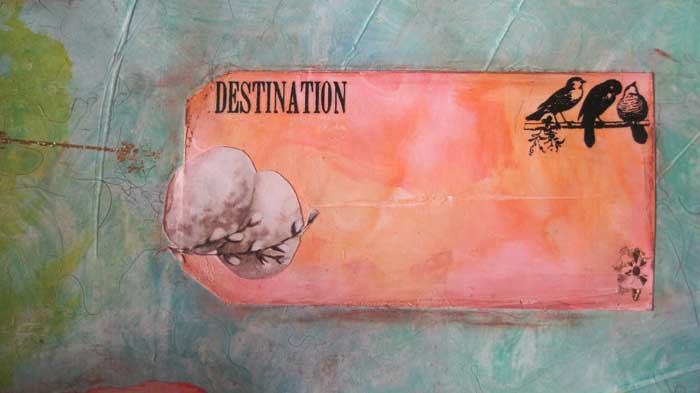
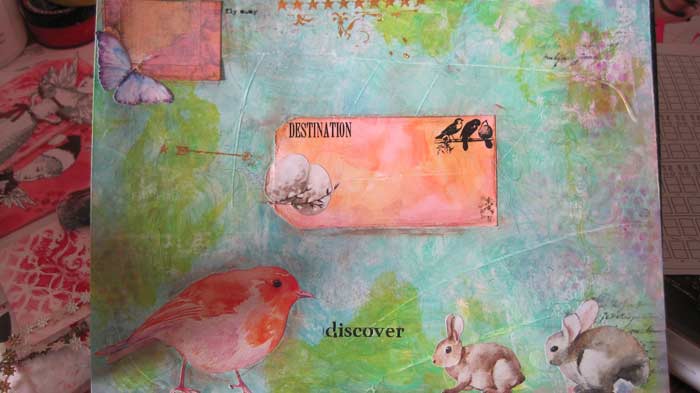
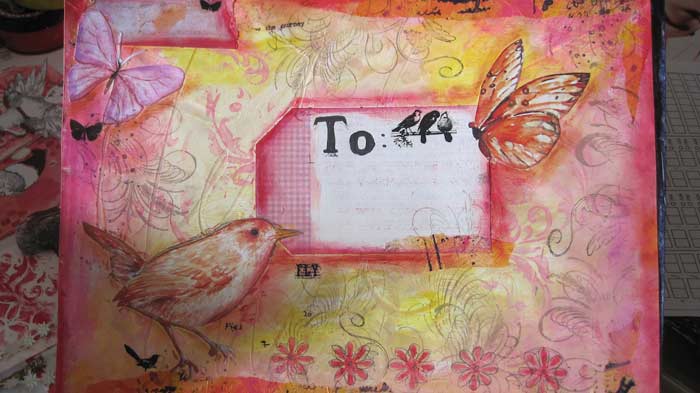
Here are the photos of Chris’s other mail art. Enjoy!
Comment
These are so much fun. Guess I’ll sit and make a few. Happy New Year.