
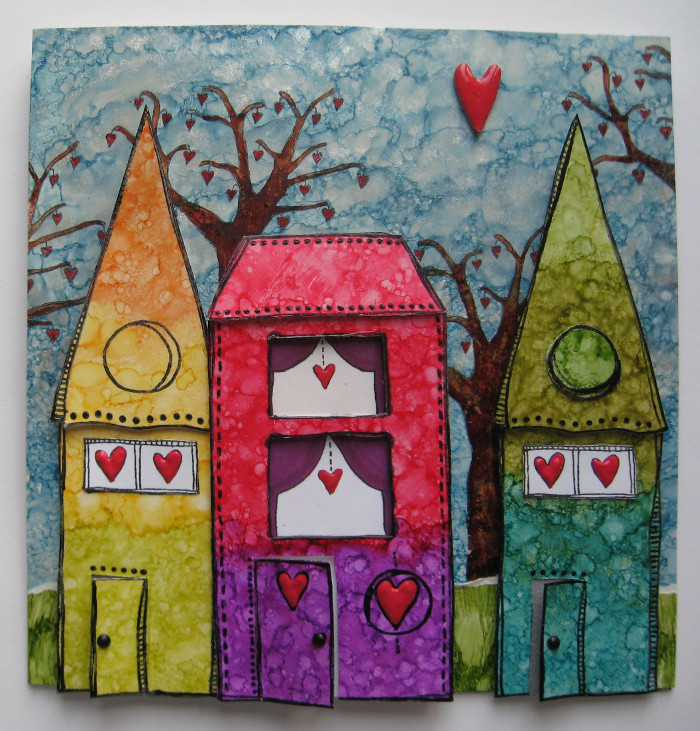
It’s Karen here today to share my card project created completely with Alcohol Inks. I love the vibrant colors that they produce and the interesting patterns you can create as they dry. I made three different cards to show the scope of possibility using the same stamps & techniques but varying the color scheme. I hope you will see the versatility of the stamp designs and agree that the same image can suit multiple occasions. By simply changing color palette from bright to pastel shades, you can create for a wide range of occasions.
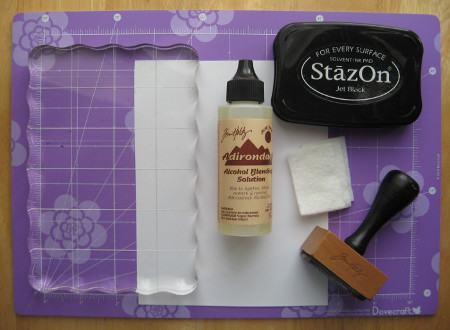
Supply List:
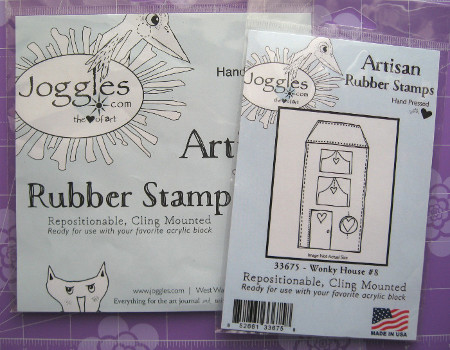
Joggles Cling Mounted Rubber Stamp – [33675] Wonky House #8
Joggles Cling Mounted Rubber Stamp – [33682] Wonky House #9
Joggles Cling Mounted Rubber Stamp – [33648] Heart Tree Small
Inkssentials Non-Stick Craft Sheet
Adirondack Alcohol Ink Applicator
Adirondack Alcohol Blending Solution
Adirondack Alcohol Ink (Lights) – Cloudy Blue
Adirondack Alcohol Ink (Brights) – Sailboat Blue
Adirondack Alcohol Ink (Earthtones) – Slate
Adirondack Alcohol Ink (Metallic Mixatives) – Silver
Adirondack Alcohol Ink (Brights) – Sunshine Yellow
Adirondack Alcohol Ink (Earthtones) – Meadow
Adirondack Alcohol Ink (Earthtones) – Lettuce
Adirondack Alcohol Ink (Brights) – Sunshine Yellow
Adirondack Alcohol Ink (Brights) – Sunset Orange
Adirondack Alcohol Ink (Brights) – Citrus
Adirondack Alcohol Ink (Earthtones) – Meadow
Adirondack Alcohol Ink (Earthtones) – Pesto
Adirondack Alcohol Ink (Earthtones) – Stream
Adirondack Alcohol Ink (Brights) – Watermelon
Adirondack Alcohol Ink (Earthtones) – Red Pepper
Adirondack Alcohol Ink (Brights) – Purple Twilight
Ranger Inkssentials Gloss Paper 8.5″x11″ [PAP12887]
Stazon Ink Pad – Jet Black
Inkssentials Glossy Accents – 2 oz
Inkssentials Paper Creaser – 6″
Clear Acrylic Stamp Mounting Block
Ranger Liquid Pearls – Ruby Red
Other Supplies:
Gelly Roll Pen -Black Glaze (Sakura), red & brown permanent markers, flower brads, small black round brads, chipboard heart, white card base 6×6″, craft knife, foam pads.
Directions:
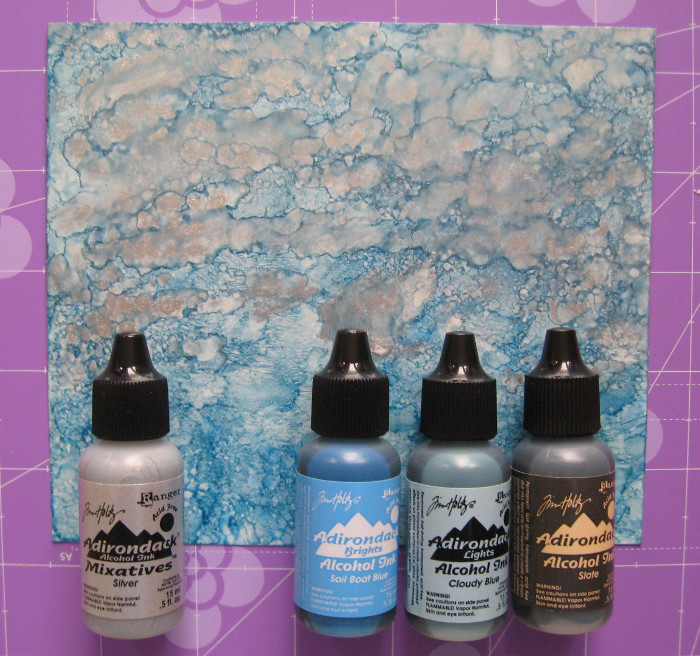
Cover your work surface with a Non-Stick Craft Sheet. Cut a 6×6″ sheet of gloss white paper to make the sky background. Use an ink applicator and blending solution to apply shades of blue Alcohol Ink (Cloudy Blue/ Sailboat Blue/ Slate/ Silver). To make a bubbly pattern do not rub the ink applicator over the paper just gently tap. (TIP: Alcohol Inks react with the blending solution slowly so patterns evolve over about five seconds. It is best to monitor the reaction before applying more ink. There is constant monitoring to decide when you are satisfied with the intensity of color & pattern.)
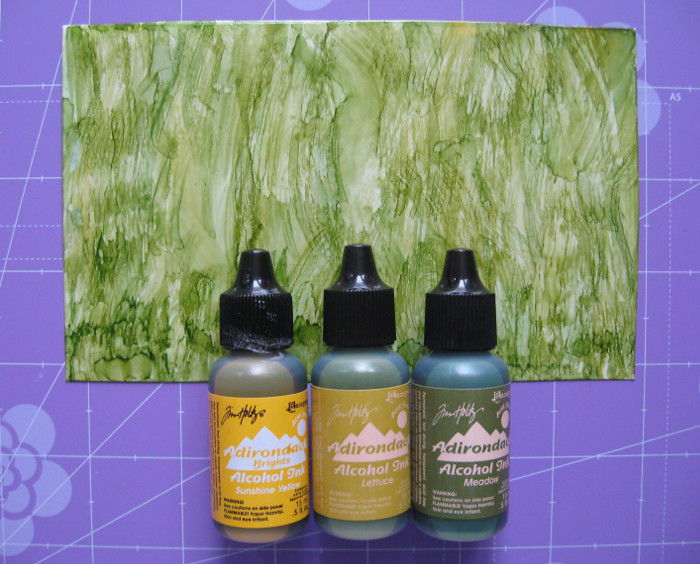
Cut a 4×6″ sheet of gloss white paper to make the grass background. Next, apply shades of green alcohol inks. (Meadow/ Lettuce/ Sunshine Yellow) To make striations to mimic blades of grass, drag the ink applicator over the paper. Remember to allow wait time to see how the pattern dries before applying more. Set aside to dry.
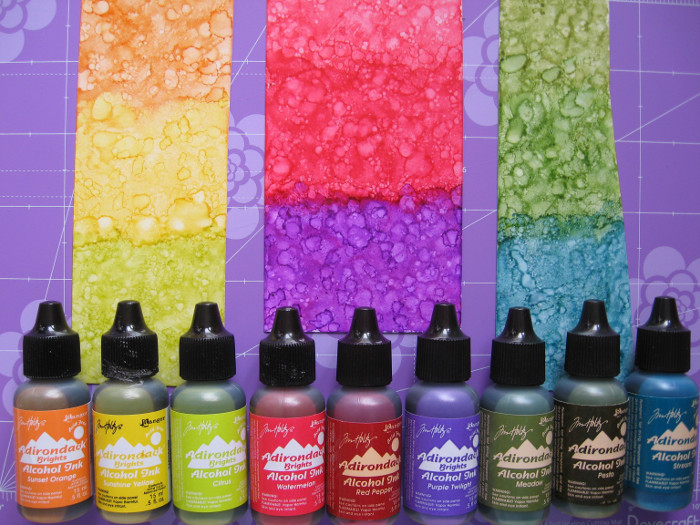
Cut 3 strips of gloss white paper 3×6″. Use an ink applicator and blending solution to apply 3 colors of Alcohol Ink to 1/3 of each strip. When you are happy with the intensity of color & design, then apply the next color of Alcohol Ink. Continue tapping the applicator and allowing wait time until you are satisfied and set it aside to dry.
Wonky House #8 Alcohol Inks (Watermelon / Red Pepper / Purple Twilight)
Wonky House #9 Alcohol Inks (Sunshine Yellow / Sunset Orange / Citrus)
Wonky House #9 Alcohol Inks (Meadow / Pesto / Stream)

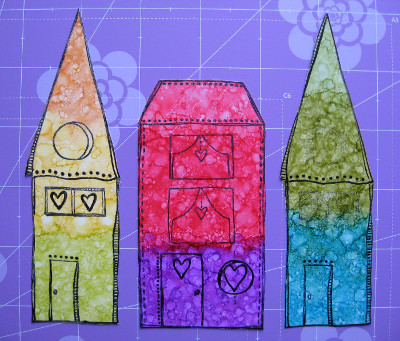
Use permanent black ink to stamp Wonky House #8 & #9 onto the alcohol papers. Carefully fussy cut around both houses separating the roof from the structure and reassemble them with 3D foam pads. Use a craft knife to cut out the windows and slice the door so that it will hinge open. Next, add a door knob by making a small slit on the handle and inserting a brad. Finally, adhere a piece of cardstock to the back of the house to cover the open doorway.

Use permanent black ink to stamp the Small Heart Tree several times onto the blue alcohol background. Vary the height at which you stamp the tree and also stamp some trees that extend off the paper. Color the trees with a permanent brown marker and color the hearts red.

Next, place your 6×6″ card base with the fold at the top. Use a pencil & ruler to lightly mark a 3″ line on the card front dividing the card in half horizontally. Use a paper creasing tool to score the line. To make an easel card, you will need to make a mountain fold along the line you just scored. It creates a triangle shape with the back of the card as the base.
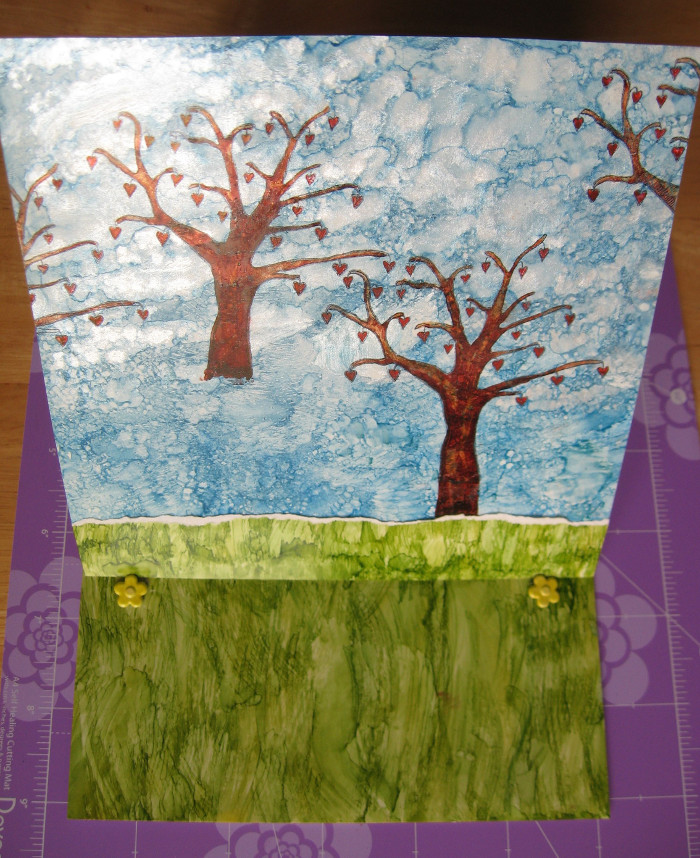
Apply adhesive only to the lower half of the card base and attach the 6×6″ blue alcohol paper (sky). Carefully, tear a 1×6″ strip from the green alcohol paper (grass) and adhere it to the bottom edge of the card base. Next, open the card and attach the remaining 3×6″ piece of green alcohol paper to the bottom of the inside of the card. For the card to stand up like an easel, the front folded panel must have something to lean against for support such as brads. Use a craft knife to make 2 small slits in the card set in 1/2″ from the sides of the card. Since I was creating a scene, I inserted flower brads through the slits. Bend the easel card into standing position to verify that the card front will rest securely against the brads. If desired, add additional flower brads scattered across the green alcohol ink paper as embellishments.

Stamp the windows from Wonky House #8 (houses on left and right) onto white cardstock. Cut them out and attach them over the original windows. Use a craft knife to cut out and remove the windows from Wonky House #9 (middle house). Discard them and stamp an extra set of windows from Wonky House #9 onto white cardstock. Color the curtains and adhere the set of windows behind the house with 3D foam pads.
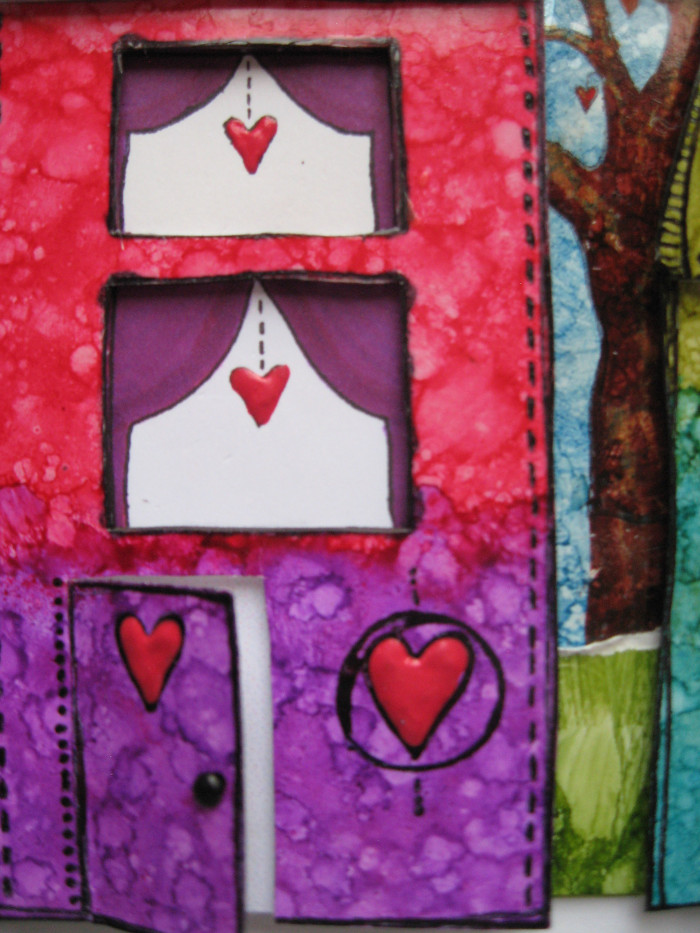
Apply Ruby Red Liquid Pearls to all of the hearts on the houses. Also, paint a small chipboard heart red. When it is thoroughly dry, apply a generous coating of Glossy Accents to the chipboard heart and set aside to dry. Attach the 3 houses to the card front using different thicknesses of 3D foam pads.
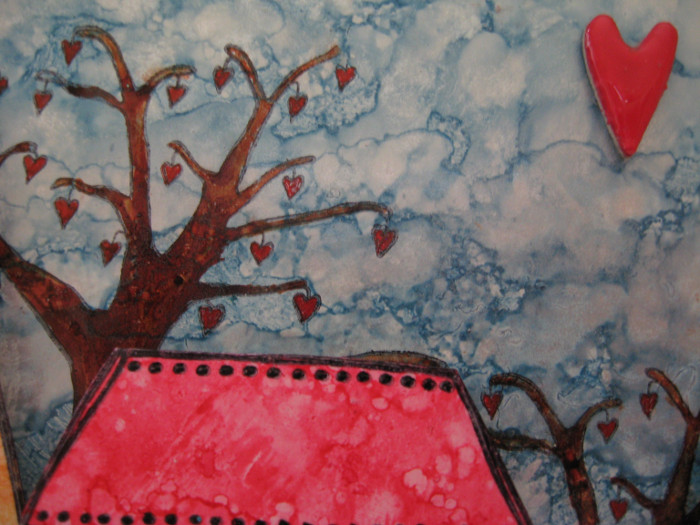
Lastly, attach the glazed red heart in the sky area above the houses between the middle and right houses.

As mentioned earlier, I also completed two other versions of this card using the same stamps and alcohol ink techniques but a different colour palette and style. For the baby boy card above, I used Cloudy Blue and Pearl Alcohol Inks.

For the baby girl card, I used Salmon, Watermelon, and Pearl Alcohol Inks.
These are the Additional Supplies used for these two cards:
Adirondack Alcohol Ink -Salmon (Ranger), Adirondack Alcohol Ink -Cloudy Blue (Ranger), Adirondack Alcohol Ink -Pearl (Ranger), VersaMark Ink (Tsukineko), Wendi Vecchi Pink Peony Embossing Powder (Ranger), Wendi Vecchi Cornflower Blue Embossing Powder (Ranger), Ranger Heat It Craft Tool, Tim Holtz Distress Ink Pad -Vintage Photo (Ranger), Tim Holtz Water Brush Fine Detail Nib [TIP33080], Gelly Roll Pen -white (Sakura), Gelly Roll Pen -Stardust Clear (Sakura)
I hope you have enjoyed my cards using the Wonky Houses and Heart Tree stamps. Challenge yourself to use your stamps for more than just the obvious occasion and think outside the box. Alcohol Inks are known for their beautiful intense color but are equally effective when used in pastel shades. Spend some time exploring Alcohol Inks and just have a play; you may be pleasantly surprised at what you can create. Thanks for visiting!








6 Comments
Super Cute….Love the bright colors!!!
Thank you for sharing all these great ideas using the alcohol inks. I have so many and never seem to know what to do with them, one of those supplies you put away and forget you have. I need to get them out and start playing! Love your cards!
love these! I’m gonna give it a try!
Did you mean to make the 3 strips 3×6 instead of 3×4? The stamps won’t fit otherwise..
Yes, 3×6″ sorry about the little typo. Don’t forget to share your creation with us. Have fun!
It’s a MIRACLE … somehow you read my mind!!! (Scary thought for today, lol). Anyway Miss Bonnie – I’ve got two “New Home” cards I must tackle and YOU … have just bailed me out. My mojo departed premises without me a few weeks ago so I believe “it” will return with this delicious idea. Many thanks.