It’s Diana here. I have another accordion book hack for you today. Much as I love accordion books plain, there is always an invitation to play with them and change things up.
Supplies
Joggles Accordion Book – 6 x 9 inches – 10 panels
Joggles Stencils – Starlight [10-33801]
Joggles / Margaret Applin Designs 6″ x 9″ Stencil – Global #1 [33807]
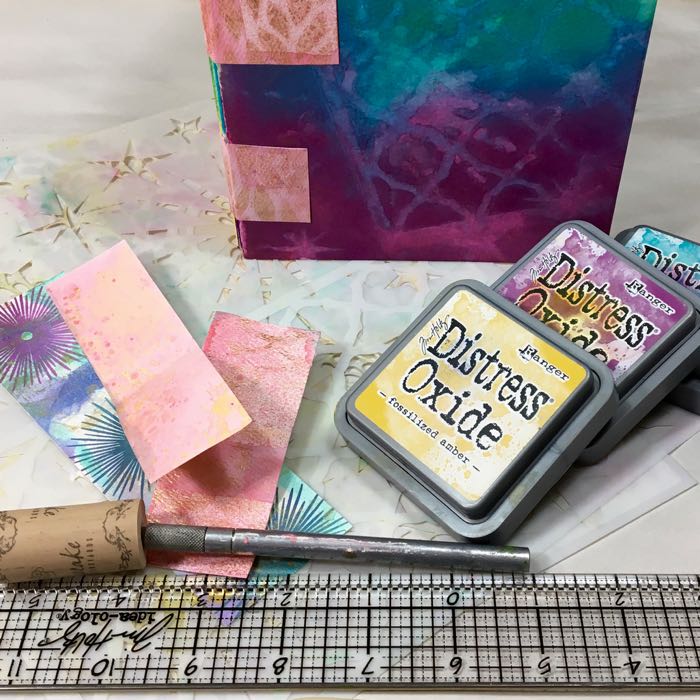
Tim Holtz Distress Oxides Ink Pads: Fossilized Amber; Seedless Preserves; Peacock Feathers;
OLFA 18″ x 24″ Self Healing Rotary Mat [RM-SG]
Ranger Inkssentials Mini Ink Blending Tool [40965]
Ranger Inkssentials Mini Ink Blending Replacement Foam [40972]
Inkssentials NonStick Craft Sheet
Other: scissors; metal ruler; bone folder; glue
Process:
This is an easy hack that limits the opening of the book and provides pockets for inserting ephemera, tiny photos, or tags. You can see the techniques in today’s video.

You can use either an X-Acto knife or scissors to cut the diagonal lines into the book. I measured down 2” from the left side of the page and 4” from the right side of the page. Once you “bind” the book later, you’ll have two pockets there. I used a 2” circle punch at the top of more panels that will become pockets as well.
These pockets can hold the tag art we all love making.
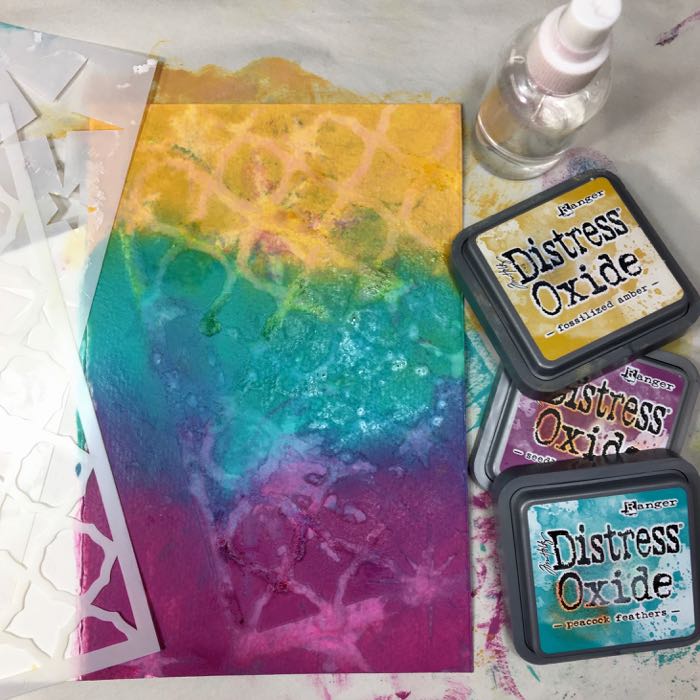
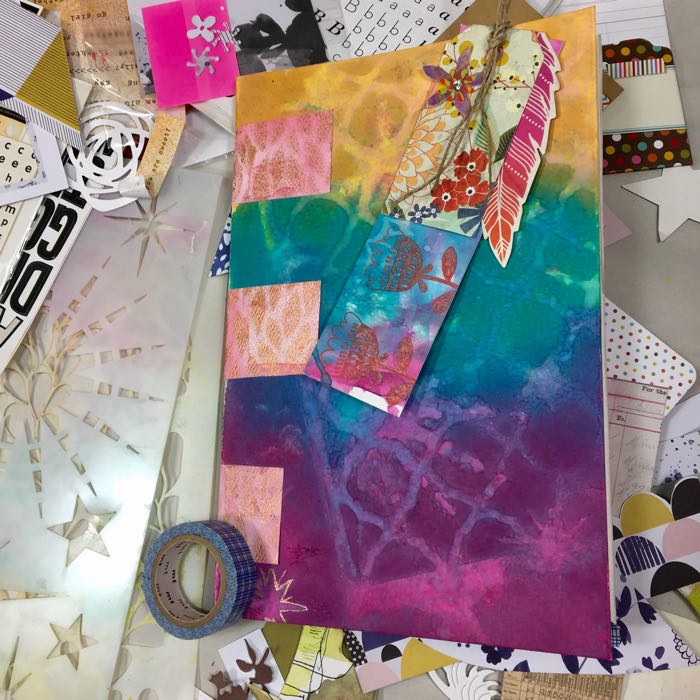
To decorate the front and back covers, I used Joggles stencils and Tim Holtz Distress Oxide inks in Fossilized Amber, Peacock Feathers and Seedless Preserves. You could use regular Distress Inks or any inks. First swipe the Fossilized Amber ink across the top of the cover, then use the Peacock Feathers across the middle, and then use the Seedless Preserves across the bottom.
Use a blending tool to spread the color around. Lay your stencil over the cover and spray it 4-6 times from about 8”-10” above. Let the water sit for a moment to react with the ink and then lay a towel over the words to absorb any additional water. Lift your stencil. The pattern will become more pronounced as it dries.
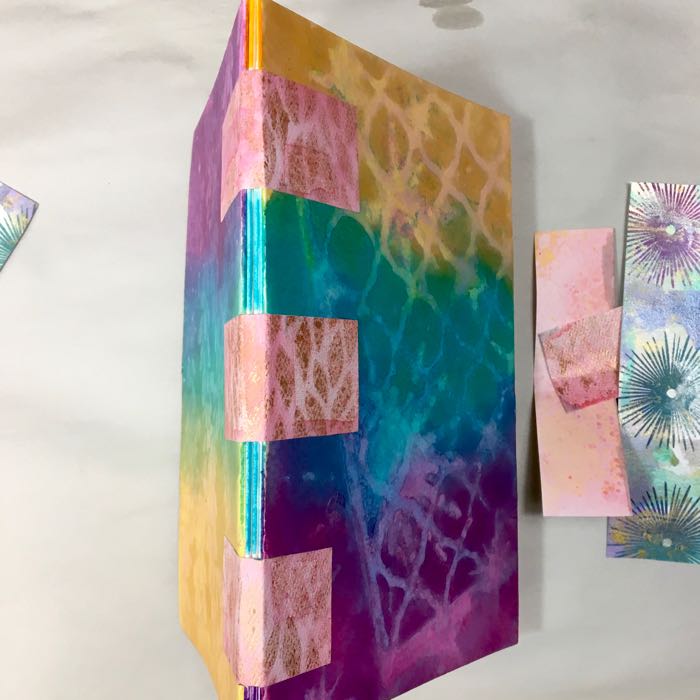
Now for the binding …
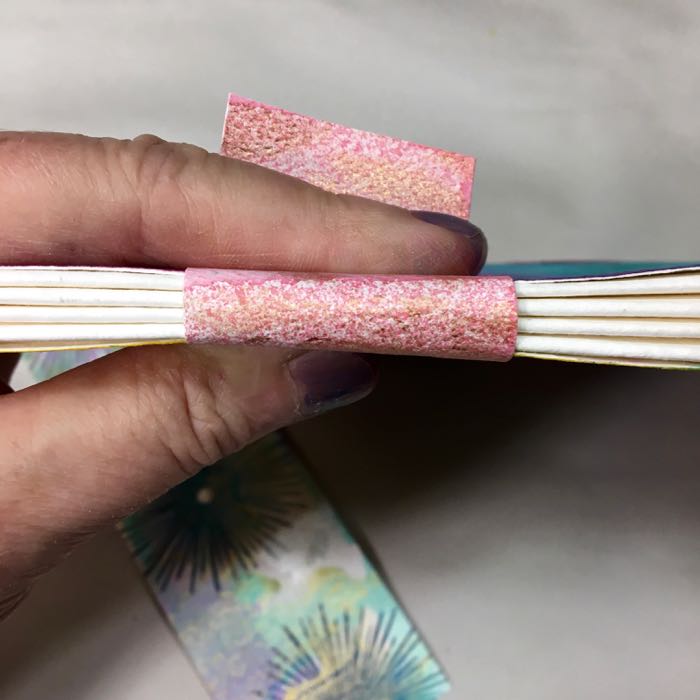
Using 1 1/2 “ x 2” (approximately) strips of painted paper, I glued them around the spine of the book. I used 3 strips: middle, top and bottom. Use a bone folder to make sure that all is well adhered. Simple!
I went through my collage materials, die cuts, etc. and began to glue things down to embellish. I look forward to working in this lovely little book and will be sharing pictures now and then.
I hope you enjoyed this tutorial and will build your own Pockets Accordion Book!
11 Comments
Hi Diana, I enjoyed your video and love the journal. I found you on you tube by searching your name. You’ve got (not mail) a new subscriber! 🙂
Thank you Terry and thanks for joining my YouTube 🙂
Love it❤️ As a,ways Diana, your style really speaks to me. I bought a mini strip of Strathmore from Joggles and you have inspired me to tackle it.
Hi Susan and thanks 🙂
Very interesting post………..this is quite a unique journal and I love it! 🙂
Thanks so much Sharon 🙂
As always Diana I love your videos – you own the mistakes and “Oops” so that we can all see that perfection is not a given!! With editing etc, at times it seems the makers never make an error, which is an awfully high bar to set. Your videos are ‘real’ and thus truly inspirational. Thank you!
Thanks so much for saying that, Jakki. I always wonder what people think about that. It’s good to know you like it.
Fun book tutorial Diana, I love the Oxides too & the colours you picked for your covers are scrumptious!
Thanks Leigh. It was fun getting to know you !
Hi Diana,
always love your work. thanks for much for sharing you mention in this tutorial that you did a small acordian book earlier, however, i have been unable to find it. please let me know how i can.
thanks much, Jo Anne