
Good morning!! Teresa here again – can you believe another month has passed already and we are heading towards the end of July!! My project today is full of summer sunshine colour, some yummy texture, and a bit of magical golden sparkle….not to mention the amazingly easy to use Joggles/Margaret Applin Designs Fearless Face Stencil System. I chose to use my Pyrography Tool to create my outlines on this project, but you could easily use a paint pen or similar to create a drawn outline if you don’t have any wood burning equipment!

Supplies List
Joggles/Margaret Applin Designs 6” x 9” Fearless Face Stencil – Square Face [33811]
Joggles/Margaret Applin Designs 6” x 9” Fearless Face Stencil – Facial Features #3 [33816]
Joggles/Margaret Applin Designs 6” x 9” Fearless Face Stencil – Small Hair [57415]
Joggles/Margaret Applin Designs 6” x 9” Stencil – This & That #4 [33837]
Joggles Stencils – Punchinella Trio 1 [10 – 33771]
Art Basics Opaque Matte Modelling Paste (or use Ranger Texture Paste – Opaque Matte [INK44444] )
Tim Holtz Distress Ink Pad – Picked Raspberry
Tim Holtz Distress Ink Pad – Wilted Violet
Tim Holtz Distress Ink Pad – Black Soot
Ranger Inkssentials Ink Blending Tool [23616]
Ranger Inkssentials Mini Ink Blending Tool [40965]
Collall All Purpose Glue (or use Aleene’s Clear Gel Tacky Glue)
Posca Paint Pen – White (or use Gelly Roll Pen – White – Medium Point)
Stix2 Gold Transfer Foil (or use WOW! Fab Foil – Gold)
Idea-ology by Tim Holtz – [TH93193] Small Talk
Black Fineliner Pen (or use .05 Micron Pigma Pen – Black [49] )
Other: wood block, palette knife, pencil, eraser, pyrography tool, DecoArt Media Fluid Acrylics – Quinacridone Magenta, Pyrrole Orange, Hansa Yellow Medium, Titanium White, Cobalt Teal Hue, Cobalt Turquoise Hue, Quinacridone Burnt Orange, Raw Sienna, Titan Buff (or use Golden Fluid Acrylics), scissors, small piece of white card
So, let’s get down to the ‘how to’!!
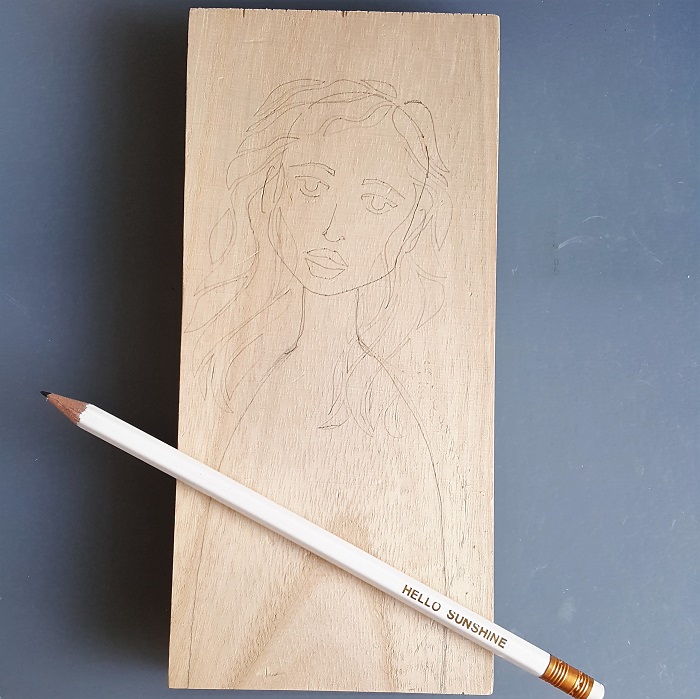
Once I had decided which stencils I wanted to use, I positioned them on my wood block and used a pencil to draw on my design, beginning with face shape, then facial features, and finally the hair. I added a simple body shape freehand.
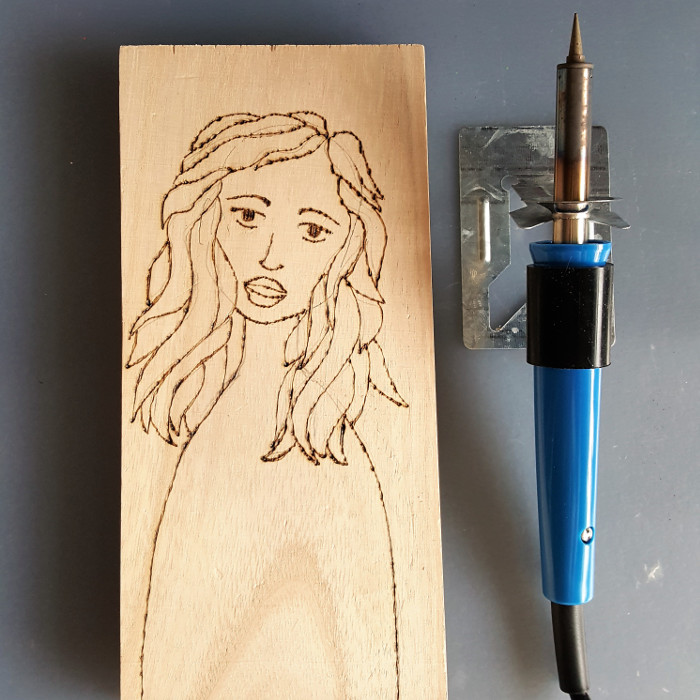
Next I used my pyrography tool to burn the outline. You could quite easily skip this step and use a fine black pen or paintbrush to add your outline once you have finished painting the project. Once I had finished burning, I rubbed out any pencil marks that were still showing with an eraser just to tidy things up a bit.
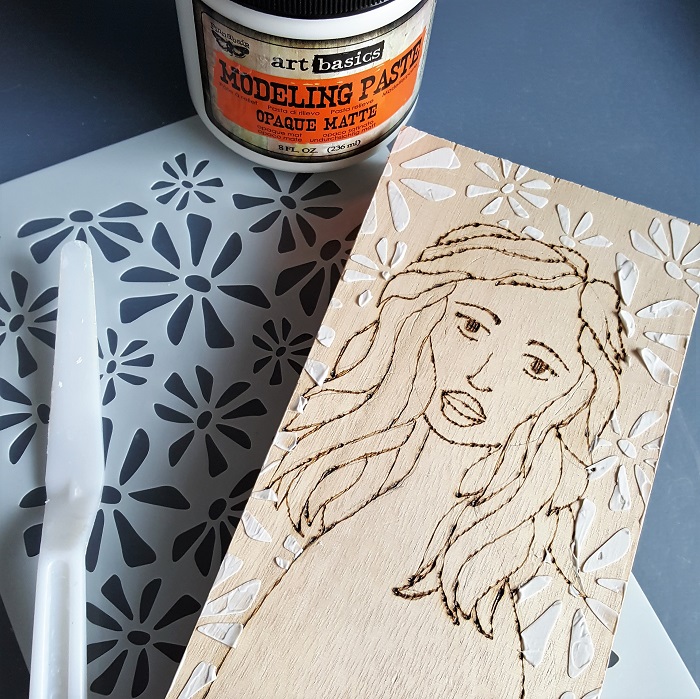
As I wanted a summery vibe to my project, I chose the beautiful floral design of the Joggles This And That #4 Stencil for my background. I positioned the stencil on my block and used a spatula (palette knife) to apply the modelling paste through the stencil, avoiding the area covered by the figure. Once finished, I carefully lifted the stencil and washed off any paste that was on it (as it is a pain to remove once dry!!) I used the spatula to remove any bits of paste that had gone over my lines, or that were overhanging the edges of the block.
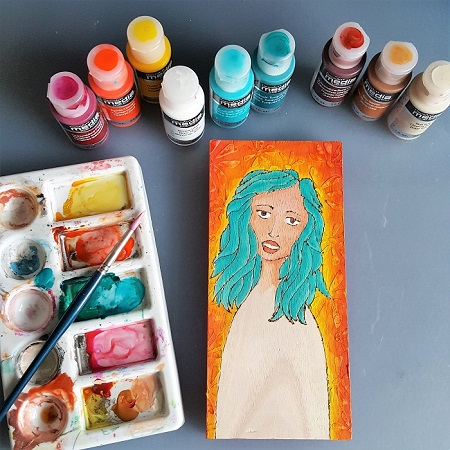
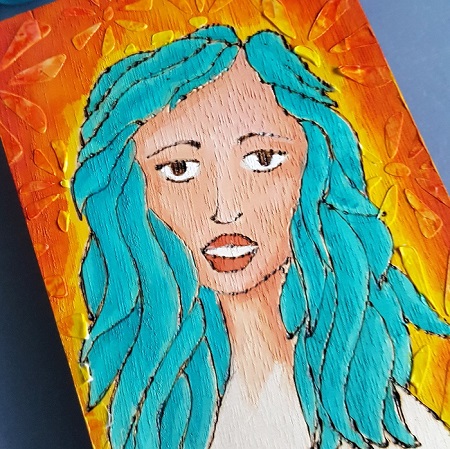
Now go and make some tea, do a bit of gardening, or go shopping until the modelling paste is dry. Then you can come back and paint it all! I used fluid acrylics as they are easy to blend and are such vibrant colours. I painted the face first, using Titan Buff, Raw Sienna, and Quinacridone Burnt Orange to create my skin tones. The hair was painted using Titanium White, Cobalt Turquoise Hue, and Cobalt Teal Hue. Finally, the background is a happy blend of Hansa Yellow Medium, Pyrrole Orange, and Quinacridone Magenta. I used a white Posca Paint pen to create some highlights in the hair – a Gelly Roll pen or even a fine brush with some white paint would work equally well!

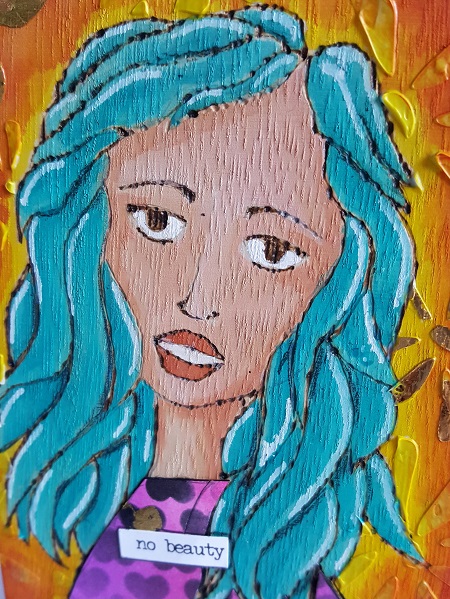
Thankfully these paints dry quickly so I could move on to the next step which was foiling some of the flowers. It’s so easy to use transfer foils and the bit of sparkle and shine that they create really lifts a design. I used a Zig 2 Way Glue Pen to pick out a few of the stencilled flowers, waited a couple of minutes for the glue to go tacky, then placed the foil on top and rub. Voila – shiny golden flowers!!
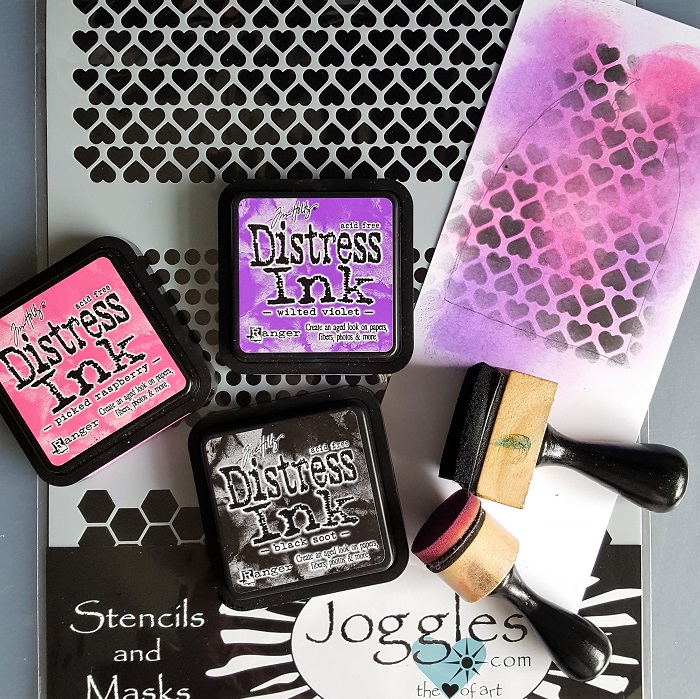
My Fearless Lady needs a body! I decided against painting her body directly onto the wood in favour of paper piecing a stencilled design onto the block. So I took a scrap of white card and used some Ranger Ink Blending Tools to apply Picked Raspberry and Wilted Violet Distress Inks randomly. The Joggles Punchinella Trio stencil is so versatile – this time I chose the heart design and applied Black Soot Distress Ink through it, again using my Ranger Ink Blending Tool. The design is easy to match up to cover a larger area, as it is a regular design.

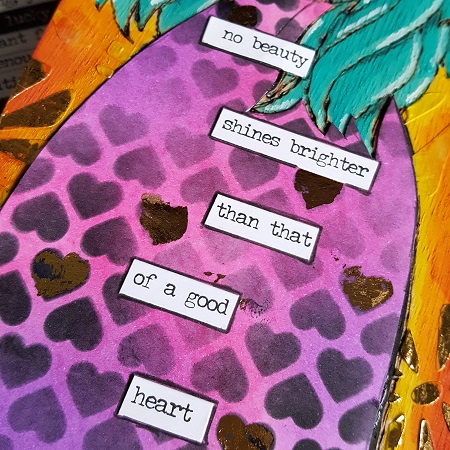
Once I was happy with my inked design I cut out the body and glued it in place with All Purpose Glue. I felt it looked a bit plain so reached for the foils again and used the Zig 2 Way glue pen to foil a few hearts….this looked much better and tied in with the background foiling!! I chose a sentiment from my Idea-Ology Tim Holtz Small Talk sticker pad and cut the words apart before adhering to the project. A quick outline with a black fine liner pen completed my project.

I hope that you enjoyed following me through this step by step – mixed media is so straightforward if you break it down into simple stages.
Please feel free to leave your thoughts below, and I hope that I have inspired you to go and create a summer girl of your own!
6 Comments
This is really fantastic piece, Teresa. I love everything about it. The sentiment is so perfect!
Thank you Diana – the sentiment just leapt out at me as I flipped through the book…. I knew it was ‘the one’!
You ARE fearless, Teresa! Wood burning a face – this is smoking! 🙂
Thanks Terry!! My pyrography tool rarely gets a day out of the drawer – but I just knew where I wanted to go with this project from the start. Glad you liked the result!
Absolutely fabulous!!!!!!
Thank you Leigh!!