
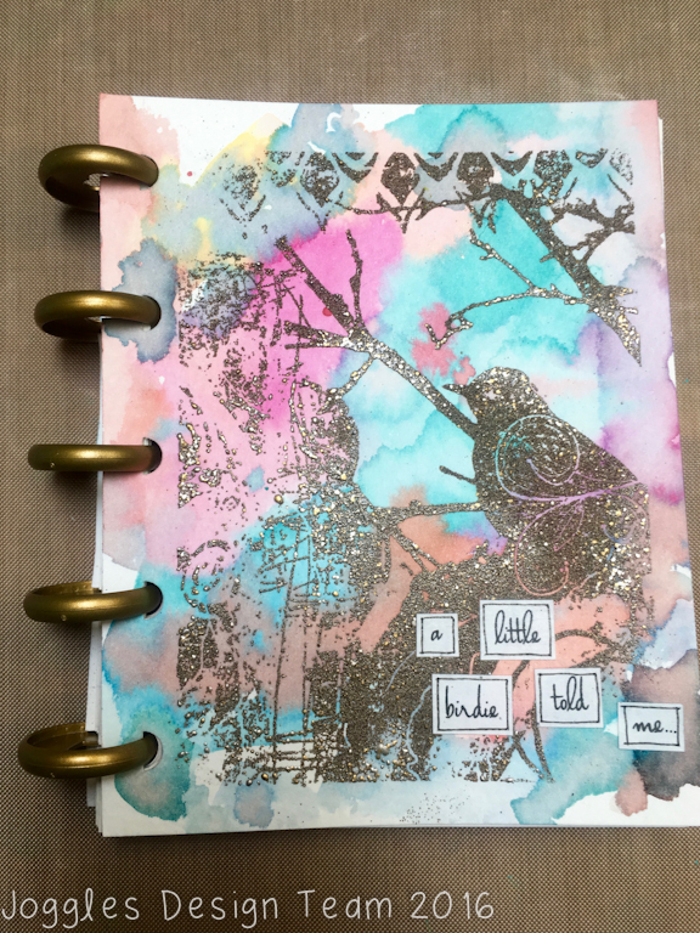
Hi Everyone! It’s Nadya here today. This spring I started using the Create 365 My Happy Planner. I loved the idea of being able to add paper to the planner so I had to get the Classic Paper Punch. This has opened up a whole new kind of crafting for me! I have been creating with Distress Stains for years and it amazes me how many more uses I keep finding for them! I decided to make a cute mini notebook using the Classic Paper Punch and the mini discs and embellish the covers with some Distress Stains and gorgeous stamps.
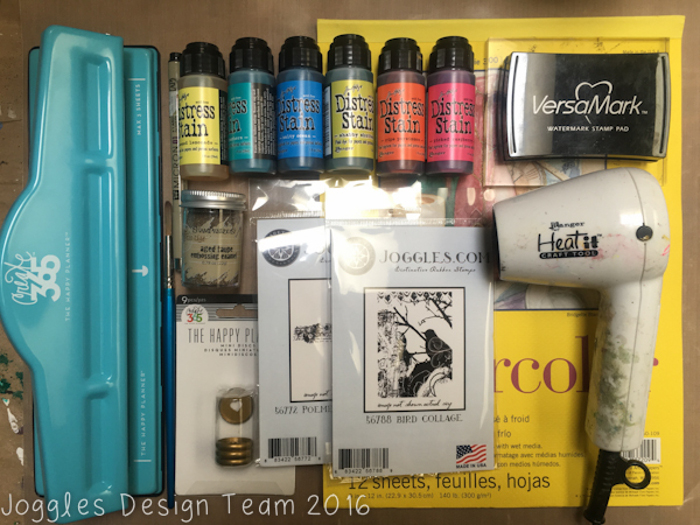
Supplies Used:
Inkssentials NonStick Craft Sheet
Versamark Watermark Clear Ink Pad
Stampendous Frantage Vintage Embossing Enamel Kit [FREK01]
Joggles / Margaret Applin Designs Cling Mounted Rubber Stamp – Bird Collage [56788]
Joggles / Margaret Applin Designs Cling Mounted Rubber Stamp – Poeme Floral Border [56772]
Tim Holtz Distress Stains – Peacock Feathers [TDW36166]
Tim Holtz Distress Stains – Shabby Shutters [TDW 31147]
Tim Holtz Distress Stains – Salty Ocean [TDW36197]
Tim Holtz Distress Stains – Ripe Persimmon [TDW36180]
Tim Holtz Distress Stains – Picked Raspberry [TDW36173]
Tim Holtz Distress Stains – Squeezed Lemonade [TDW36227]
Create 365 Happy Planner™ Mini Discs – Gold [RINS-01]
Create 365 Happy Planner™ CLASSIC Paper Punch [PUN-01]
Strathmore 300 Series Watercolor Paper – 9″ x 12″ 140# Cold Pressed – 10 sheets
Other Supplied: Round, 6 brush, white cardstock, inkjet printer, scissors.
My Process:
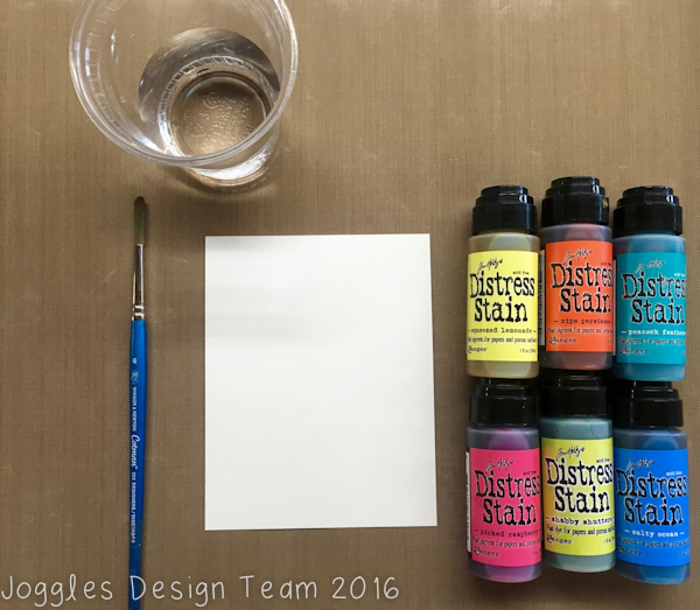
I started with the front and back covers. I used a Strathmore 300 Series Watercolor Paper – 9″ x 12″ 140# Cold Pressed sheet, cutting two 4”x5” pieces from it. Using Tim Holtz Distress Stains – Peacock Feathers, Shabby Shutters, Salty Ocean, Ripe Persimmon, Picked Raspberry & Squeezed Lemonade, I dabbed a bit of each colour onto my Inkssentials NonStick Craft Sheet.
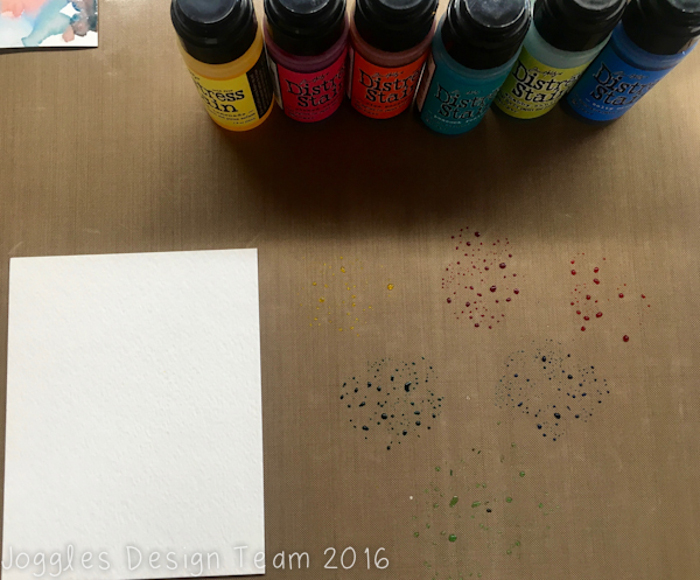
Using a watercolour brush (round 6), I dipped the brush in water first, then into one colour at a time, and started playing!
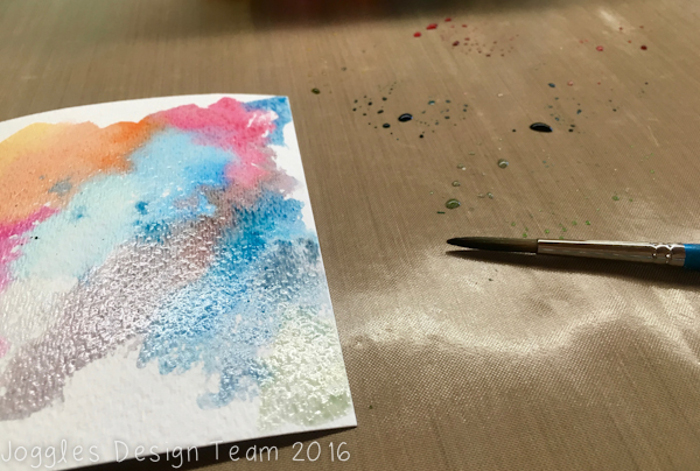
As I added colours to the paper, I also added water so the colours began to blend both on the paper and on the mat. It’s important to take your time in order to allow the colours to mix. The great thing about Tim Holtz colours is they always compliment each other. It really doesn’t matter which colours you choose, they always go together. Repeat with the other piece of watercolour paper. Let the papers completely dry.
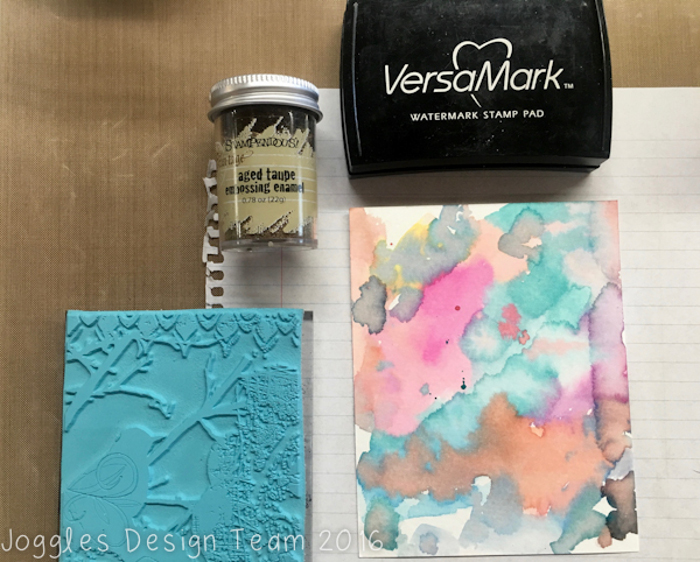
I decided to create the mini book after I saw the Joggles/ Margaret Applin Designs Cling Mounted Rubber Stamp – Bird Collage. I thought it would make a great cover design. Using the Versamark Watermark Clear Ink Pad, I stamped the image onto the center of one of the Distress stained 4”x5” watercolour papers. Working quickly, I placed the stamped watercolor paper onto a sheet of scratch paper and then poured a liberal amount of Aged Taupe from the Stampendous Frantage Vintage Embossing Enamel Kit over the stamped image.
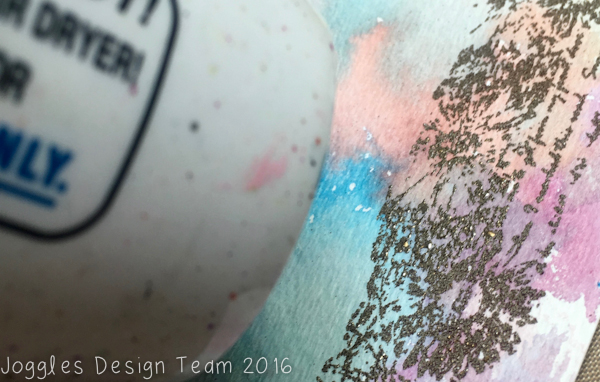
I tapped off the excess Frantage and the unused embossing powder remaining on the scratch paper was poured back into the container. Using the Ranger Heat It Craft Tool and working over the NonStick craft sheet, I heated the embossing powder constantly moving the tool over the image until the powder began to react and puff up.
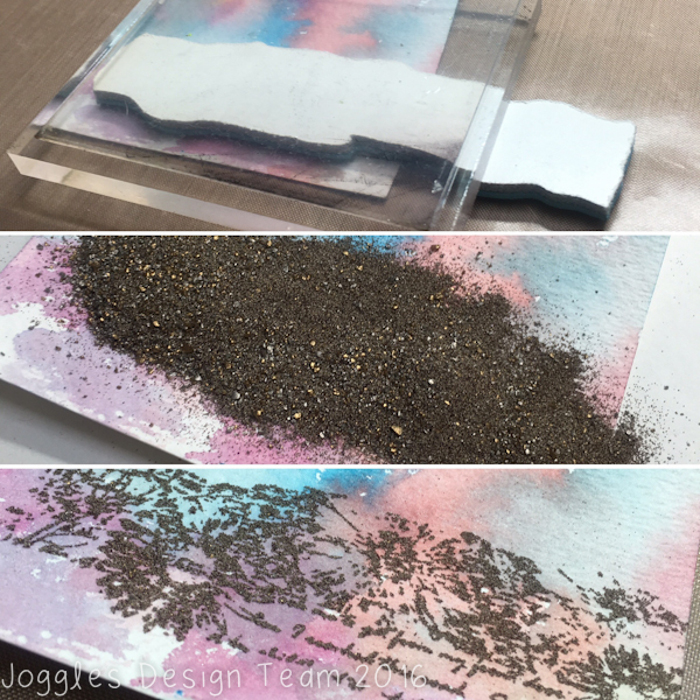
I thought it would be nice to have something pretty on the back cover as well, so I stamped and embossed it using Joggles/ Margaret Applin Designs Cling Mounted Rubber Stamp – Poeme Floral Border and the same Frantage embossing powder which again was heat activated.
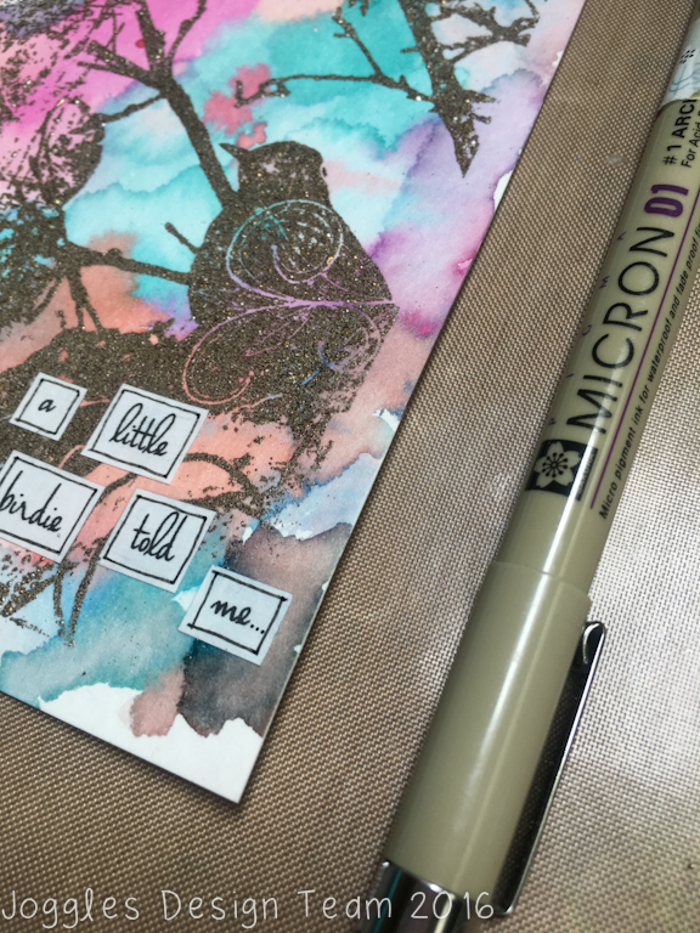
I printed the phrase “ a little birdie told me” onto white cardstock, cut each word out separately, and using Liquitex Matte Medium, applied the wording to the front cover. After they were completely dry, I outlined each word with a Micron black pen.
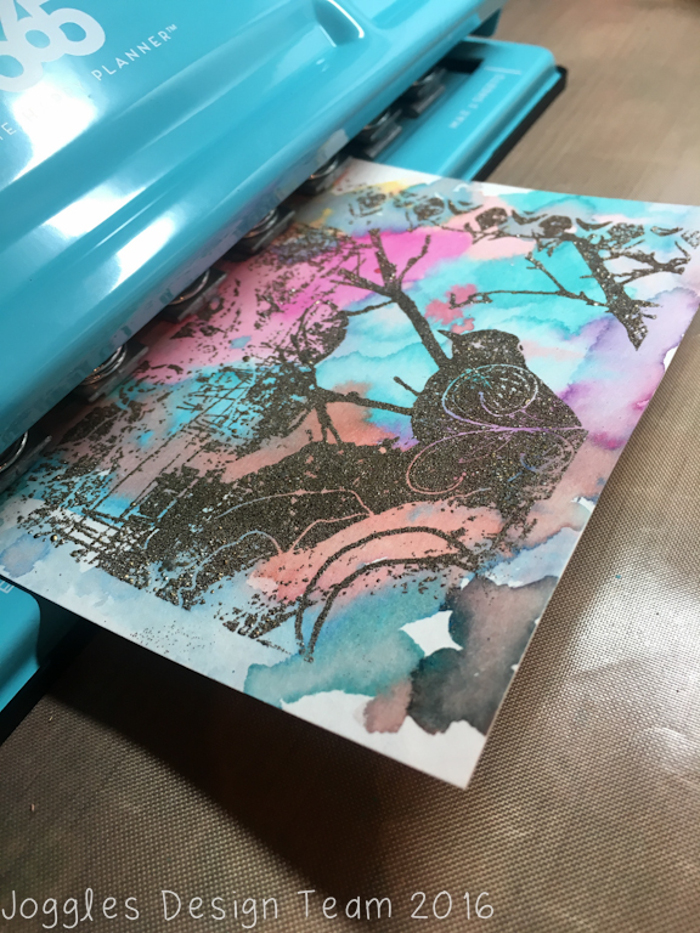
Using the Create 365 Happy Planner™ CLASSIC Paper Punch , I punched holes in the front & back covers.
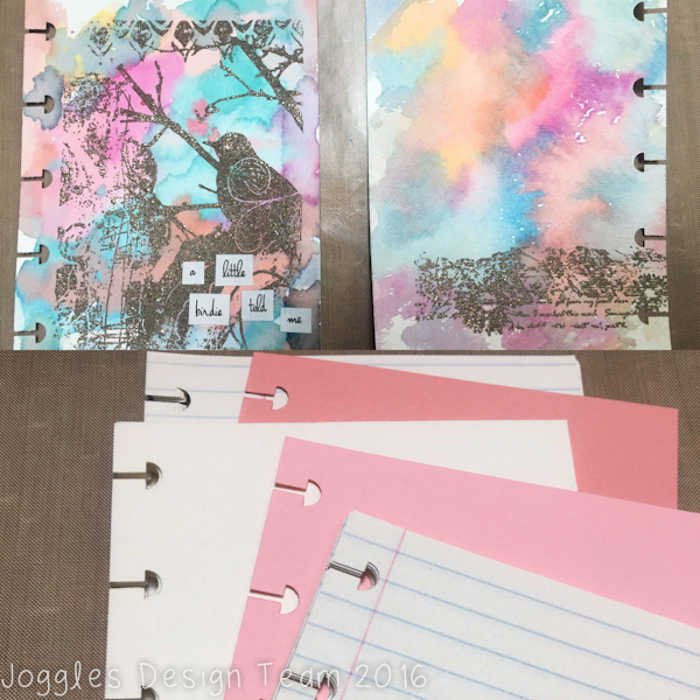
Then I punched a variety of papers for the inside, which were cut slightly smaller than the 4 x 5 inch covers. What I like about this punch system is the ease of adding and removing paper from the book.
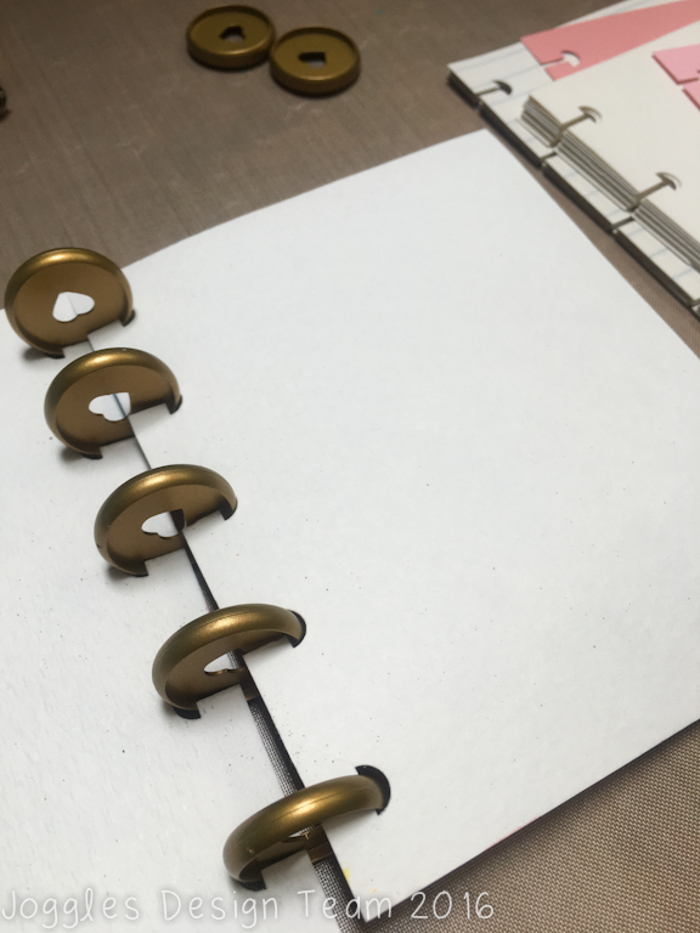
Using 6 of the Create 365 Happy Planner™ Gold Mini Discs, I placed the covers on first, and then added the rest of the papers.
Voilà your mini book is complete!
Thank you for visiting. I look forward to hearing what you think!








4 Comments
A technique I’m familiar with but have not used in a while. You’ve inspired me to bring it out again. Love the embossed image in the Taupe powder over the pastel background. Thanks for sharing.
Great ideas! Love the mini book and your use of the embossing powder. Thank you for sharing your process with us.
Thank you for sharing your creative fun. I’m sure liking (alot) making the little books like you’ve done here. Very Fun.
Loved it! Great job!