

Good morning Joggles fans! Kim here today to share with you a fun Holiday inspired project featuring Sticky Snippets!
Supplies:
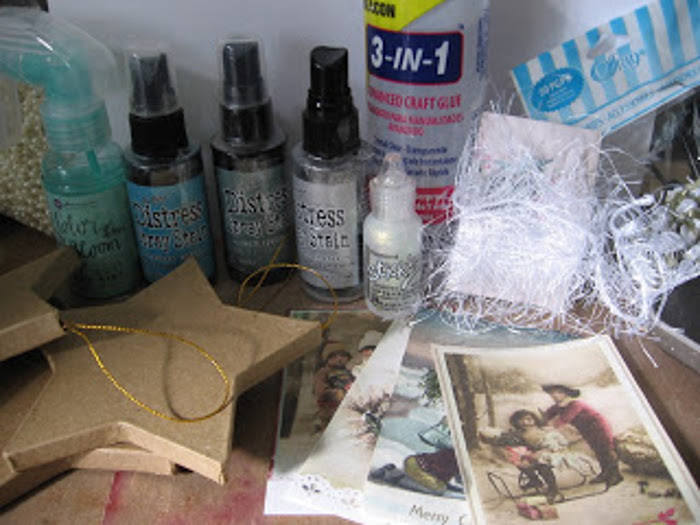
Tim Holtz Distress Spray Stains – Brushed Pewter and Broken China
Stickles Glitter Glue – Diamond
Joggles Sticky Snippets – Small Stars
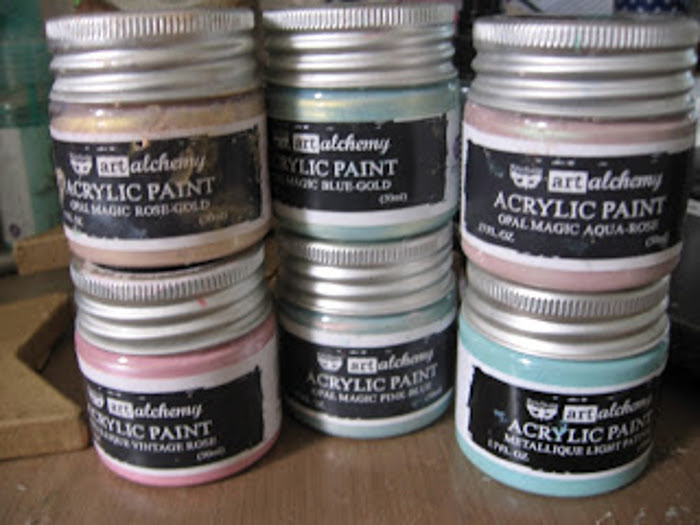
Finnabair Art Alchemy Acrylic Paint: Metallique Light Patina, Opal Magic Rose Gold, Metallique Ancient Coin, Opal Magic Aqua Rose, Opal Magic Pink Blue, Metallique Vintage Rose, and Opal Magic Blue Gold
Other supplies: Prima Bloom Spray – Turquoise, Peony, and Cotton Candy; paper mache stars; digital images; Martha Stewart Glitter; glue; trims
Here is my process:
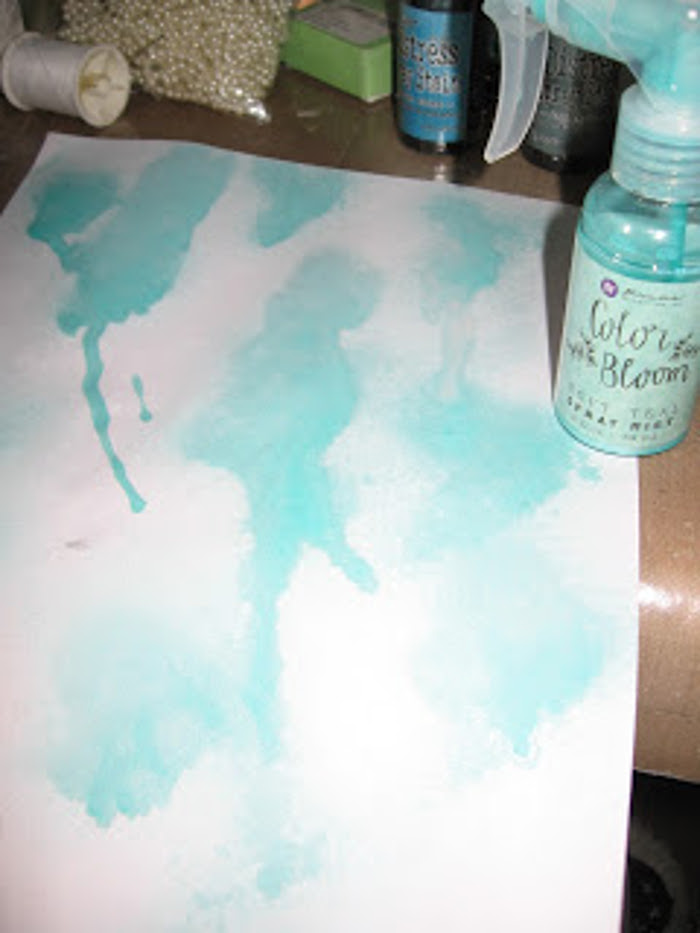
I began by playing with the Small Stars Sticky Snippets. I layered on the Turquoise and Broken China sprays, drying each layer in between until I was happy with how it looked.
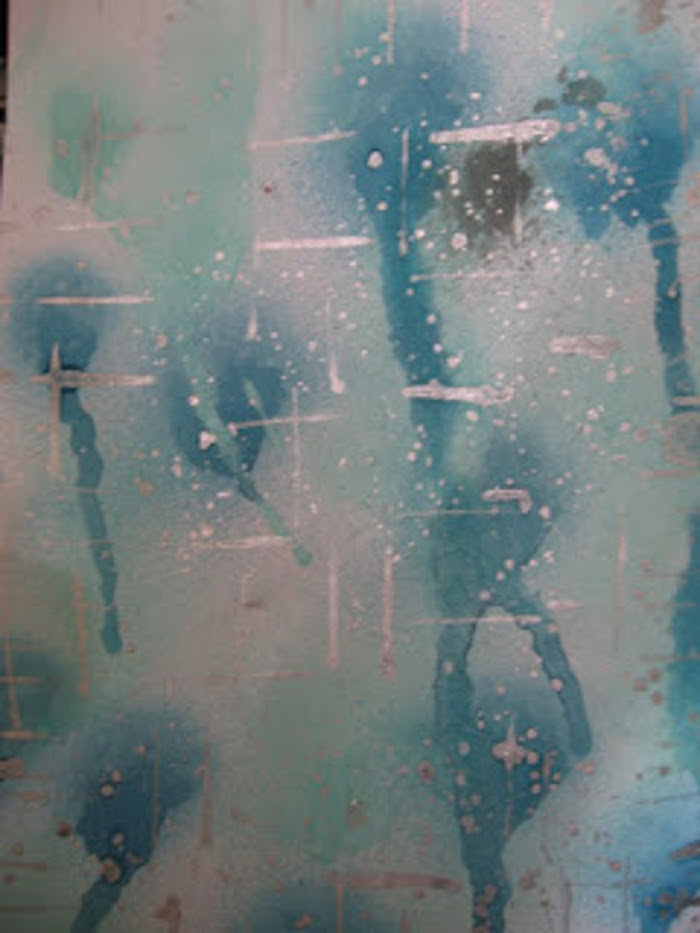
I used the Tim Holtz Distress Spray in Pewter to do a cross hatch effect on the Sticky Snippets.
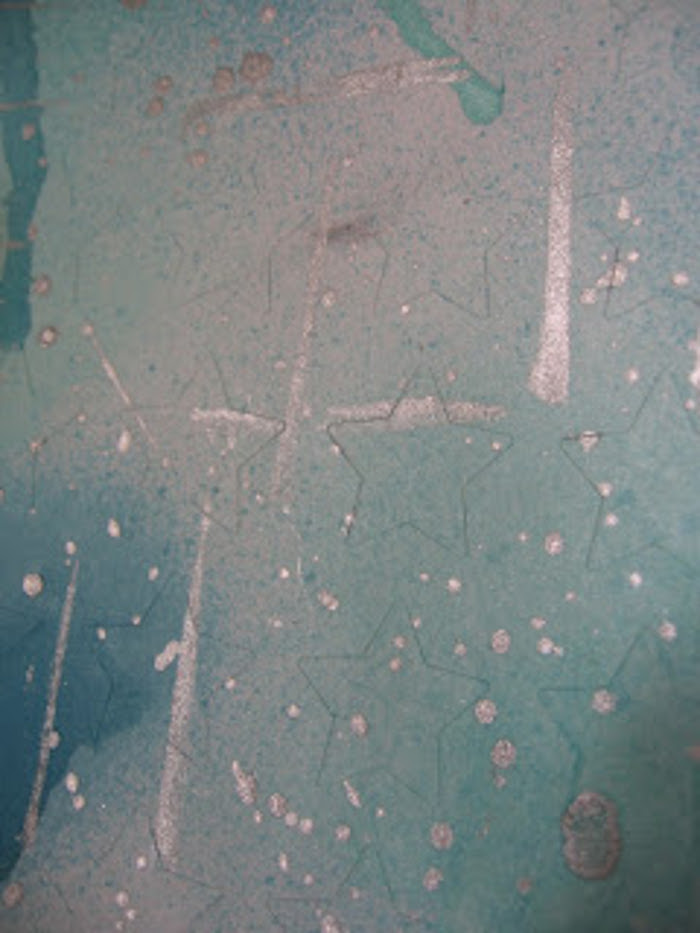
Here is a close up! I also did a page of the stars in some pink tones using the same technique but my camera for some reason didn’t save those photos.
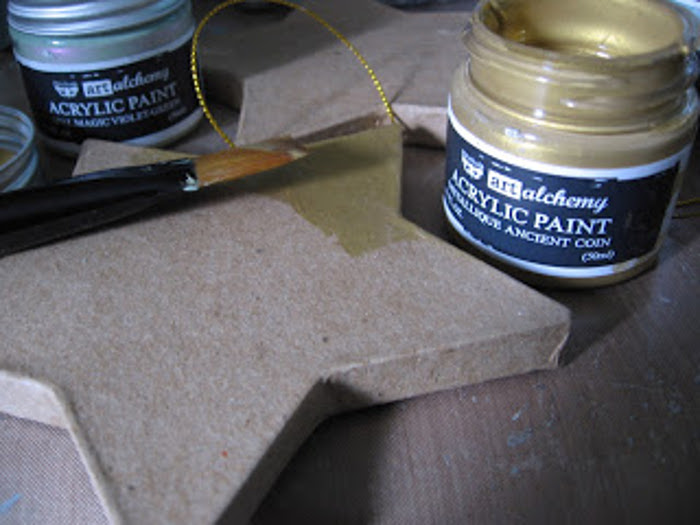
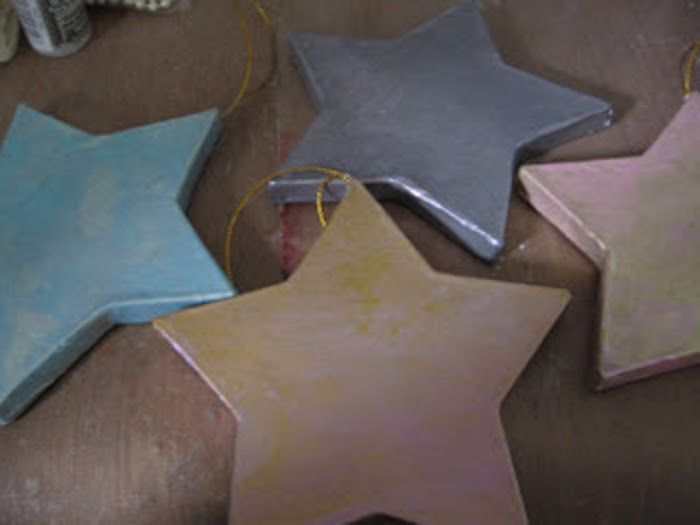
Now, it was time to paint the paper mache stars. I used a couple of coats of the Finnabair Art Alchemy Acrylic Paints listed above to create a lovely shimmer.
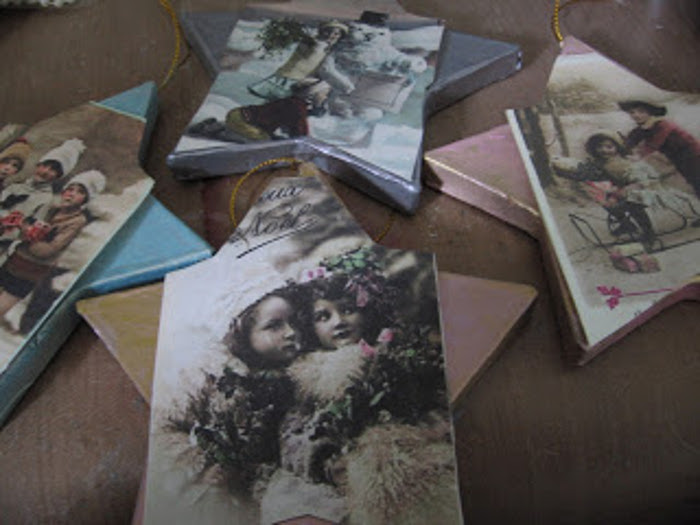
After the paint dried, the images were placed on the stars and cut to fit the shape.
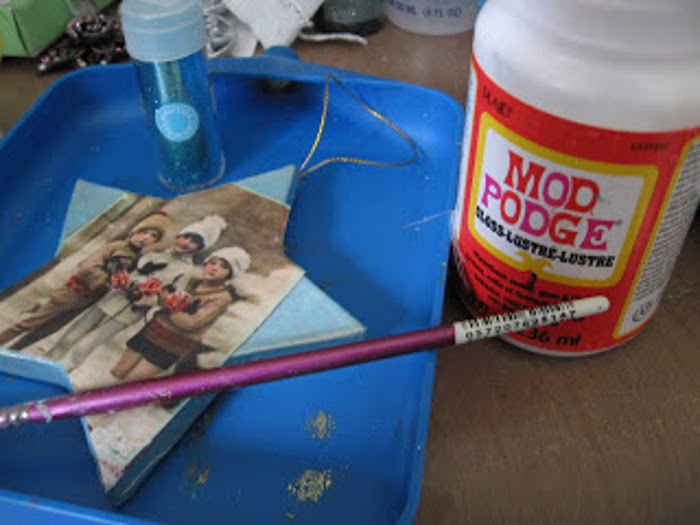
The next step was to Mod Podge the images down, giving them a nice even coat.
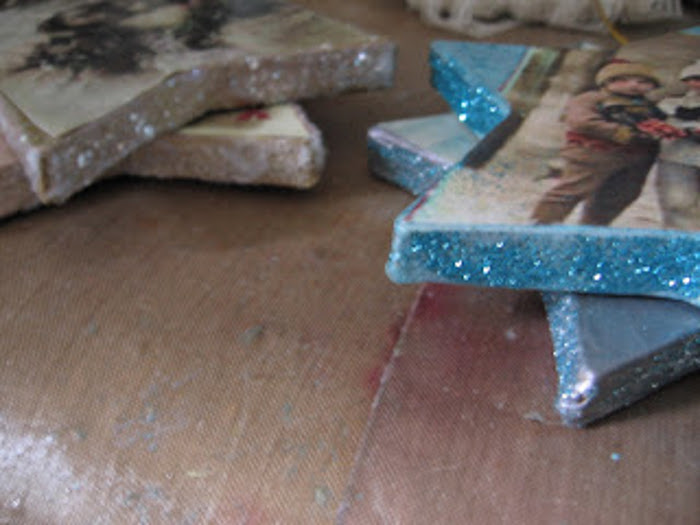
I also went around the edges of the stars with the Mod Podge and added some Martha Stewart Glitter to those edges while the Mod Podge was still wet.
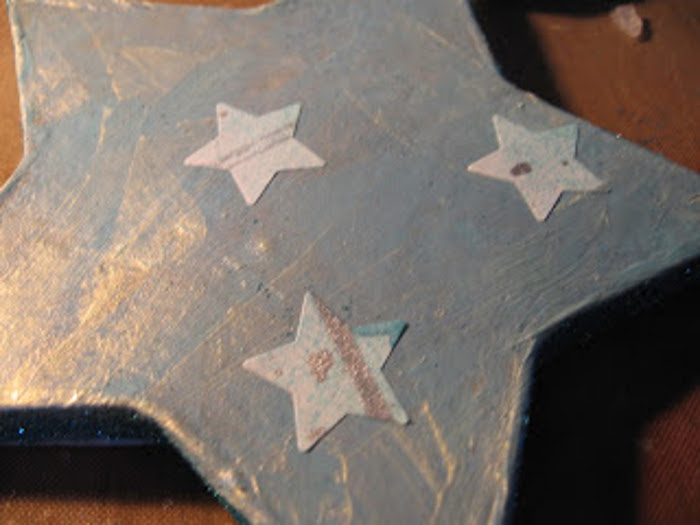
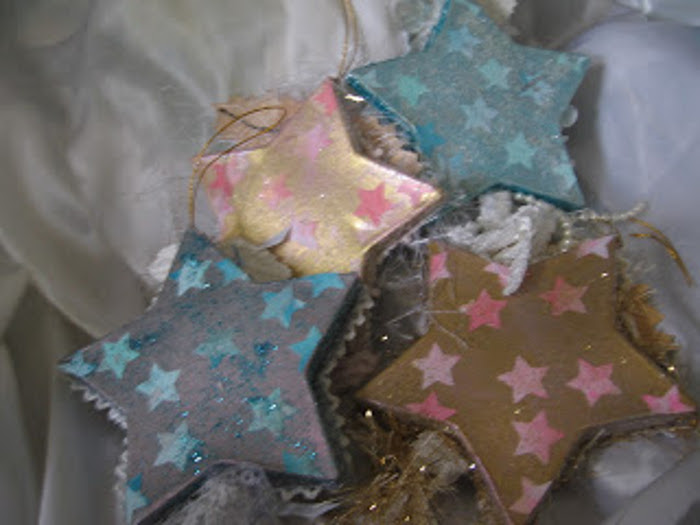
Once the front was dry, it was time to take the decorated Sticky Snippets stars and add them to the back of each ornament. I love these as each star comes out completely different! Once I was happy with the placement of the stars, I gave them a coat of Mod Podge to ensure an extra strong hold that is sure to last for many Christmases to come.
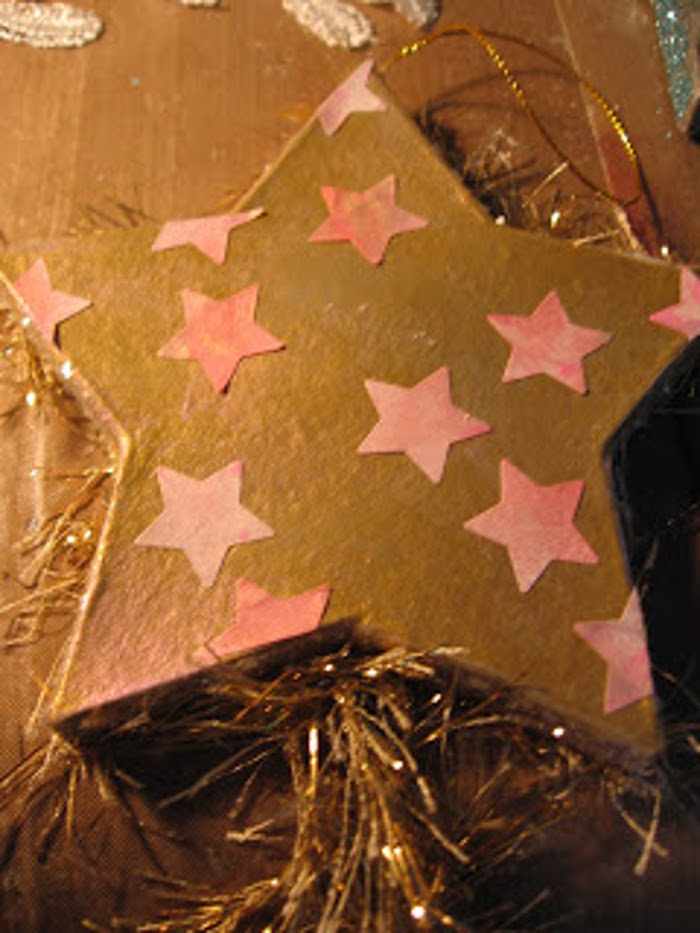
Remember to cut some of your stars in half before adhering them to make them look like they are falling off the edges of the star.
Below are the finished stars, all decorated up and ready for my tree! I added lacy trims, fibres, flowers, and pretty ribbons to the fronts.
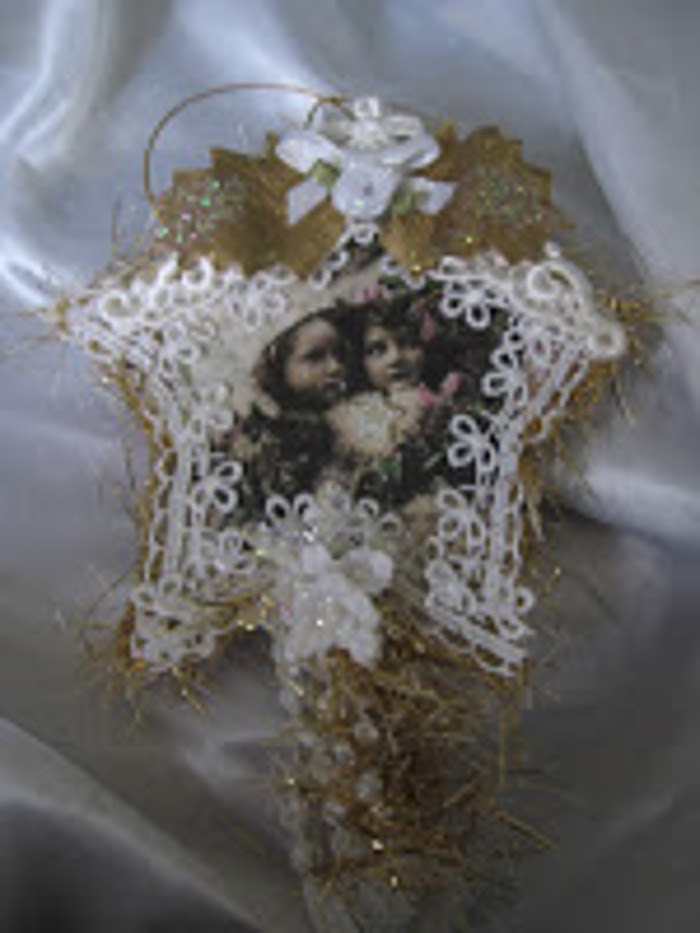
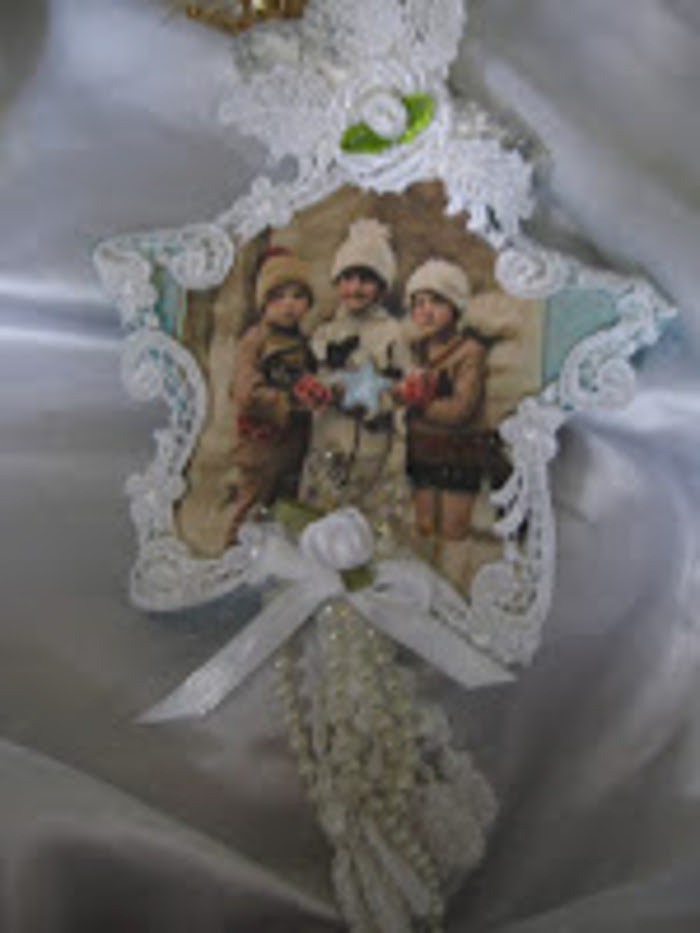
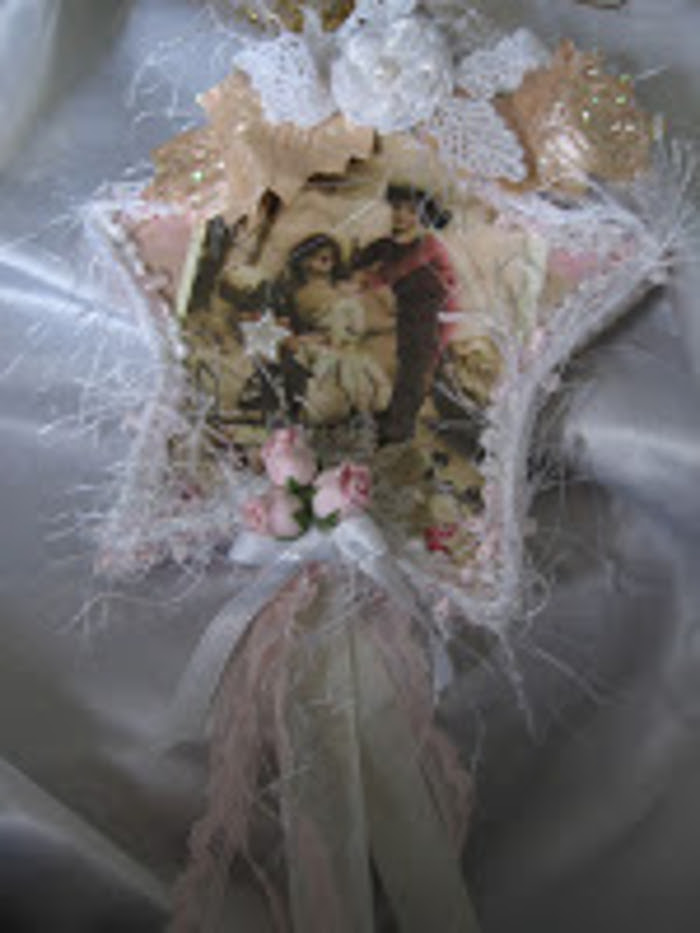
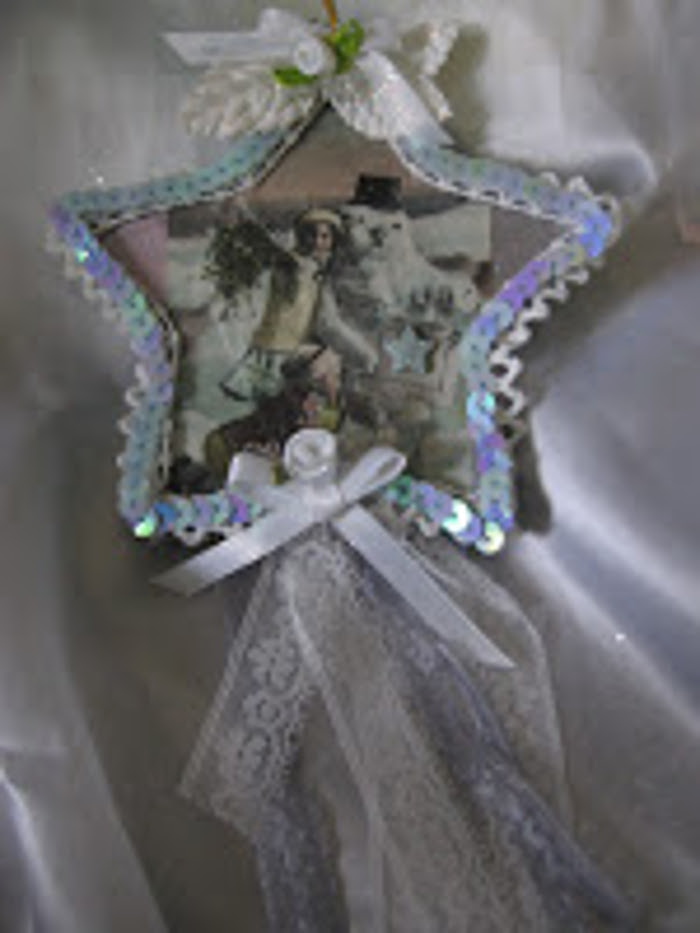
I decided once I had put the Sticky Snippet Stars on the back that the backs needed a little more sparkle, so I added another coat of Mod Podge and sprinkled more of the Martha Stewart Glitter on while it was wet. The result is some lovely sparkly stars which look beautiful front and back!
I hope you will give this project a try. These Sticky Snippets are just great for the holiday season since they come in so many shapes and sizes.
Thanks for stopping by!








Comment
Lovely very nostalgic they would make beautiful gifts Thank you Kim