
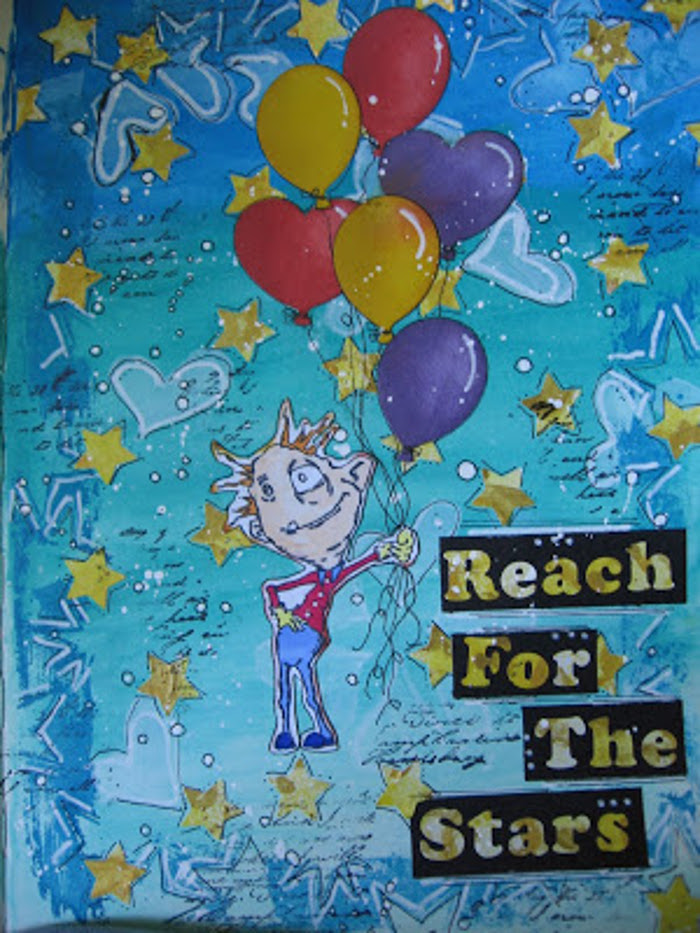
Good morning friends, Kim here today to share the art journal page I created for my Joggles Design Team post.
I had so much fun with this page. It was really a step outside of what I normally do but I really enjoyed making it.
Let’s get started!
Supplies:
Joggles Stencil – Love Twist 10-33788
Joggles/Bloobel Cling Mounted Rubber Stamp – SeeMore Good 56794
Joggles / Margaret Applin Designs Cling Mounted Rubber Stamp – Grunge Stars Border 56778
Sharpie Oil-Based Paint Pen Fine Tip White
Micron Pigma Pen Set – Black 30061
Dylusions Paint – Vibrant Turquoise
Tim Holtz Distress Spray Stain – Scattered Straw
Tim Holtz Distress Ink Pad – Dusty Concord
Tim Holtz Distress Ink Pad – Fired Brick
Tim Holtz Distress Ink Pad – Mustard Seed
Archival Ink Pad – Manganese Blue
Sticky Snippets Alphabetica 57736
Sticky Snippets Small Stars 57738
Finnabair Art Alchemy Acrylic Paint – Metallique Gold Rush and Metallique Ancient Coin
Other supplies: black card stock; white card stock; Prima Art Alchemy Paints – Gold Coin; Elizabeth Craft Designs Balloon Dies; script stamp (such as Joggles/Margaret Applin Designs Cling Mounted Rubber Stamps – Vintage Correspondence); any markers or colouring medium of choice for colouring stamped image; baby wipes.

I started off creating an ombre effect on my art journal page with the London Blue, Vibrant Turquoise, and White Linen Dylusions paint. I used a baby wipe to apply them. These paints go on very easily this way so it is a super fast way to start your back ground!
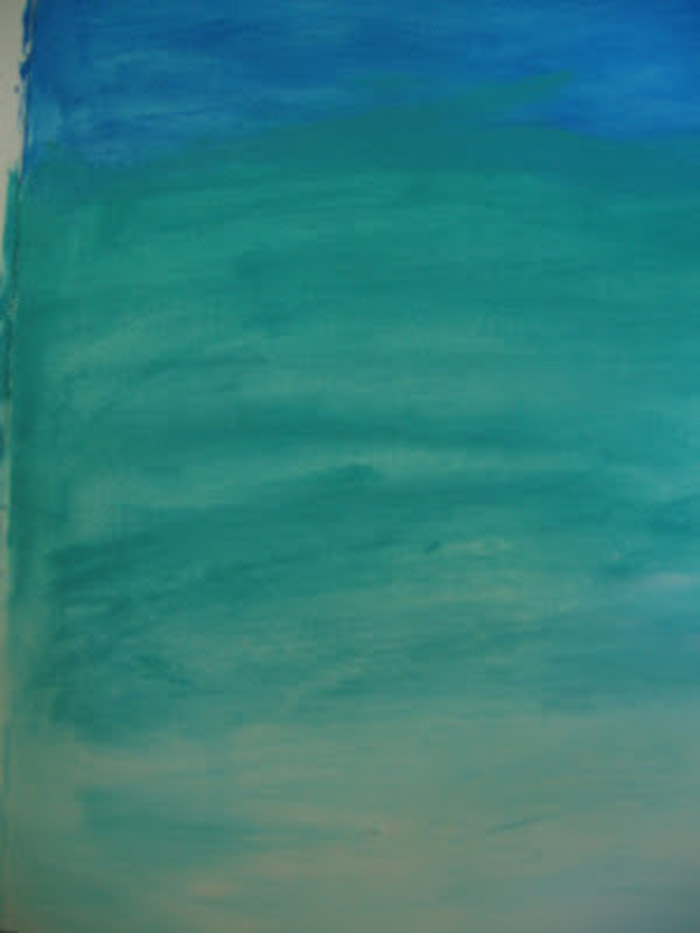
I started at the top of the page with the darkest colour (London Blue), then added the next colour tone (Vibrant Turquoise), blending them where they met. I finished off the bottom of the page with the White Linen paint which I blended upwards into the Vibrant Turquoise to give a smooth look with no harsh lines to the page. Allow this to dry.
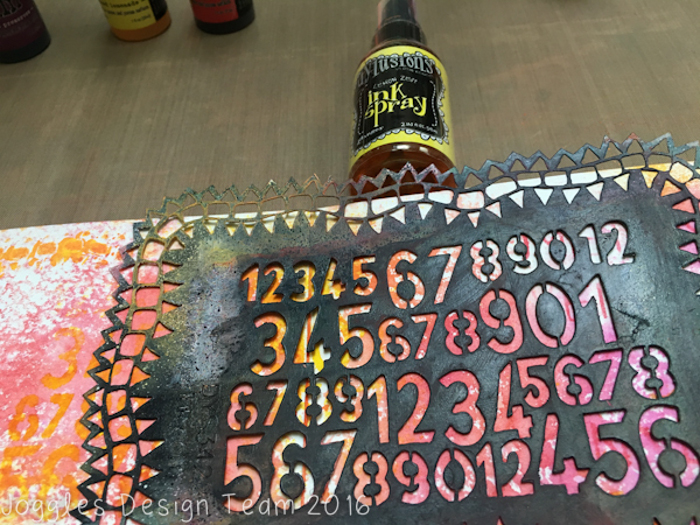
Next, I placed my Joggles Love Twist Stencil over the background and again used a baby wipe to apply White Linen paint through some of the stencil openings onto the page. I didn’t want the paint to be too heavy and by using a baby wipe, I was able to achieve this.

Once the paint was dry, I outlined the hearts with a White Sharpie Fine Tip Paint Pen to give them more definition. I also stamped around the edge of the page with the Joggles/Margaret Applin Designs Grunge Stars Border Cling Rubber Stamp in a coordinating blue ink (such as Manganese Blue Archival Ink), and defined the stars with the white Sharpie paint pen, as well.

Now it was time to play with some Sticky Snippets! I really love these. They are plain labels in a variety of shapes and also in letters, and you can do any mixed media technique(s) on them you wish. Once you have the desired colours and effect on them, you can just peel off the shaped labels and add them to your projects as you wish. I added colour to the small stars sheet of Sticky Snippets with some Scattered Straw Distress Spray Stain and two Finnabair Art Alchemy Acrylic Paints. I just dabbed here and there with the paint and then splattered some white gesso all over the page. You can splatter using a fan brush and slightly watered down gesso or tap a regular paint brush into the watered down gesso and then tap against your finger to flick it onto the background.

Once you peel off the labels and adhere them to the background, you have added wonderful shapes covered with your mixed media technique! In the photo above, you can see how the stars turned out… not bad if I do say so myself!
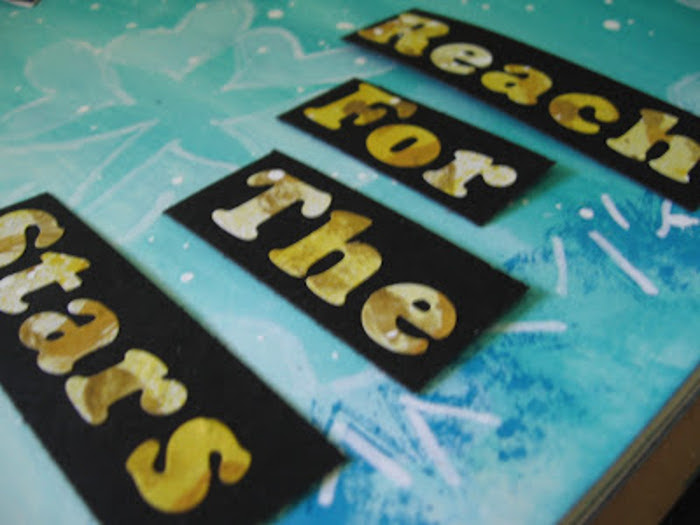
I used the same technique on a Sticky Snippet Alphabetica sheet and mounted the letters I needed to spell my saying onto black card stock to create a more dramatic effect.
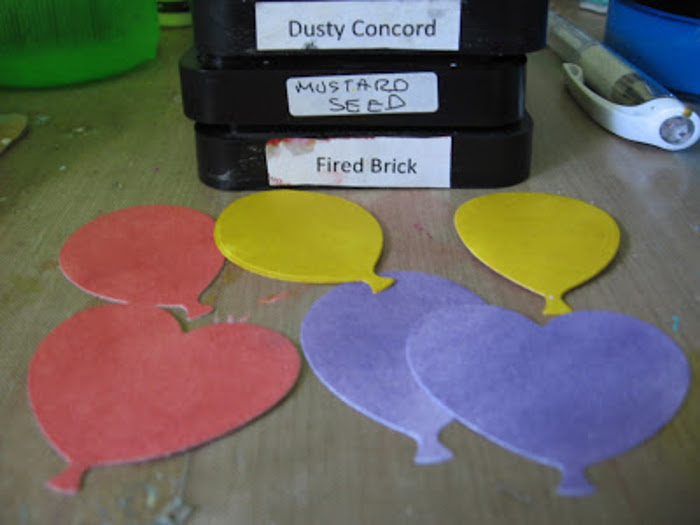
Time to die cut out some fun balloon shapes for our little fella to hold. I cut out six balloons from white cardstock. I used three colours of Tim Holtz Distress Inks (Fired Brick, Dusty Concord, Mustard Seed) to colour them, applying the ink heavier on the left side of each balloon to give the illusion of shading and dimension.

I glued down the balloons in a pattern I liked, and added some strings with my black Micron pen. I also got out the white Sharpie again and added some highlights to the right side of the balloons.

Now it was time to work on SeeMore Good, the Joggles/Bloobel Stamps image I chose for this page. I love this stamp. He is so much fun and although I had to snip off his big thumb (Sorry, SeeMore!) to make it look like he was holding the balloons, I promise he didn’t feel a thing. I coloured him using my Spectrum Noir Markers in various shades until I was happy with his colour tones and funky hair.

I glued SeeMore down and added some loopy lines coming from his hand to make them look like he was clutching balloon strings. I then added a Sticky Snippet below his feet to make it look like he was standing on the point of a star.
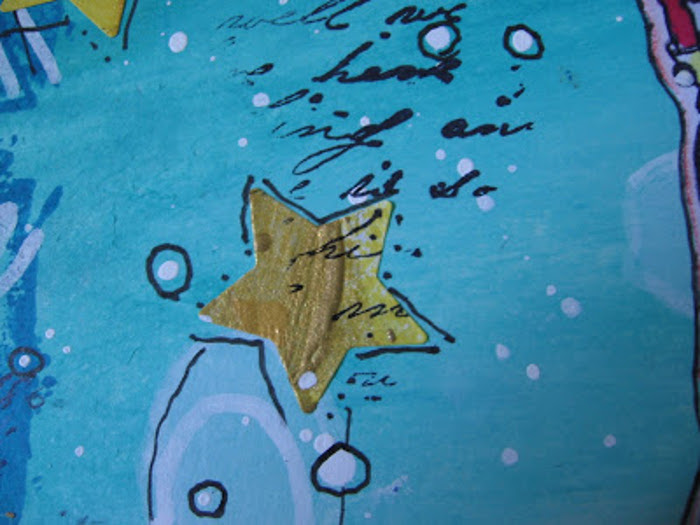
Doodling done with the black Micron pen was added around the stars, hearts, and some of the white gesso splatters for interest. I also stamped randomly around the page with a script stamp using black ink.
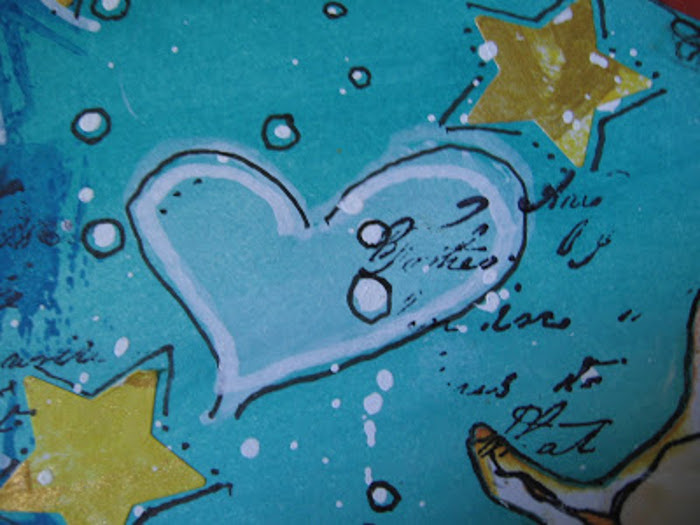
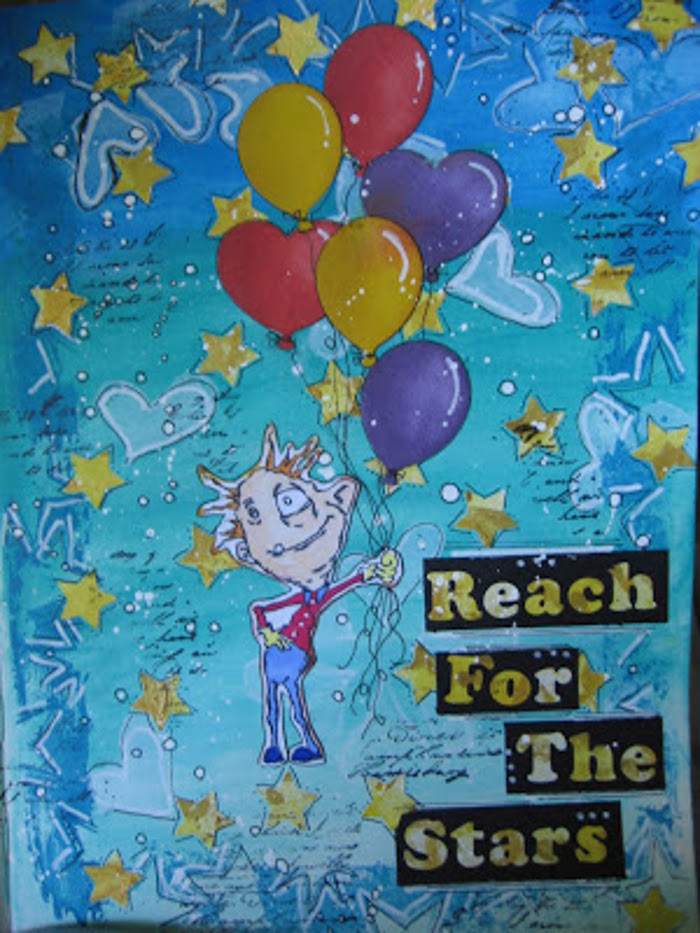
Below is the finished project. I love this page… it makes me smile, and I had so much fun creating with the Sticky Snippets. I know I will be using these on lots of my projects!
Thanks so much for stopping by today, and please check out all the great things Joggles has in their store to feed your creativity!








Comment
Great colorful page! What a fun project.