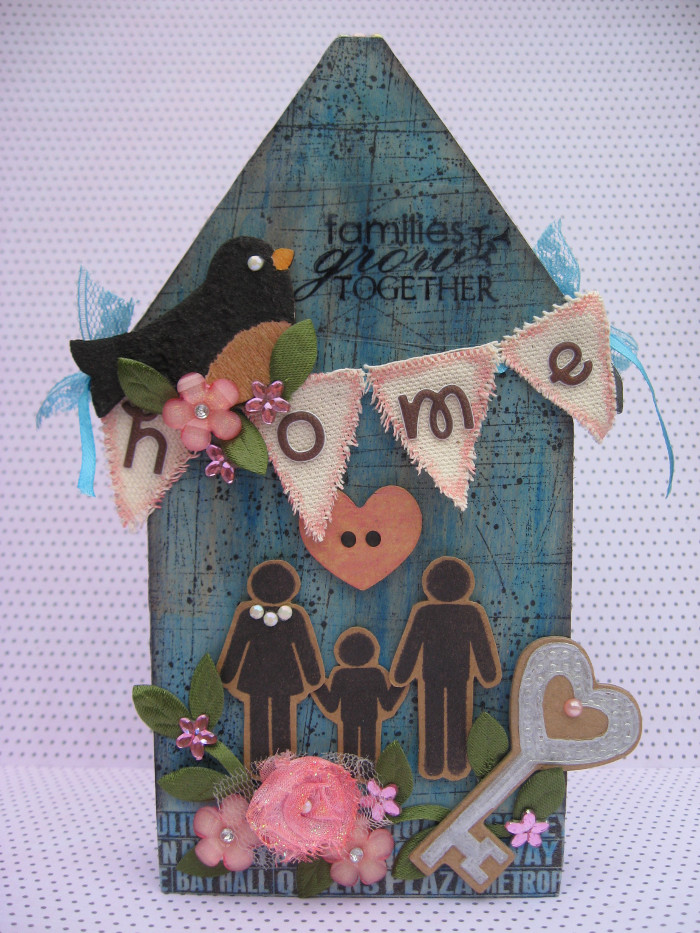
Hello Joggles Fans. I’m Karen and this is my debut project for the Joggles Design Team. I selected a Joggles Wonky Wood House to create a new home gift for my sister & her husband who have just recently moved. Joggles carries a range of eight different styles of Wonky Wood Houses. The wood is beautifully finished and very smooth which makes painting and stamping directly onto it very easy. I just love it when you can get straight to crafting and not worry about any prep work because there were no splinters or rough patches to sand. Let’s get creating!

Joggles Supply List:
Glimmer Mist – Vancouver (Tattered Angels) or Alternative: Perfect Pearls Mist – Blue Raspberry
Stickles Glitter Glue – Star Dust
Heart Button – (Prima) or Alternative: Kaisercraft Wood Flourishes – Hearts
Idea-ology by Tim Holtz – Commute Tissue Tape or (Alternative: Idea-ology by Tim Holtz – Sketch Tissue Tape)
Idea-ology by Tim Holtz – Trimmings- Lavish TH92877
Gelatos (Faber-Castell) or (Alternatives: Tim Holtz Distress Crayons or Caran D’Ache Neocolor II Pastels)
Mini Splatter Stamp and Distressed Scratches Stamp (Stampin’ Up)
Potty People & Quote Stamp – Family Clear Stamp Set AL3450 (Autumn Leaves)
Twinkling H20’s – Summer Fun #29516 – Just Peachy & Mango Freeze (Splash of Color) OR Alternative: Tim Holtz Distress Ink Pad – Tattered Rose
Tim Holtz Water Brush by Ranger – Broad Tip; Fine Detail Nib;
Sharpie Ultra Fine Point Permanent Marker – Black
Silver pen – example: Zig Kuretake Fudebiyori Metallic Brush Pen – Silver
Acrylic Flower Stickers – Vintage Girl Collection (Martha Stewart Crafts) or Alternative: Petaloo Botanica Minis – Soft Pink
Aleene’s Super Thick Tacky Glue
Brown chalk or Alternative: Tim Holtz Distress Ink Pad – Vintage Photo
Ranger Inkssentials Mini Ink Blending Tool
Other supplies: 1/2 inch blue lace; 12 inch length of 1/8 inch blue ribbon; mini gems, pearls, and flower gems; chipboard key; wooden bird; clear mounting block; letter stickers; 3 x 4 piece of acetate (transparency); scissors;
Directions:
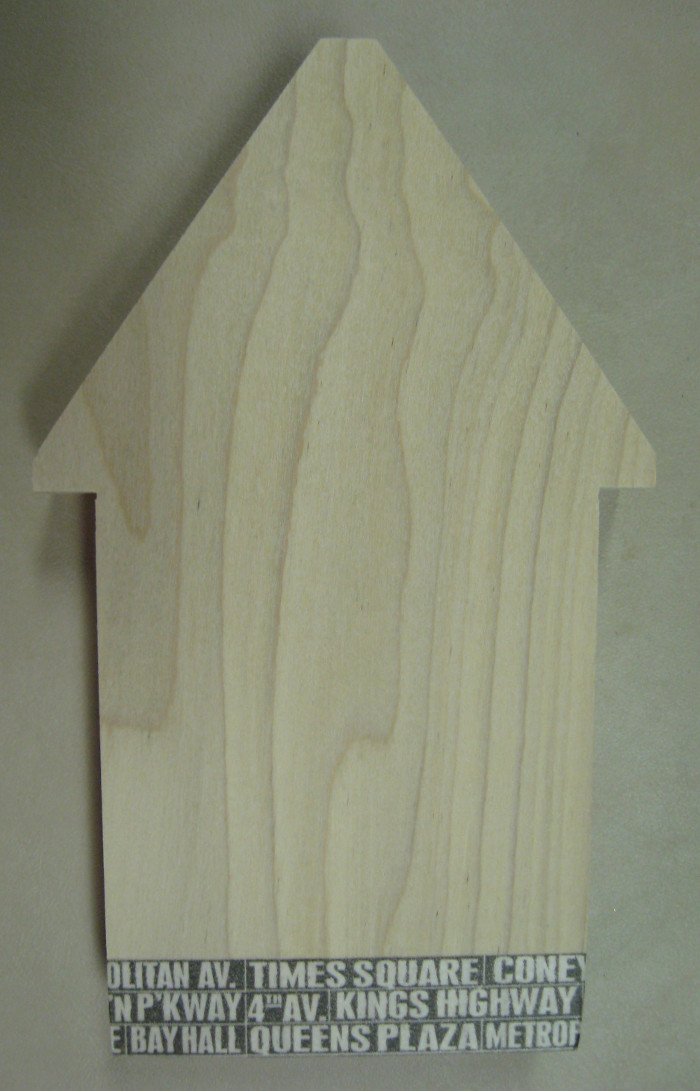
Adhere Tissue Tape to the sides of the wood house and add a strip of it along the bottom edge. TIP: Be aware of the pattern on the Tissue Tape so if it needs to be cut, you can plan the joints leaving the pattern minimally disrupted.
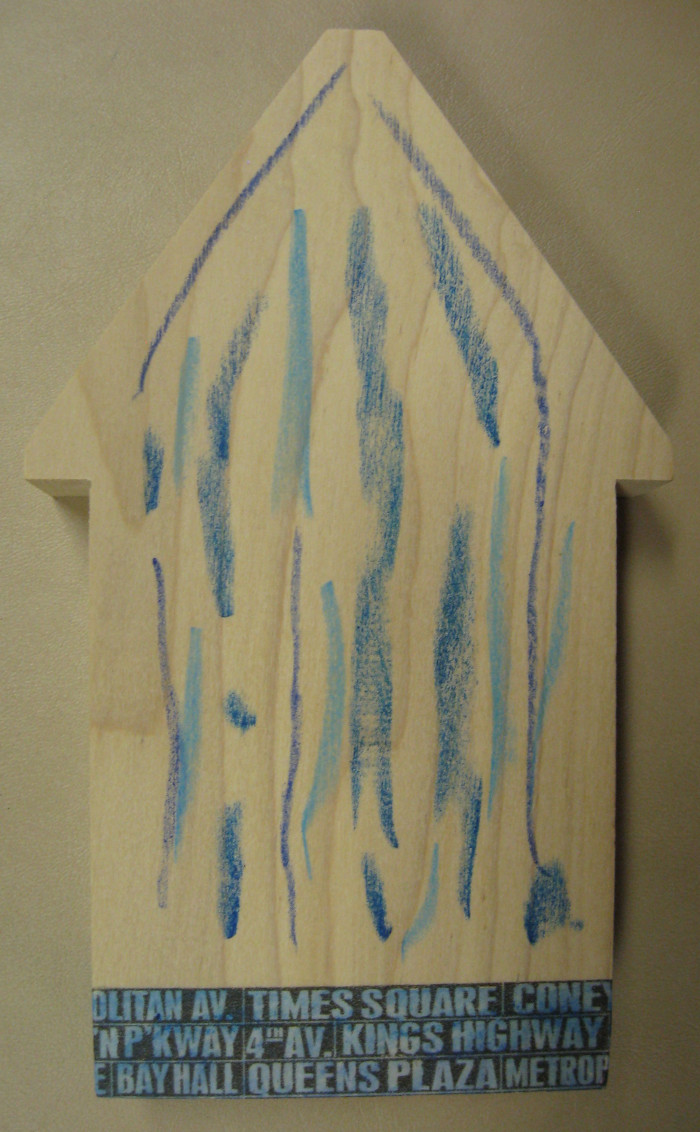
Apply 3 shades of blue Gelato, Distress Crayons, or Neocolor II Pastels in random vertical lines to the wood house. Using water on a brush or your fingers to blend the colors will result in a semi-translucent stain that allows the natural grain of the wood to remain visible.

Continue adding color and blending until the desired intensity is reached. To add a subtle shimmer, squirt Tattered Angels Vancouver Mist (4-5 squirts) or Blue Raspberry Perfect Pearls Mist over the wood house and continue to blend with your finger. Set aside to dry thoroughly or dry with a heat gun. If desired, repeat the process on the back side of the wood house.
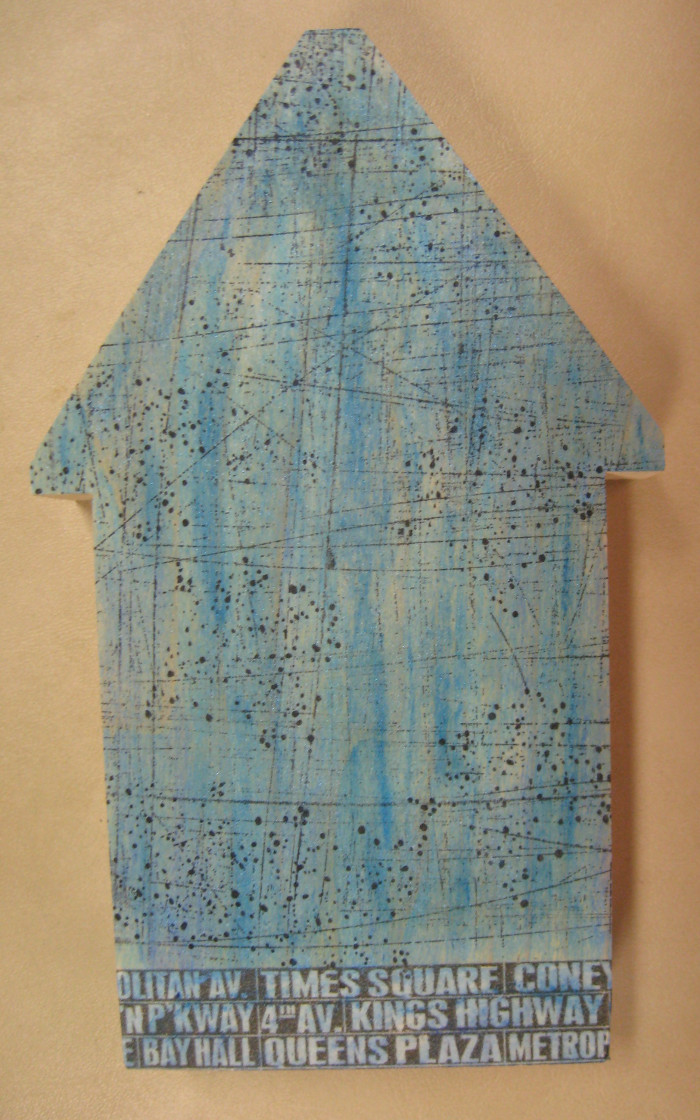
Randomly stamp scratches & splatters over the wood house using Jet Black Archival Ink. When stamping, allow the stamp to overhang the edge of the wood house so the design goes completely up to the edge. Repeat the stamping process on the back if desired.
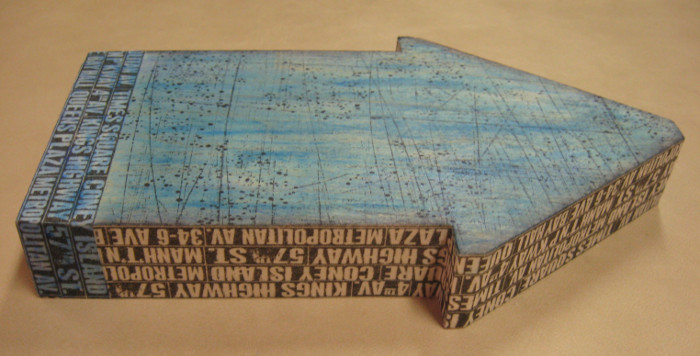
Apply Jet Black Archival Ink to the edge of the wood house with a sponge applicator to subtly shade the edges giving them a hazy or distressed finish.
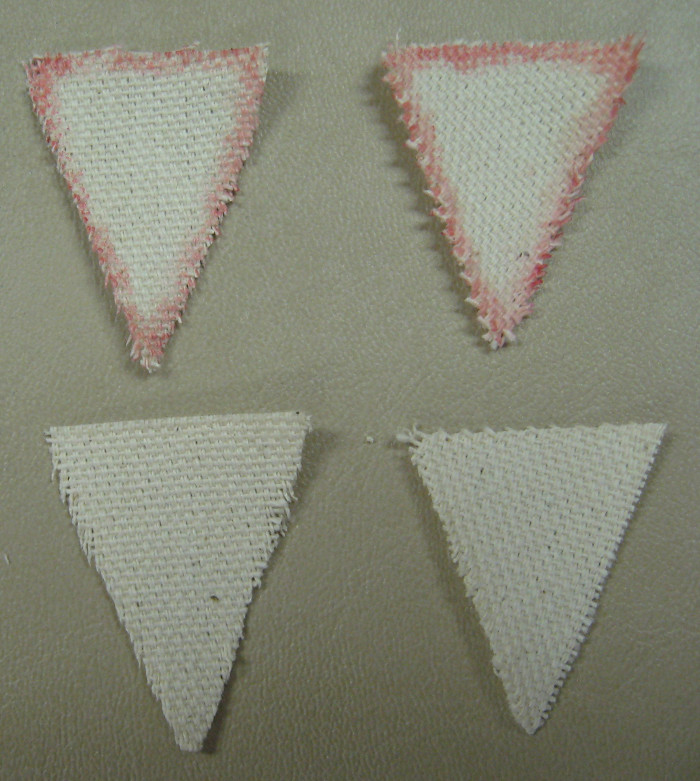
Paint the edges of the Canvas Pennants with Pink Twinkling H20’s (Just Peachy) or using a water brush pick up Tattered Rose Distress Ink smudged onto a craft sheet. Adhere letter stickers to the pennants to form the title.
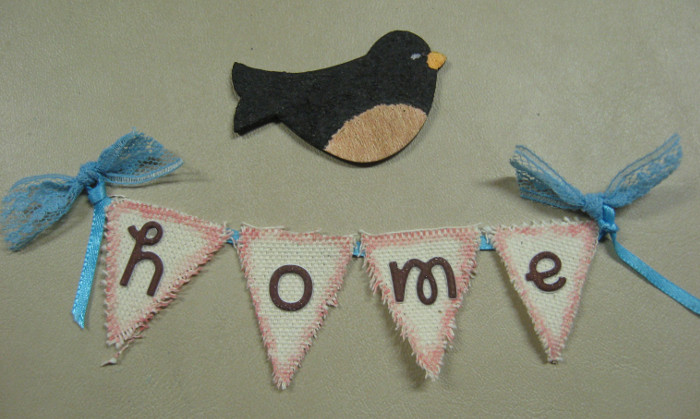
Attach the pennants to a 12″ piece of blue ribbon using double sided tape. Tie a small strip of lace into a knot to form a faux bow at each end of the banner.
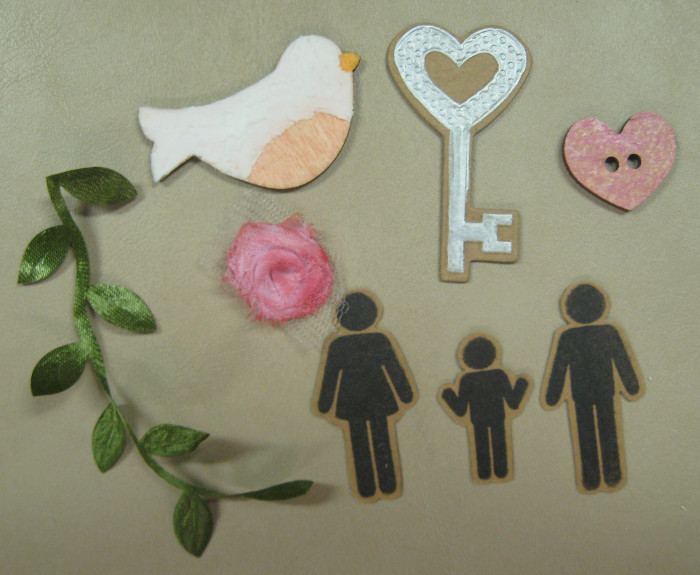
For the embellishments, stamp three people silhouettes onto craft cardstock and carefully cut them out. Cut a single ribbon rose from the Idea-ology trim. Use Twinkling H20s and a waterbrush to color the ribbon rose with Pink Twinkling H20s (Just Peachy) or Tattered Rose Distress Ink. When thoroughly dry, apply a light coat of Star Dust Stickles Glitter Glue to the edges of the petals. Color the chipboard key with a silver pen.
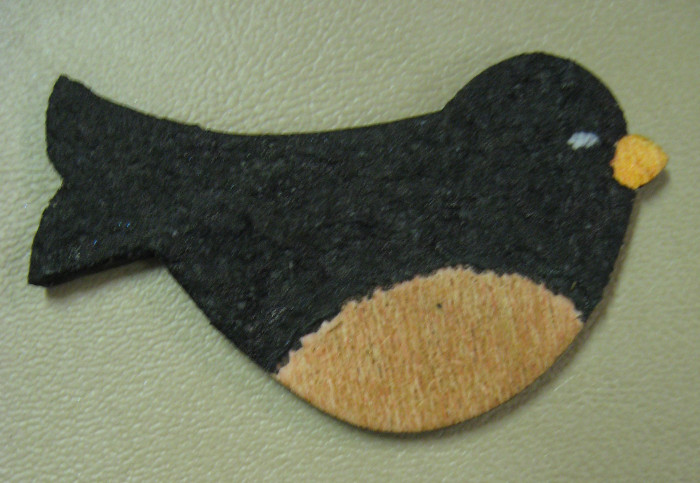
Note: If you don’t have a wooden bird, you could stamp or draw one on chipboard and cut it out.
Use your finger to apply a light coat of Ranger Texture Paste to the bird embellishment by gently tapping your finger into the Texture Paste and lifting it quickly creating small ridges. Avoid adding Texture Paste to the tummy and beak. TIP: Try making a design or striations by dragging a toothpick through the wet Texture Paste. When dry, use a Black Sharpie Marker Pen to color the Texture Paste. Paint the bird’s beak with Orange Twinkling H20s (Mango Freeze) or other watered down paint/ink and color the bird’s tummy with brown chalk or Vintage Photo Distress Ink applied with a water brush. Adhere a small gem for the bird’s eye.
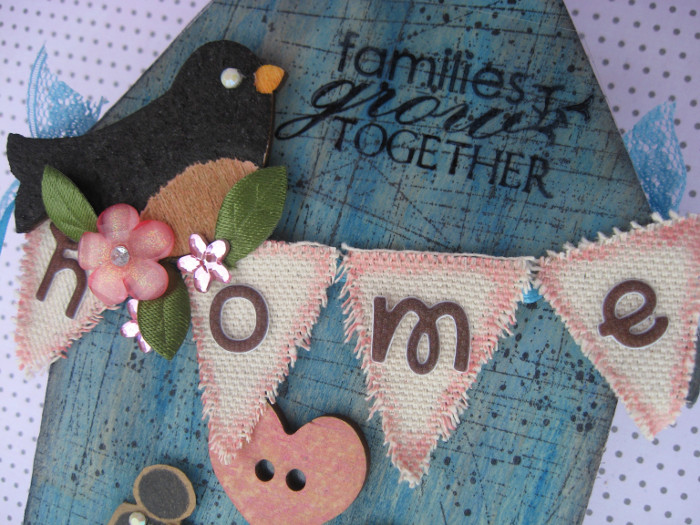
Adhere the pennant banner to the roof of the wood house. Attach the black bird and a small cluster of vine leaves to the left side of the roof so the bird appears to be sitting on the pennant banner.
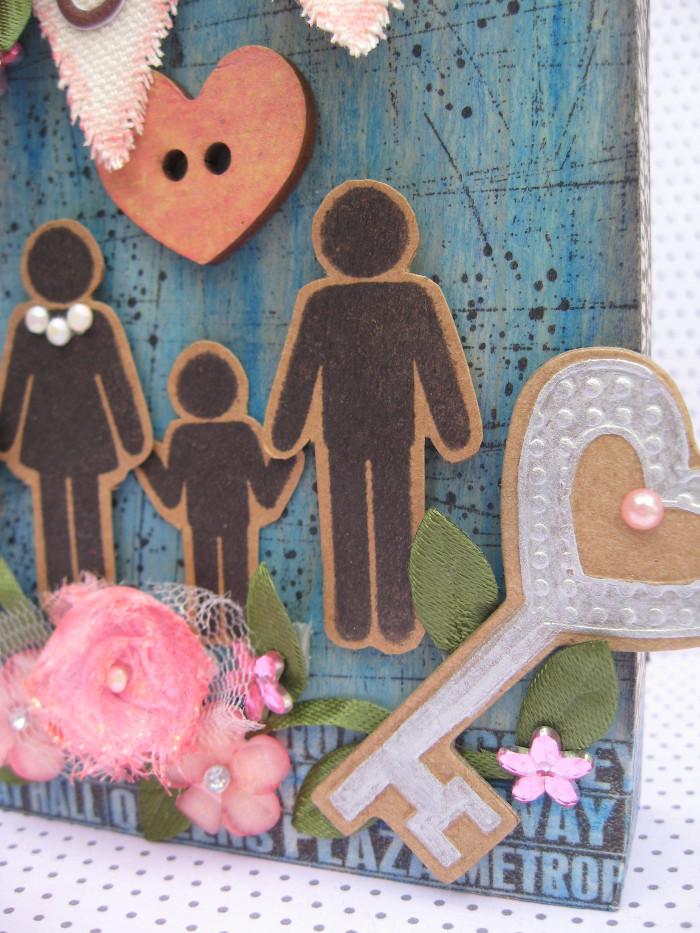
Adhere the stamped people, heart button, chipboard key, ribbon rose, and the strip of vine leaves to the lower part of the wood house using Aleene’s Super Thick Tacky Glue and a toothpick to apply it.

Embellish the wood house with clusters of flower shaped gems. Add a pearl to the top of the chipboard key and glue three small gems to form the woman’s necklace.
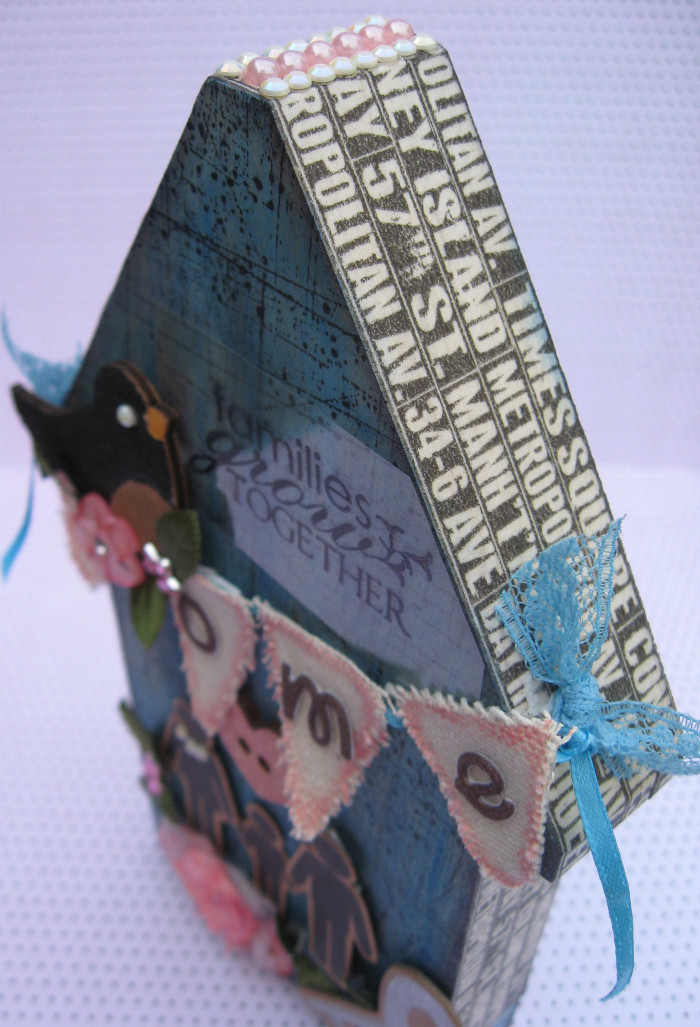
Adhere a row of gems and pearls along the top ridge of the roof.
Thanks for visiting the Joggles Blog today! If you have any questions about the directions, I’d be happy to have a crafty chat with you or if you’d like to see more of my projects, you can visit me at Art & Soul. Happy Crafting!
Karen
Comment
Great job! It shows thought and imagination. Welcome to the Joggles Team. Look forward to more from you.