
Good Morning! Amy here, and today I’m excited to share with you a couple of creepy coffins I altered using a few of Joggles/ Bloobel and Joggles/ Red Wooden Flag cling mounted Halloween rubber stamps. These rubber stamps give a crisp impression every time and the variety Barb carries is AMAZING- there is something for everyone and every occasion! Here’s my tutorial on using these fun stamps to make some Halloween decorative coffins.
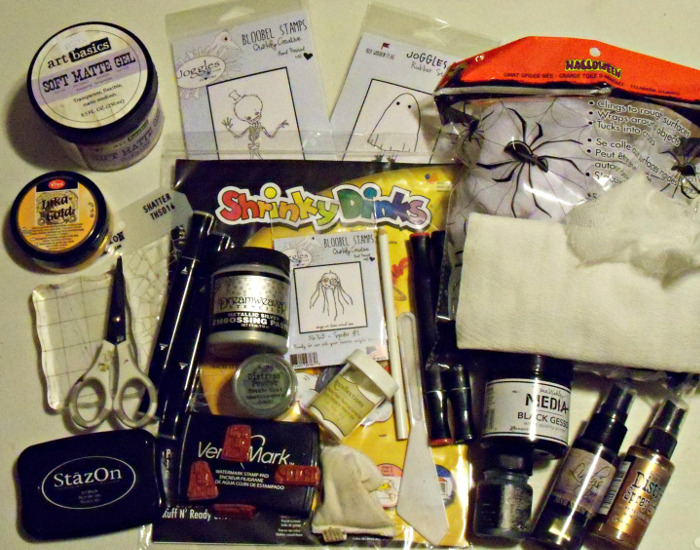
Supplies:
Joggles / Red Wooden Flag Cling Mounted Rubber Stamp – Ghost
Joggles / Bloobel Cling Mounted Rubber Stamp – Top Hat
Joggles / Bloobel Cling Mounted Rubber Stamp – Spider #2
Joggles Clear Acrylic Stamp Mounts
White pencil such as Derwent Coloursoft
Dina Wakley Media Palette Knife
Tim Holtz Layering Stencil – Shatter
Versamark Watermark Clear Ink Pad
Inka Gold by Viva Decor– Gold and Platinum
Tim Holtz Skeleton Cameos (Substitute Tim Holtz Crypt Cameos)
Tim Holtz Metallic Distress Stain Spray- Antique Bronze
Lindy’s Stamp Gang Moon Shadow Mist – Long John Silver
Art Basics Soft Matte Gel (substitute Golden HEAVY Gel Medium – Gloss)
Other Supplies:Spectrum Noir Alcohol Markers, craft scissors, Shrinky Dink Frosted shrink plastic, Dreamweavers Silver Embossing Paste, 2 wood coffins, cotton webbing, Third Coast Halloween Tombstone Stamps, cheesecloth, Weathered Wood Distress Powder, white embossing powder, oven or Ranger Heat It Craft Tool for baking Shrinky Dink, baking parchment paper.
Here is my process:
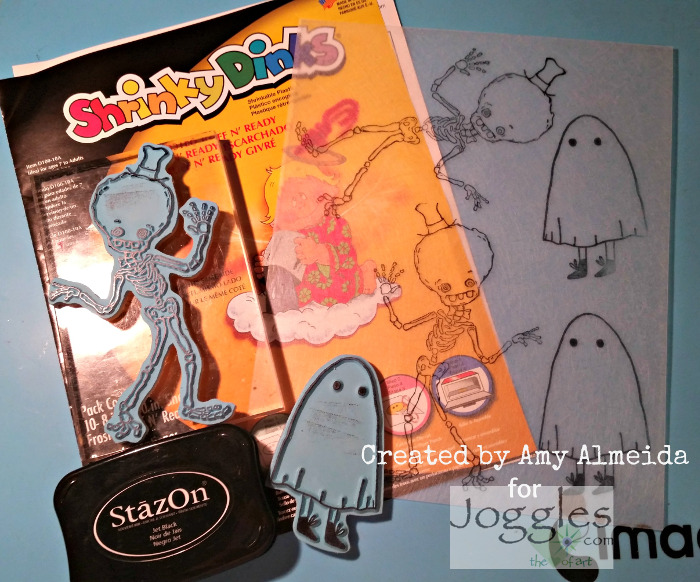
Using an acrylic stamp mount, stamp Joggles/ Bloobel “Top Hat” and Joggles/Red Wooden Flag “Ghost” cling mounted rubber stamps onto the rough side of a sheet of the Frosted Shrinky Dink shrink plastic with Black StazOn Ink.
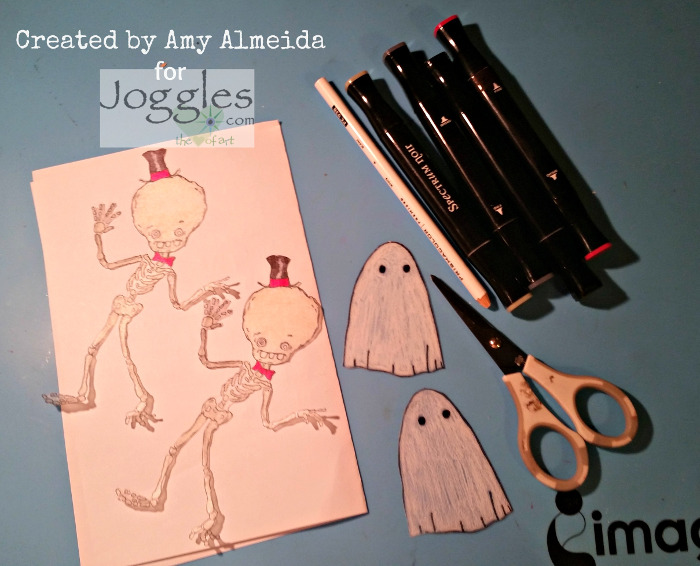
Color the images on the rough side using alcohol makers and, for the ghost, using a white coloured pencil. Fussy cut the images.
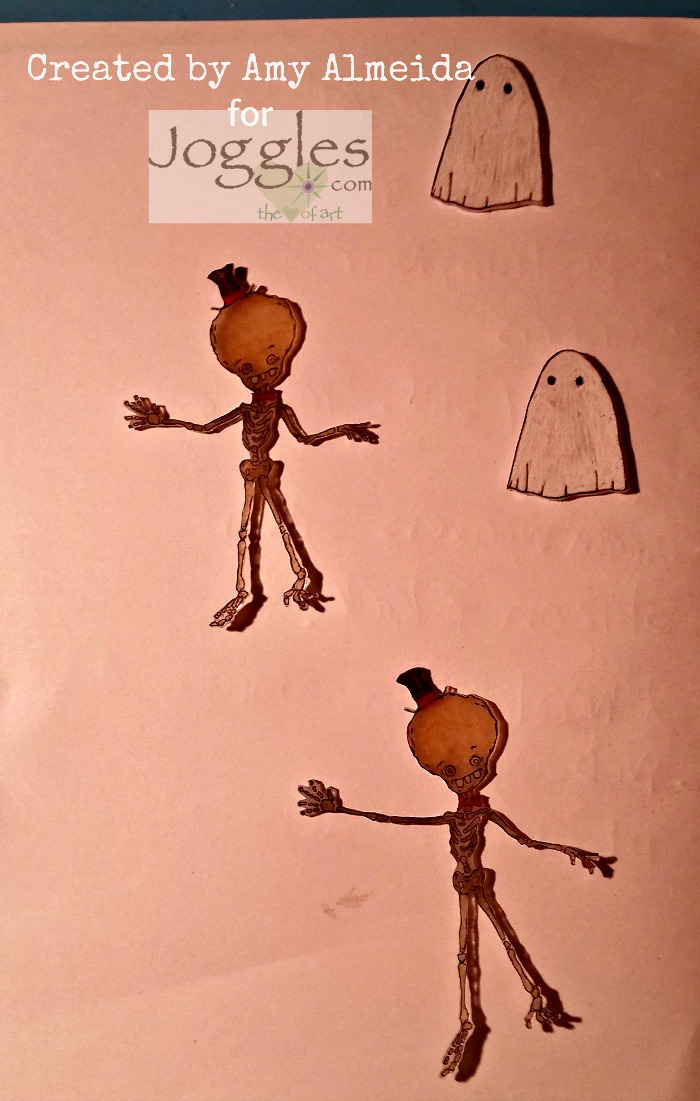
Place the images onto a cookie sheet, on the middle rack of a preheated oven (350 degrees Fahrenheit) and bake for 2-3 mins. Remove from the cookie sheet to cool. HINT: Place the images onto a cookie sheet lined with baking parchment paper and cover with another sheet of parchment paper and then a smaller cookie sheet. This will prevent your images from curling into themselves while baking.
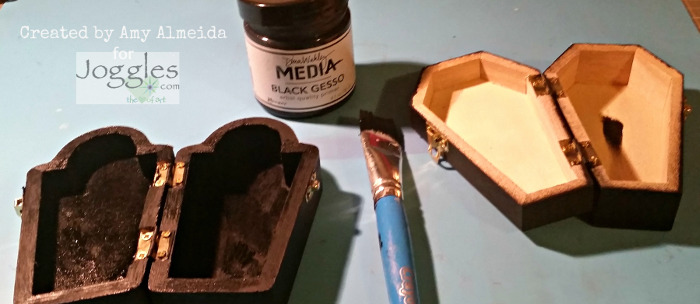
Paint the inside of two wooden coffins with black gesso and let dry.

Spread silver embossing paste with a palette knife through a web stencil such as Tim Holtz’s “Shatter” Stencil. Let air dry completely.
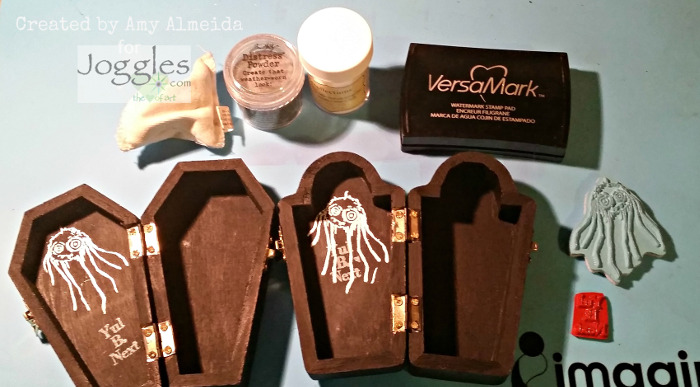
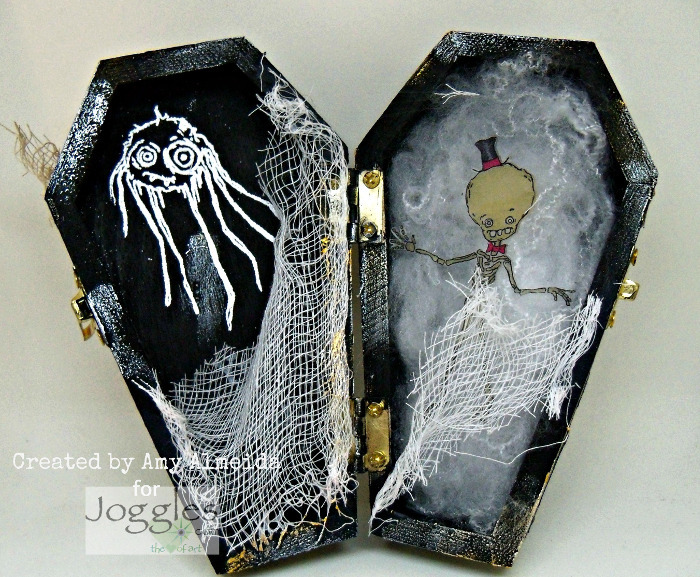
Stamp the insides of coffins with tombstone stamp “Yul B. Next” in Versamark Ink and sprinkle with Weathered Wood Distress Embossing Powder. Set with your heat tool. Stamp Spider 2 by Joggles/ Bloobel with Versamark Ink and emboss with a white embossing powder, setting with your heat tool. I chose white for a contrasting color, but you can emboss with any color you like. :o) HINT: I overlapped the stamps on the one coffin to make it look like the spider was crawling over the “plaque”.

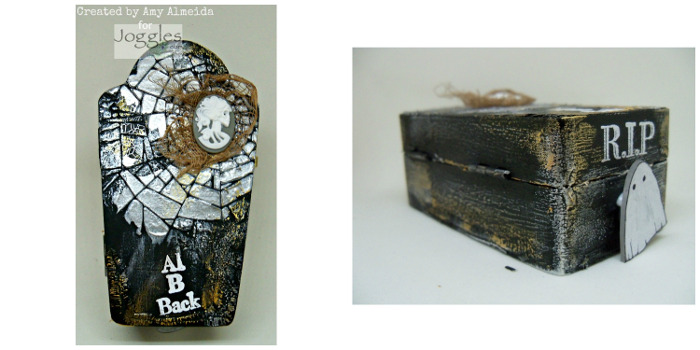
Using white embossing powder and Versamark Ink, stamp and emboss the front of the coffins with several tombstone stamps and set with your heat tool.
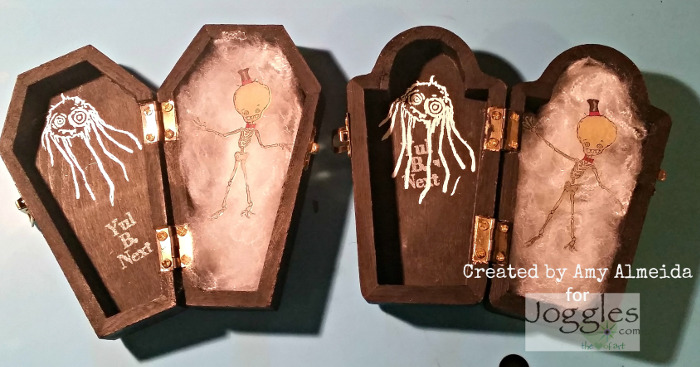
Create a “bed” for the skeletons (Joggles/ Bloobel “Top Hat”) from step 3 inside the coffins using cotton webbing. How cute do the skeletons look inside?? :o)

Cut pieces of cheesecloth in uneven lengths and glue to the inside of the coffin’s lids using Matte Gel. This creates an aged effect like the skeletons have been in there a while and the liners are worn.
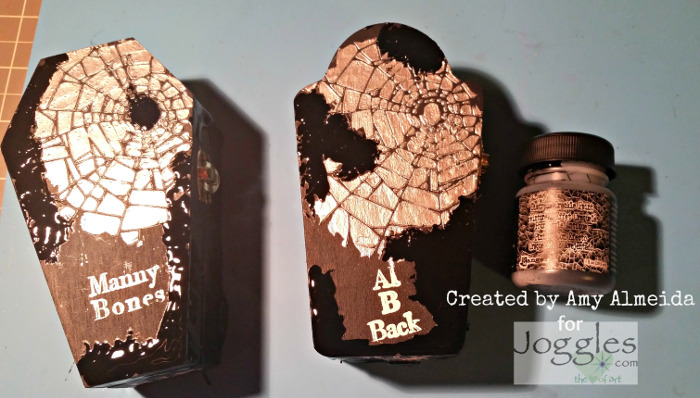
For added texture and to achieve a more aged and distressed look, paint Black Distress Crackle in random spots on the outsides of the coffins and let air dry thoroughly to get the desired crackle effect.
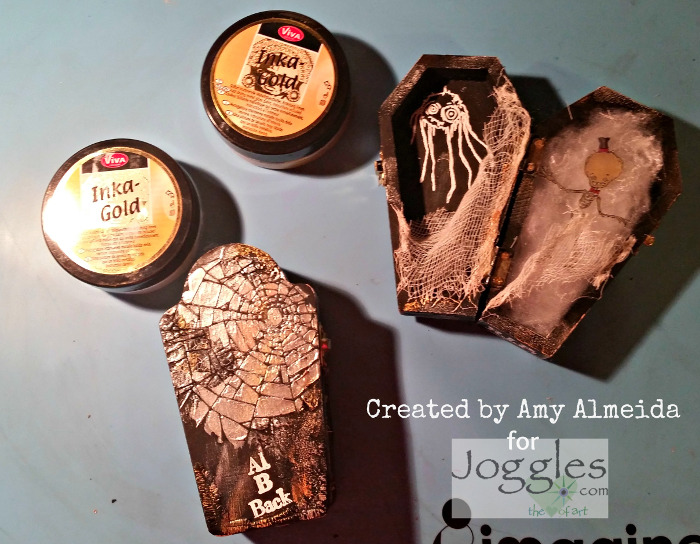
Using your finger, dab gold and platinum Inka Gold onto the coffins (inside and out) to add more aging and distressing.
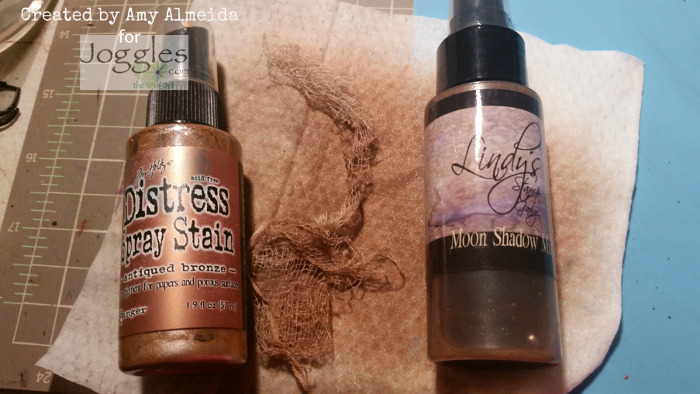
Cut two more uneven pieces of cheesecloth and spray with Antique Bronze Distress Spray Stain and Lindy’s Stamp Gang Long John Silver Moon Shadow Mist. Let dry completely before next step.

Embellish as desired. I adhered the tinted cheesecloth pieces from Step 9 with Matte Gel and then glued the skeleton cameos on top. For the ghosts from step 3, I glued a small black button with Matte Gel and then adhered the ghosts to the buttons with more Matte Gel. This creates dimension and gives the illusion that the ghosts are floating around. :o)

There we have it, two creepy (but cute) coffins that make the perfect Halloween decorations!
Here’s a closer look at them:
I sure hope I’ve inspired you to try out the creepy cute Halloween stamps that Joggles carries and the different way you can use them. Don’t forget to show us your mixed media makes over at the Joggles Art Adventure FB Group; we’d love to see what you create! Thank you for joining me today, and happy craftin’!
Leave A Reply