
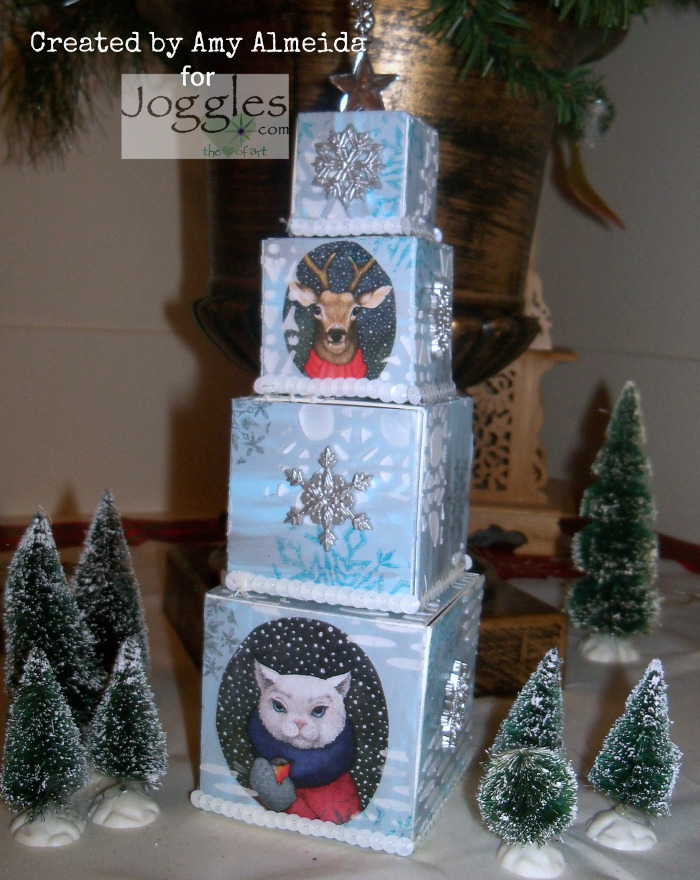
Good Morning, Amy here, and today I have a fun way to decorate with your Artist Trading Blocks using Joggles Artist Trading Blocks and Joggles “Snow Portraits” Collage sheets. Joggles Artist Trading Blocks are cut from Sizzix .047″ thick white mat board and can be used with a variety of different mediums. I had so much fun creating this little Christmas tree and hope you enjoy it too.
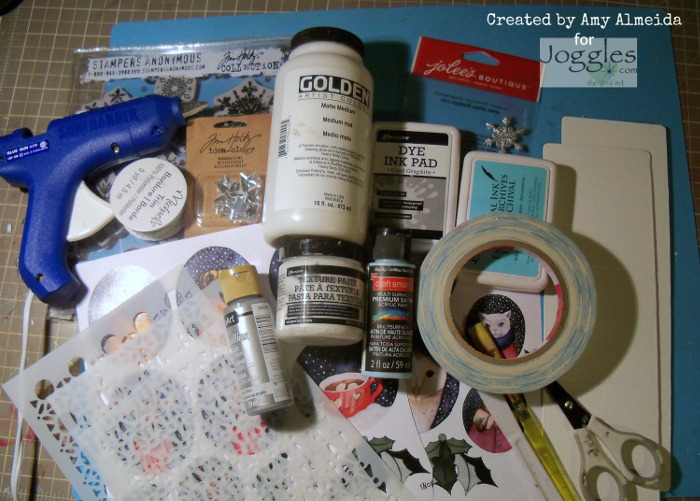
Supply List:
Joggles Precut Mat Board – Artist Trading Blocks: Large, Medium, Small and Tiny
Joggles/Margaret Applin Designs 6 x 9 inch Stencils – This & That #1; This & That #2; This & That #3;
Joggles Collage Sheets: Snow Portrait 1 & Snowy Portrait 2
Dina Wakley Media Palette Knife
Idea-ology by Tim Holtz -Mirrored Stars
SureBonder Dual Temperature Glue Gun
Other: DecoArt Shimmering Silver Dazzling Metallic Acrylic Paint, Craftsmart Blue Sky Acrylic Paint, Scissors, Paint brush (for Matte Medium application), White Sequin Trim, Jolee’s Boutique Silver Metallic Snowflakes, Ranger Dye Ink “Cool Graphite” pad, Hat Pin and Stampers Anonymous Tim Holtz Cling Rubber Stamp “Grunge Flakes” Set
Here is my process:
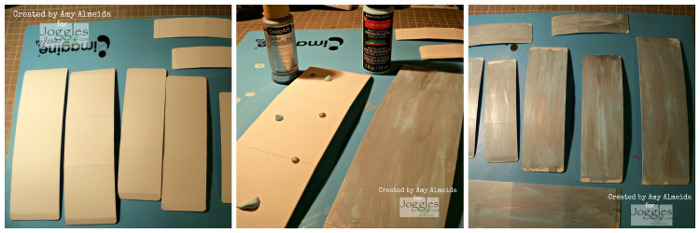
Step 1: Start with 4 different sizes of the Artist Trading Blocks- I used Large, Medium, Small and Tiny here. Using your fingers, spread the silver and blue paints onto your pieces, blending them together until desired color is achieved and let dry completely.
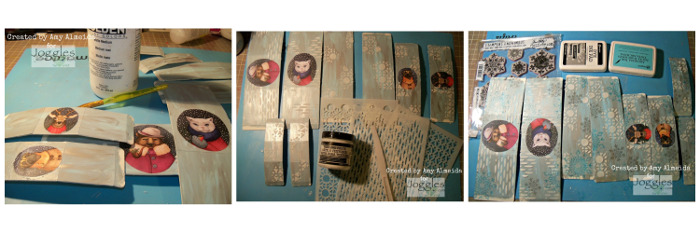
Step 2: Cut out your images from the Joggles “Snow Portraits” Collage Sheets to fit onto two sizes of your blocks- I cut 2 images to fit onto the large block and 2 images onto the small block. Use matte medium to adhere your images to the corresponding block pieces. NOTE: Ensure you are gluing down your image in the correct position so that the images are all upright when the block is put together. I just turned one piece and glued the image the image down opposite of the first corresponding block piece. Ask me how I know this…
Spread Ranger Texture Paste through the new Margaret Applin 6’x9’ “This and That #1-3” Stencils with a palette knife randomly onto your block pieces. I love the Ranger Texture Paste as it goes on smooth and dries quickly. NOTE: Do not add Texture Paste on the flap pieces as it will be harder to adhere your blocks together in the next step.
Once your Texture Paste is dry, stamp snowflakes randomly onto your block pieces. I used the Stampers Anonymous Tim Holtz Grunge flakes in two different sizes in Cool Graphite and Aquamarine inks in order to correspond with the paints I used in Step 1.
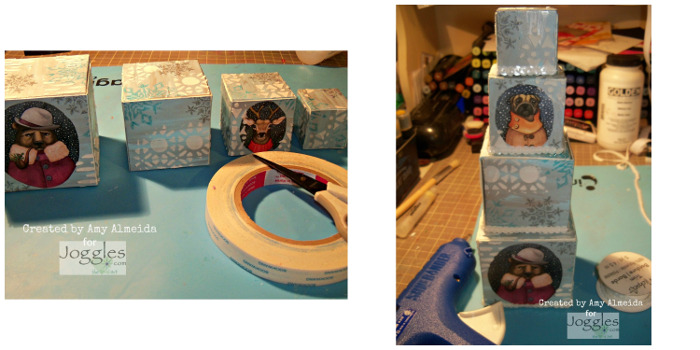
Step 3: Construct your blocks using Scor-Tape. How cute do they look all put together? If you are a visual learner and like to see how they are put together, Barb demos the constructing of these in a wonderful YouTube video here. Next, use your glue gun to adhere the boxes on top of one another and glue a trim of your choice where the blocks meet. I went with small sequin white trim as I thought it added to the Wintery theme of myATB “tree”.
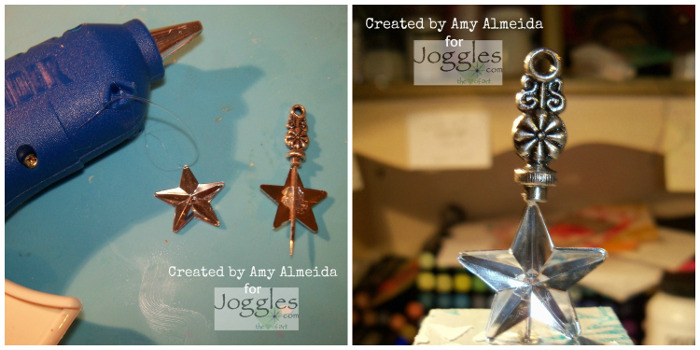
Step 4: Using an antique hat pin, adhere two of the Tim Holtz Mirrored Stars on both sides of the pin with a glue gun – watch your fingers. Add a tiny dot of glue to the end of the pin and poke it thru the top of your Tiny Block (tree top). The glue will keep it from slipping out.
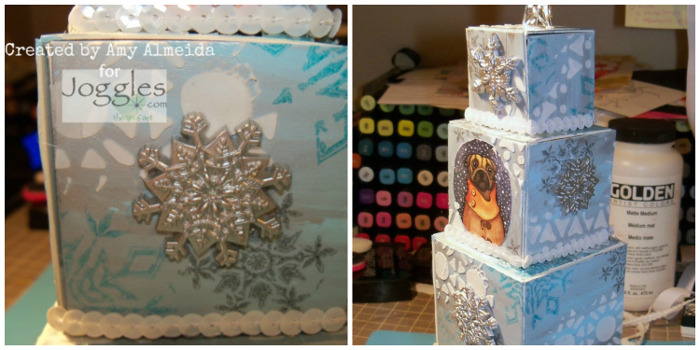
Step 5: Now, use your glue gun to adhere snowflake embellishments to the sides of your blocks- Jolee’s Boutique Silver Metallic Snowflakes were used here. Note: I did not put snowflakes on all sides of the blocks.
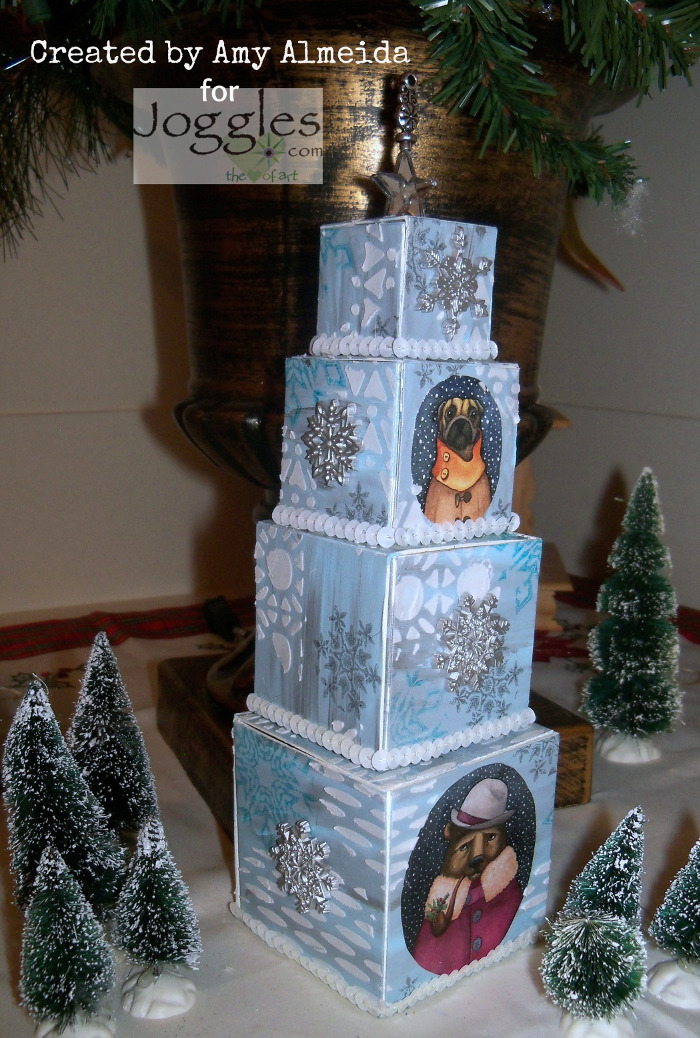
There we have it…a festive silver and blue “Christmas Tree” made out of Joggles Artist Trading Blocks. I sure hope you had fun and give it a try. Mine sure looks cute sitting on my desk.
Thanks for joining me today and happy craftin’!
Amy








Comment
So cute! I love these.