
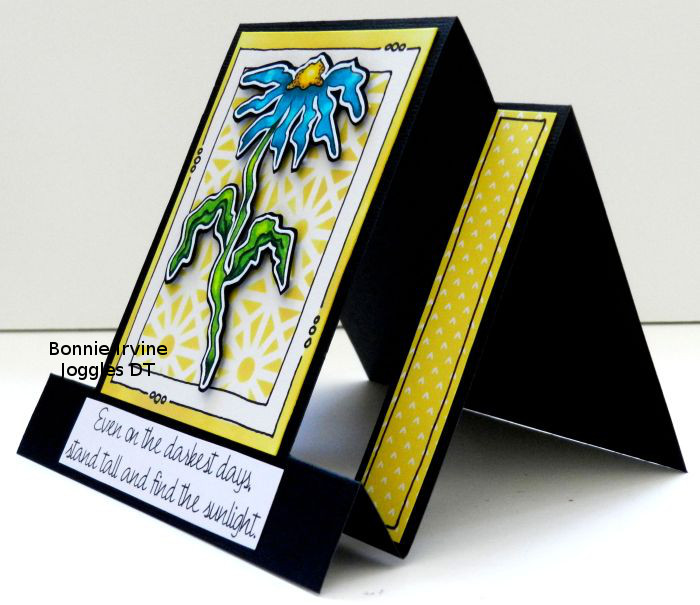
Hi everyone. It’s Bonnie here today with four CAS (clean and simple) center step cards using Joggles Cling Mounted Rubber Stamps and Joggles/Virginia England Cling Mounted Rubber Stamps as well as 4 of the latest batch of Joggles Itty Bitty ATC stencils. I love making this style of card because it’s something a little different and the dimension with the folding and scoring makes it look special without too much fuss. You can see the dimension in the side view above of one of the finished cards.
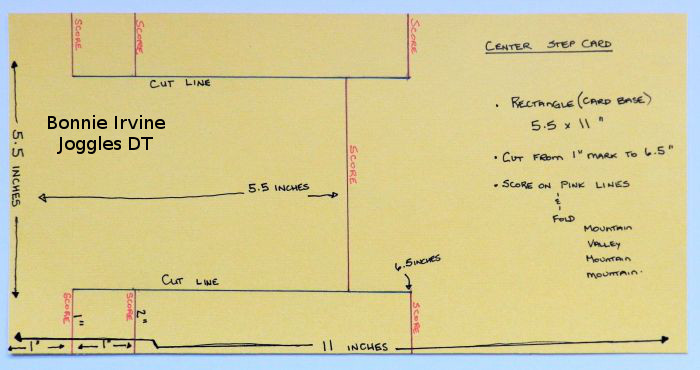
For each card, I began with a 5.5 x 11 inch rectangle of black card stock. I make all of my lines on the back side (inside) of the rectangles all at once so all measuring is done.
- Working from the left edge of the horizontal paper, measure in one inch from the long edge and draw a line from the 1 inch mark to the 6.5 inch mark on both long sides. This will be your only cut line.
- Before cutting those two lines, I also mark the score lines which go from the cut line to the outside edges on both sides at the 2 inch and the 6.5 inch marks. They are marked in pink and say score on the diagram above.
- You also need to mark the score line vertically at the 5.5 inch mark connecting the two cut lines across the card. Do not score to the outer edges on this line. It is the only one that goes across the middle between the cut lines.
- I use an craft knife and a steel ruler to cut the 1-6.5 inch lines and a bone folder and Scor-Buddy to score the other lines but you can do without these tools.
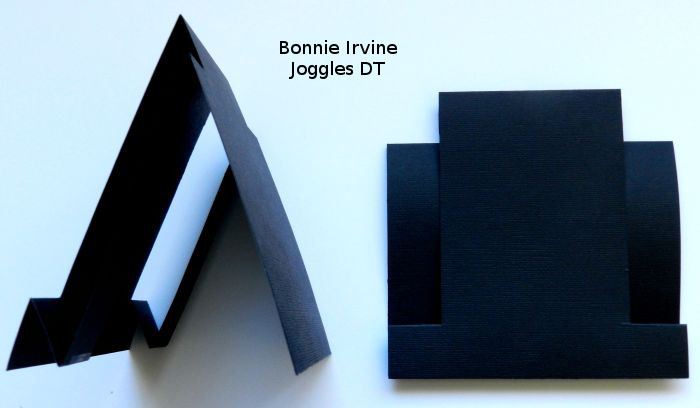
Starting from the left side, the folds on the score lines will be mountain folds at the 1 inch, valley folds at the 2 inch, mountain fold at the 5.5 inch, and mountain folds at the 6.5 inch score lines. The card on the left above shows you the side view once the card is cut and folded and the one on the right shows the front view. There are lots of videos demoing this type of card if you are more of a visual learner.
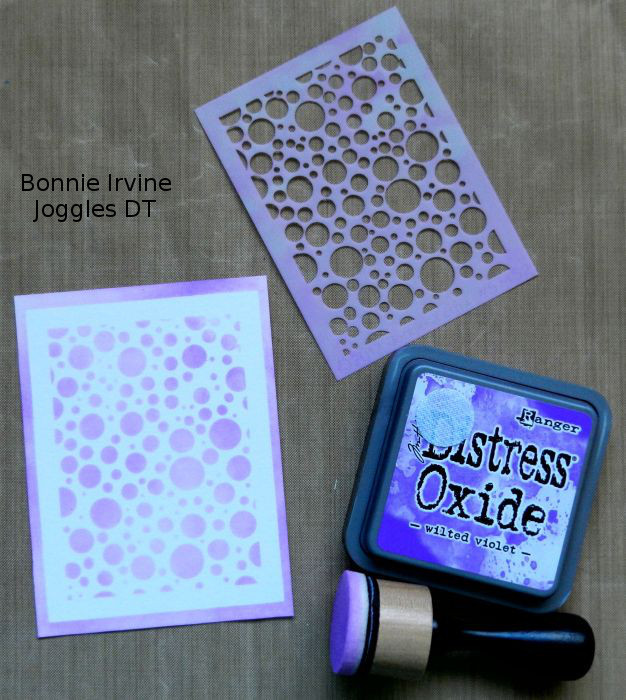
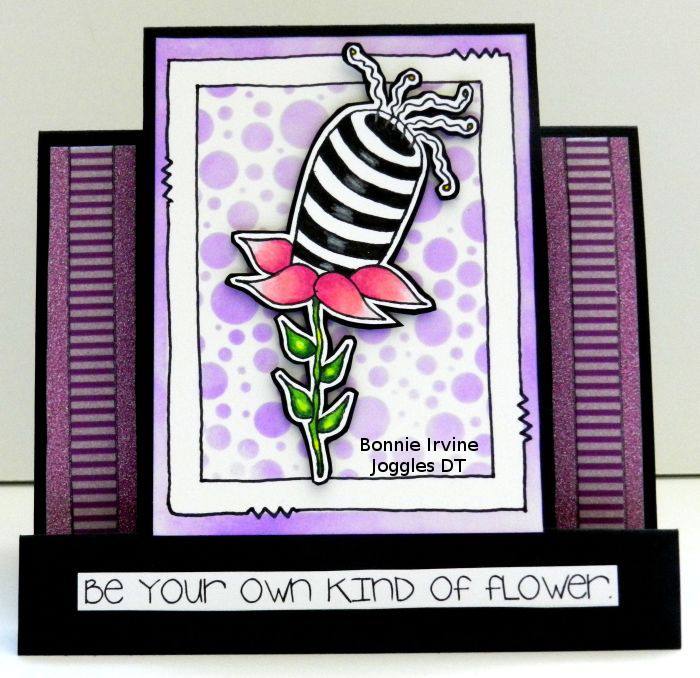
Four 3.25 x 4 and 3/8 inch rectangles were cut for the backgrounds on the center sections of my four cards. On the first background, Joggles Mini Bubble Blast Itty Bitty ATC Stencil was centered over one rectangle. Using a mini ink blending tool, Tim Holtz Wilted Violet Distress Oxide Ink was applied around the stencil edges and through the openings to create a framed pattern.
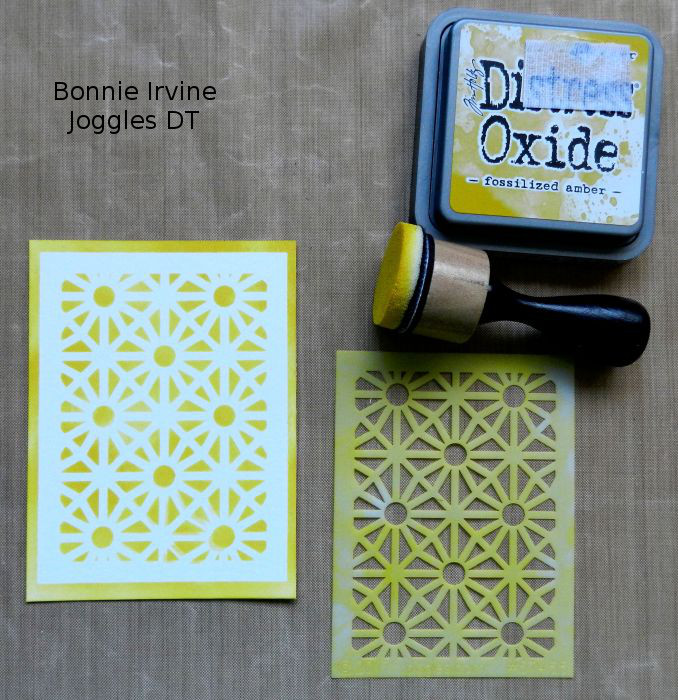
On the second background, Fossilized Amber Distress Oxide Ink was applied around the edges and through the openings of Joggles Spokes Background Itty Bitty ATC Stencil.
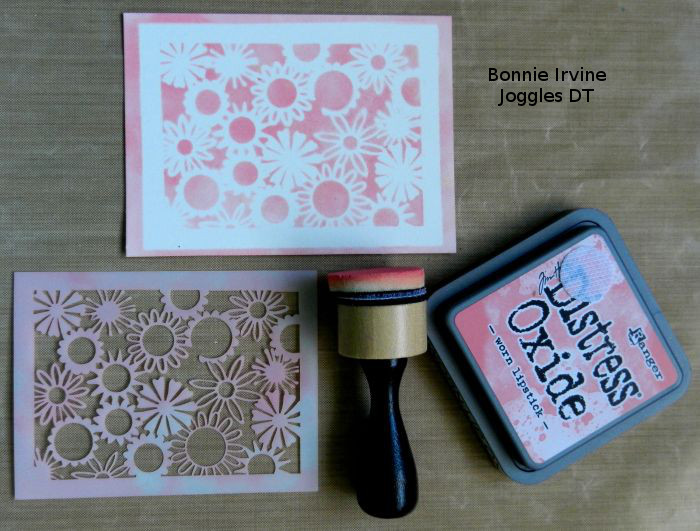
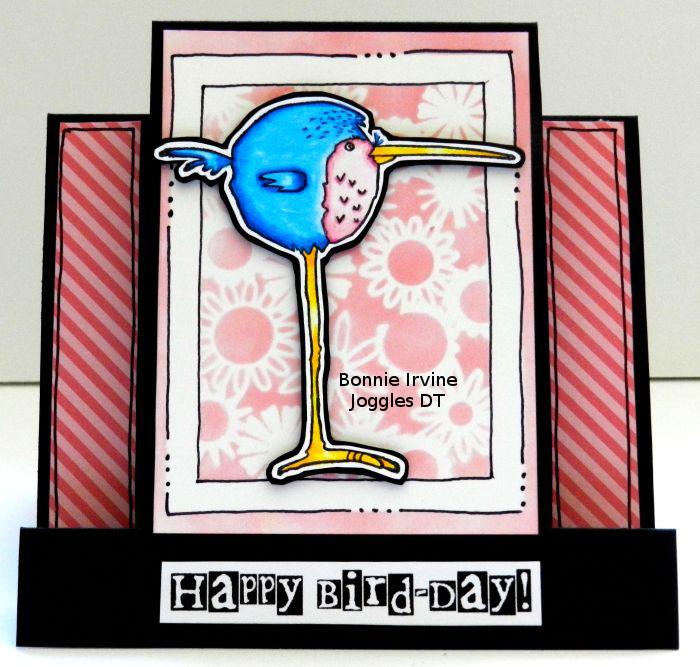
Worn Lipstick Distress Oxide Ink was applied around and through the openings of Joggles Mini Floral Fantasy Itty Bitty ATC Stencil to create the third background.
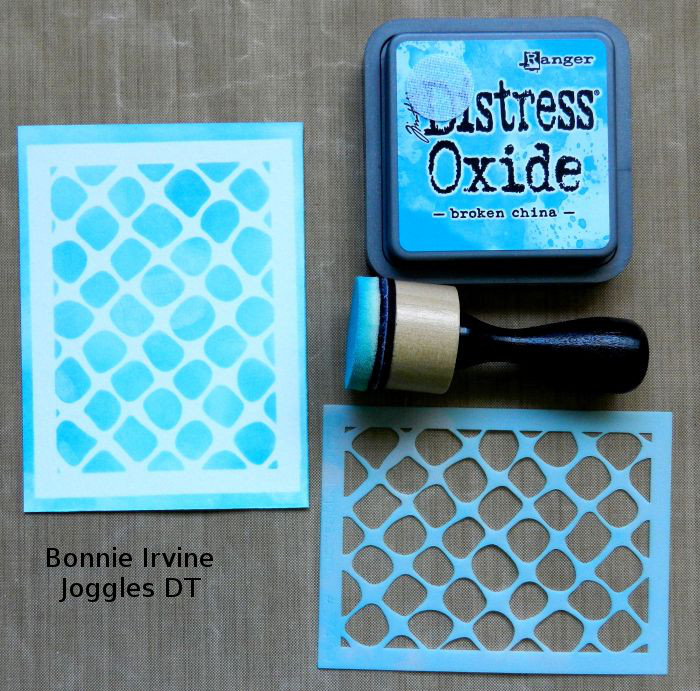
To complete the final background, Broken China Distress Oxide Ink was applied around the edges and through the openings of Joggles Chain Link Itty Bitty ATC Stencil. All were left to dry thoroughly which takes a little longer with the Distress Oxide Inks.
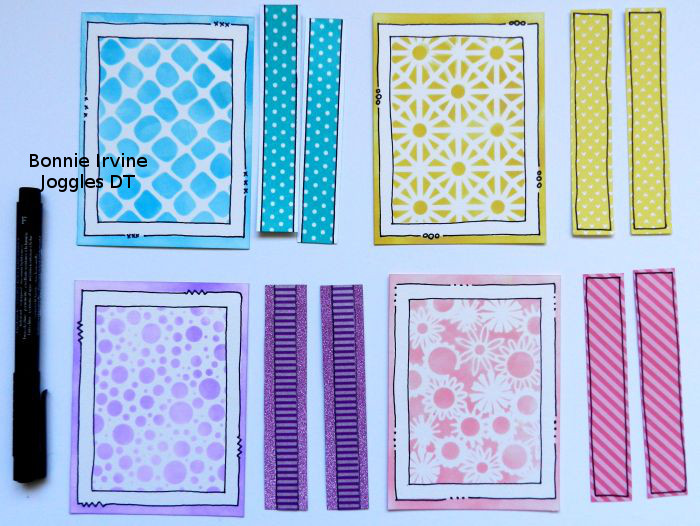
Once dry, a fine (F) black Faber Castell Pitt Pen was used to outline the two borders and emphasize the framing. A different design was used on each of the outer borders. Two rectangles measuring 4.25 x .75 inches were cut from scraps of designer paper or washi tape applied to card stock to coordinate with the stencilled center panels. These will decorate the side panels of the card fronts.
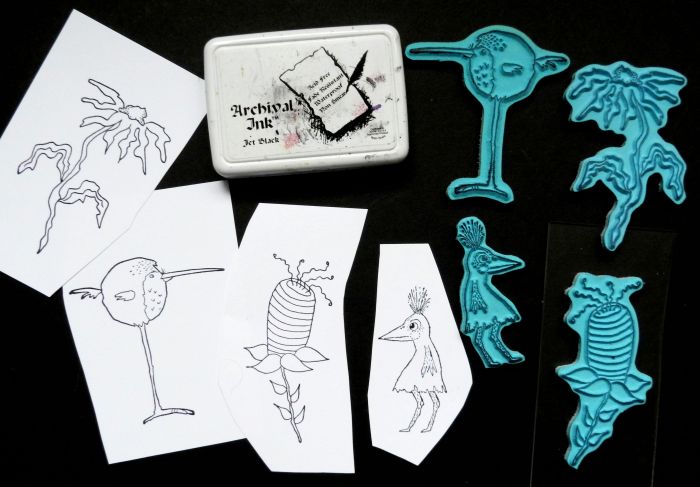
For the four card focals, Jet Black Archival Ink was used to stamp Joggles The Bird Edgar and Loretta Cling Mounted Rubber Stamps as well as Joggles/Virginia England Funky Flower #10 and Funky Flower #13 Cling Mounted Rubber Stamps onto white card stock.
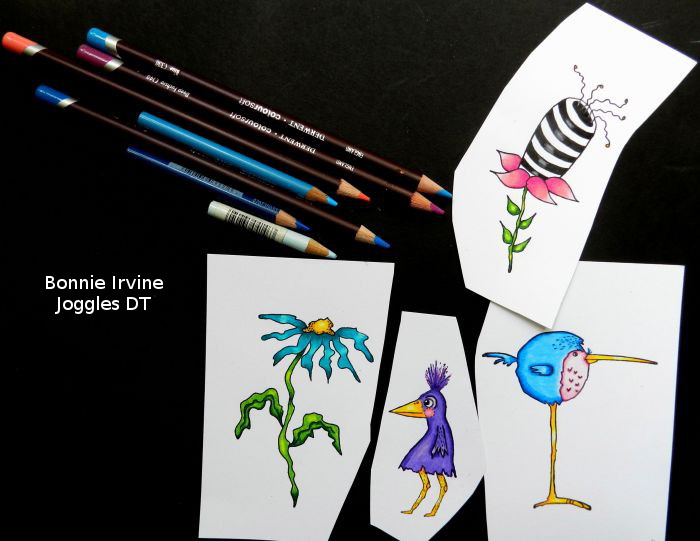
Derwent Coloursoft Pencils as well as Prismacolor pencils were used to colour the images before they were fussy cut leaving a narrow white border.

Each image was then adhered to black card stock, fussy cut leaving a narrow black border, and popped up on Scrapbook Adhesives 3D Self Adhesive Foam Squares to create dimension and shadow.
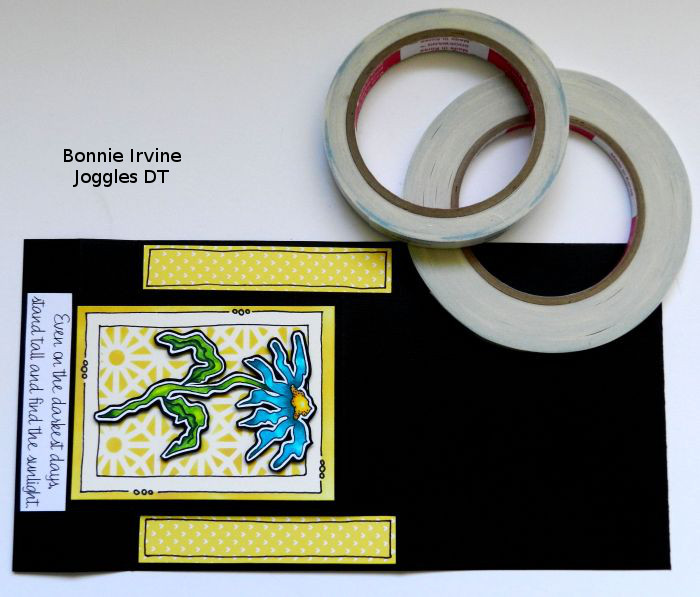
Scor Tape was used to attach the stencilled background to the center section and the side strips to the 1 inch side panels of each card, leaving a black border around each element by centering the pieces. Sentiments were printed onto white card stock, trimmed down, and adhered to the one inch strip along the bottom of the card. These are easier to attach with the card laying flat. The image was then adhered to the center background.
Here are the finished cards:

The message and your signing can either go on the back of the card or inside it on the back piece. I usually just put it on the back because I sometimes have pencil marks on the inside if I didn’t get them all erased.
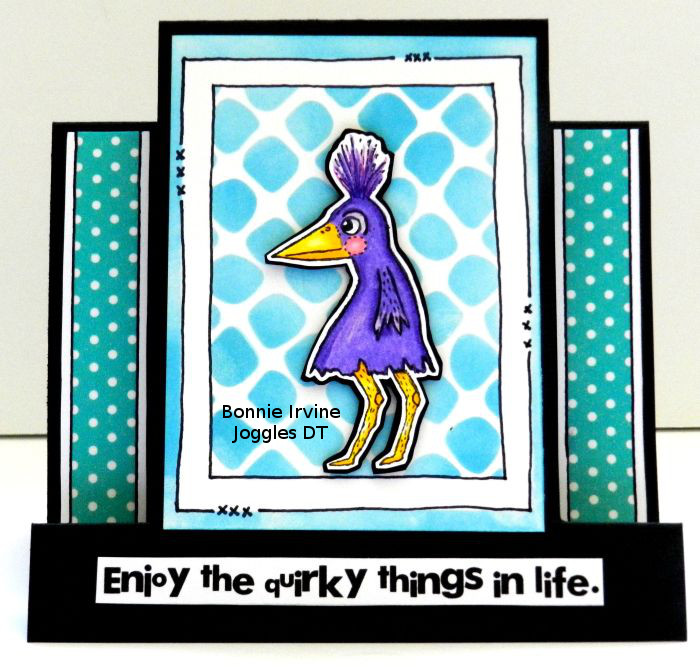
These cards can be easily altered to different sizes by starting with a different size paper. The score line across the middle section goes at the half way point of the entire length and the next line goes 1″ above that. If you want bigger side sections, change the width of the paper and make them wider.
Thanks for joining me today! There are also variations of the step cards (side step, etc.) which are fun to play with. Maybe we’ll explore those another day 🙂
Bonnie








11 Comments
These made me smile on a rainy morning. Just love them and they look fun to make.
Thanks, Terry. They were a lot of fun to create. It’s raining here, too, and your comment brought me a smile so we’re even…LOL
Your work is absolutely lovely! Thanks for sharing with us how to accomplish these cute cards.
Phyllis, what a wonderful comment! Thanks for your kind words.
Really enjoyed your cards and look forward to trying to make some!
Thanks, Terry. Let me know if you get stuck and I will happily help. I’d love to see what you create.
Fun cards! LOVE the ATC stencils and the “Be your own kind of flower” stamp.
Thanks so much, Michele. I love the ATC stencils, too. They are so versatile with those smaller size openings. The Funky Flower stamps are a lot of fun to play with.
Beautiful work as always! Love the new stencils, and Edgar is always a star!
Thanks, Faye! You and I have the same fondness for Edgar. He’s right at home wherever he goes 🙂
Great cards Bonnie