
Hi everyone. It’s Bonnie here today with the Week 26 prompt for the 2017 Art Journal Adventure. My prompt for this week is Mystery which could refer to books or movies like I did on my page, or the mysteries of nature, perhaps, or maybe you will include a mysterious technique, mark making tool, or supply. It’s totally up to you and your muse to decide where your page takes you. I love to read mysteries and I wanted to pay tribute to that in my art journal. I had this idea of using a silhouette of Sherlock Holmes but that’s as far ahead as I had thought.
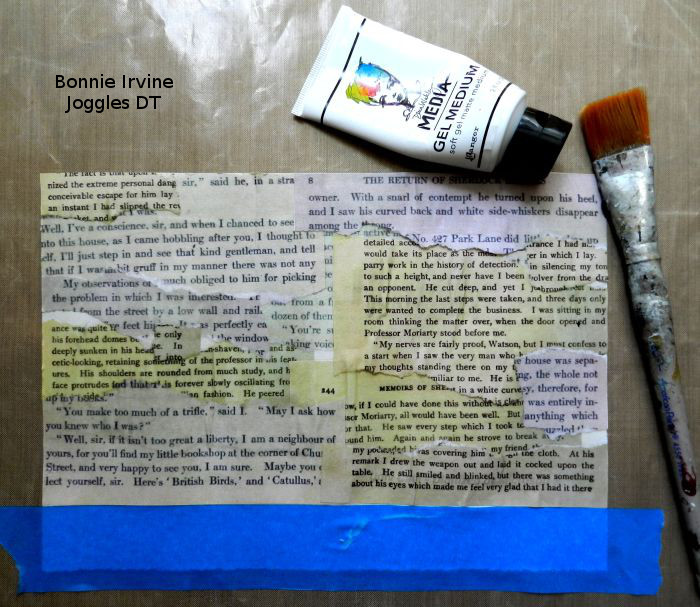
I thought it would be cool to cover all but the bottom 1.25 inches (masked here with painter’s tape) of my mixed media paper background with copies of text from Sherlock Holmes books…and that’s where the challenges began 🙂 I downloaded some from the internet, printed them with my inkjet printer, and tore them into pieces. I used gel medium to adhere the pieces to the 7 x 10 inch background which was fine until it started pulling the purple from the one background and yellow from the other. Who knew those colours were even in there! It kind of became a muddy mess. Hmmm…
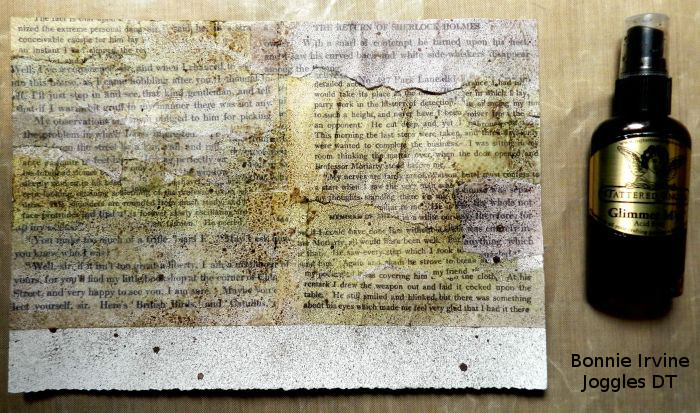
So I figured if it wanted to be brown, I would make it a nicer brown with a bit of shimmer which is why I pulled out my Glimmer Mist. Now it was a purpley-yellow-brown hot mess. Hmmm….again. I decided to trust the process and keep going. More layers!!
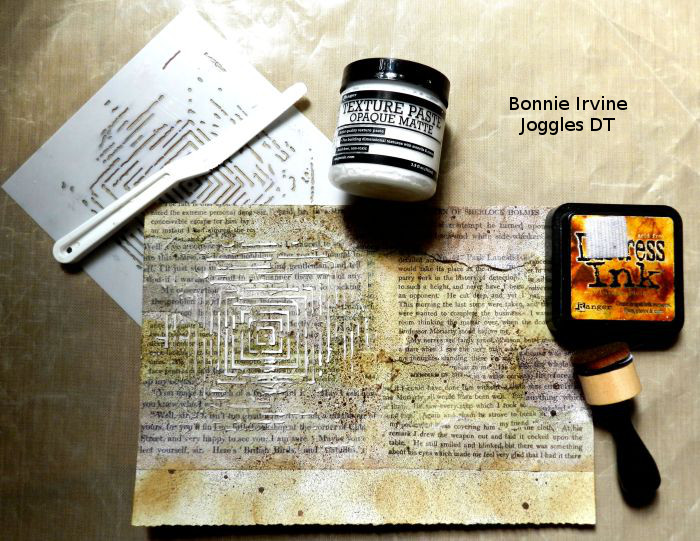
Vintage Photo Distress Ink to the rescue! I applied it in several places to get the brown to a more even and rich colour. Once dry, Ranger Texture Paste was scraped through TCW Labyrinth stencil. I liked the idea of the labyrinth to fit into the mystery theme. Two things called for further action. First, the Texture Paste picked up the purple, yellow, and brown from the background…I wanted white. Second, the pattern of the stencilling was too delicate to compete with all that text. Hmmm…yet again!
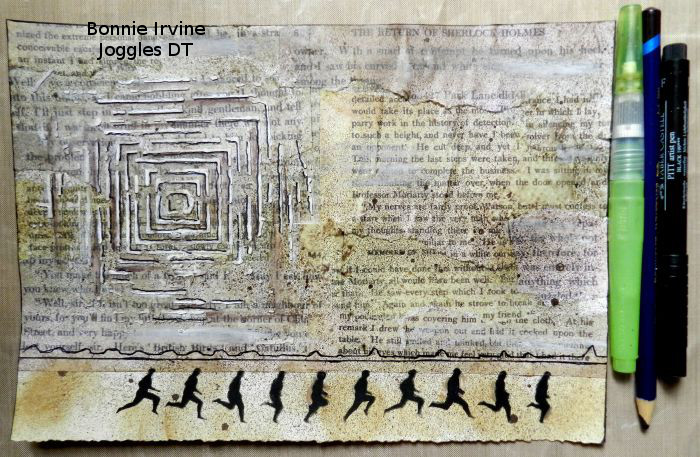
I brightened the white of the Texture Paste with white gesso dry brushed over the tops of the raised areas. Then I used a brown Inktense pencil activated with a water brush to darken the channels between the white paste. When that was dry, I went back with a black Fine Pitt Pen to outline next to one side of the Stencilled lines. The contrast was now greater and I was happier. The running guys at the bottom were applied with black gesso through a stencil of unknown origin (Had it for ages). I liked that they were running from the scene of the crime or from something mysterious. A doodled border was used to separate them from the top section.
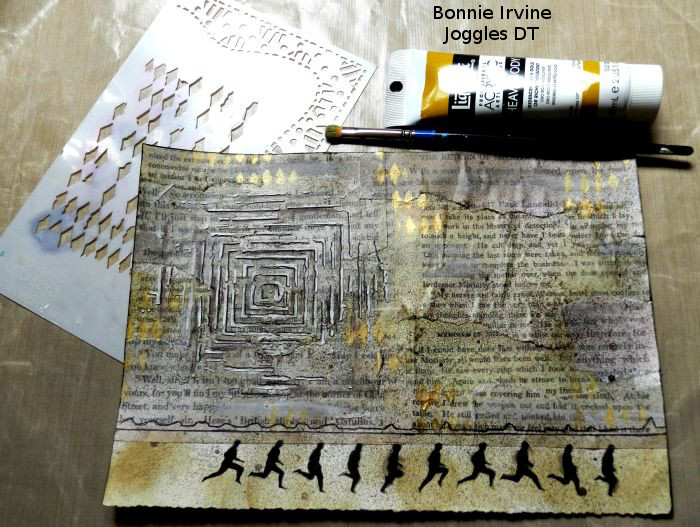
The photo is not capturing it well but the background had quite a golden hue, in part from the colours pulled and mixed from the background, and in part from the Tattered Angels. I decide to embrace and emphasize that gold since it suited the elegance of the decor from Holmes’ era. I stencilled some harlequin designs through Dylusions Diamond of a Border stencil using Liquitex Interference Gold acrylic paint.
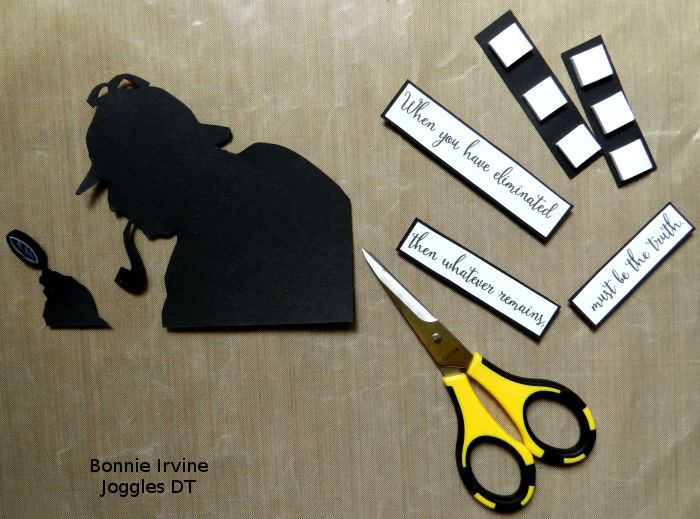
A silhouette of Sherlock was cut from black cardstock and foam squares were applied to the back. The sentiment, a Holmes quote, was printed on white cardstock, cut into segments, and matted with black. Foam squares were applied to these as well.

Crackle Accents was used to create the shine on Holmes’ magnifying glass. Beige Zig Clean Color was applied to the right of the running men, and Stabilo All pencil, activated with a waterbrush, was used to ground them and provide a running surface. You can also see that I added a torn strip of black and white checked washi tape backed with white cardstock underneath Holmes. He couldn’t be left floating and I wanted a pop of black and white to liven up the page.
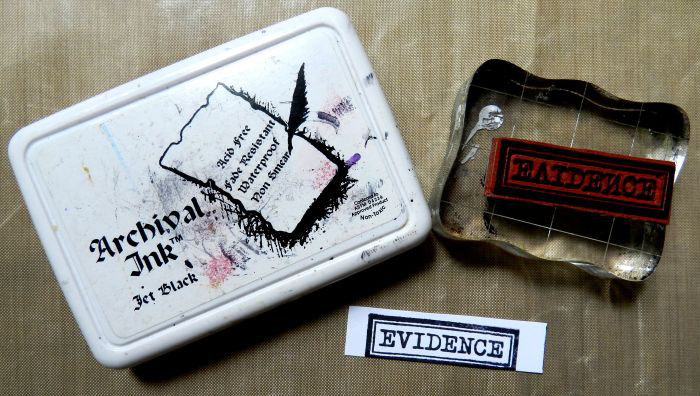
A stamp from the Darkroom Door Mail Art set was used along with Jet Black Archival Ink to stamp three EVIDENCE labels…again fitting with the mystery theme.

Here you can see two of them adhered to two of the corners. I also added some scraps of that same washi to the left side to add some continuity through repetition. Two gold brads were added on top of the washi on both sides…again repeat the gold, plus you know I love details. A simple black border was doodled around the outside and the washi tape was outlined with black pen, as well. That echoes the black outlining of the labyrinth, again adding continuity and flow to the overall design.
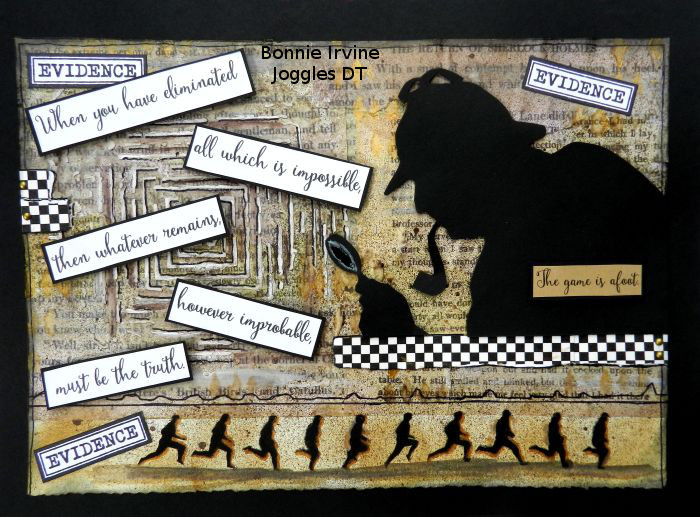
And here is the finished page. It went through the Six Stages of Ugly but I’m happy I persevered and trusted the process because the finished page is one I like and I certainly learned from getting it to that point. The Mystery until the very end was how I was going to pull that off…LOL. I can’t wait to see what you do with this prompt 🙂








4 Comments
Love it!! It turned out great. Everything came together nicely in the end.
Fun, Bonnie! I liked being inside your head during the process.
Nice spread, love the theme.
Deceptive and mysterious in the many layers to tell your story……..LOVE it!!!!!!