Because I’m a creature of habit I tend to reach for the same supplies and use them in much the same way. That happens when I create many things, but seems especially noticeable when working on an art journal page. I decided it was high time to go in another direction and for me that meant using a brayer to apply the first layers of paint.
Bear in mind, and you’ll see this in the process photos, that I don’t mean a solid layer of paint applied with a brayer. Instead you work with a small bit that the brayer is rolled through, in a couple of different directions, that form patterns on the roller which are transferred to the page. This results in blocky areas that are very different from the usual background I begin with. As you go along, be careful not to over apply any one color or you’ll obliterate those random blocks.
Your challenge for Week 21 is to apply the first layers of paint using either a brayer, or if you don’t have one, scrape it on with an old credit card or a palette knife.
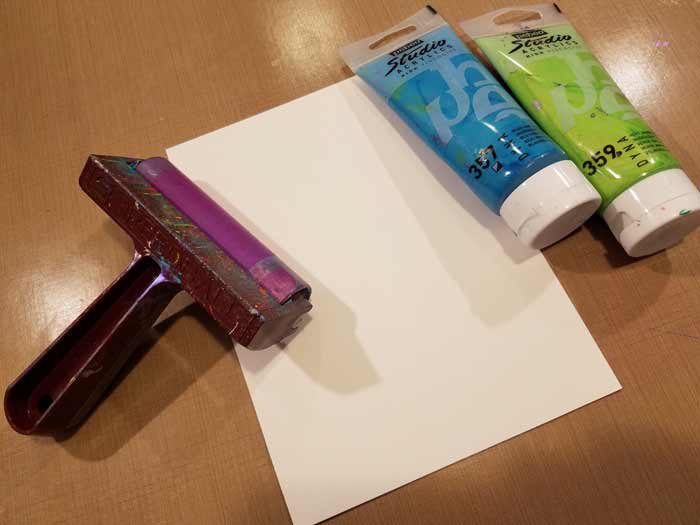
Ready to get started. I’m using a Speedball Soft Brayer and two colors of Pebeo Studio Acrylic Paint.
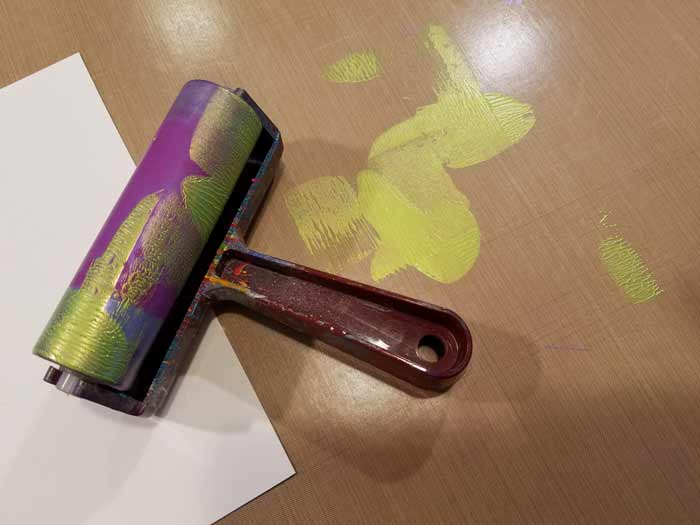
One small dab of paint applied to my work surface, then I rolled the brayer once through it up and down, then once side to side. See how the paint is sitting on the roller in definite patterns? That’s what you want.
One short roll of the brayer produced this. By a short roll, I mean from beginning to end, the path the roller traveled was about 6″. That’s what allows the pattern to be so defined.
Another roll using the paint that was already on the brayer. You can see the rounded part of the pattern repeat and it has less paint on it this time. The first print of that rounded shape you can see texture in the paint because there was a lot of it.
A third pass with the brayer and that rounded shape is fainter now because a lot of the paint has rolled off of the brayer.
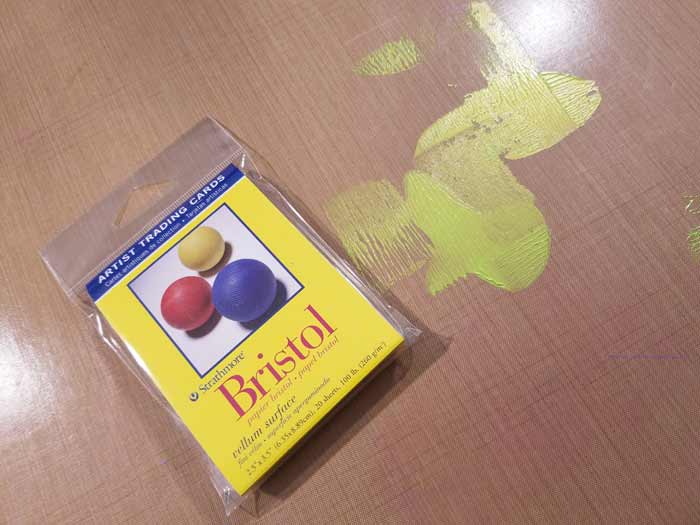
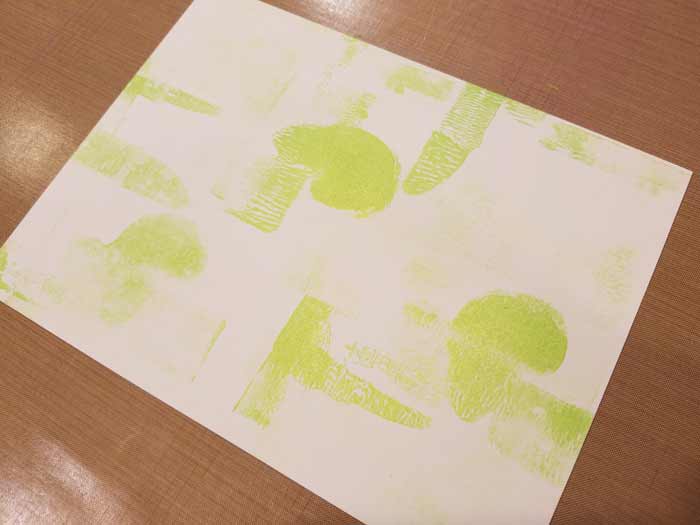
Because there was paint left on my surface and I didn’t want to waste it, I grabbed some of Strathmore’s ATCs and pressed it into what remained. Just a straight press and lift to preserve the pattern.
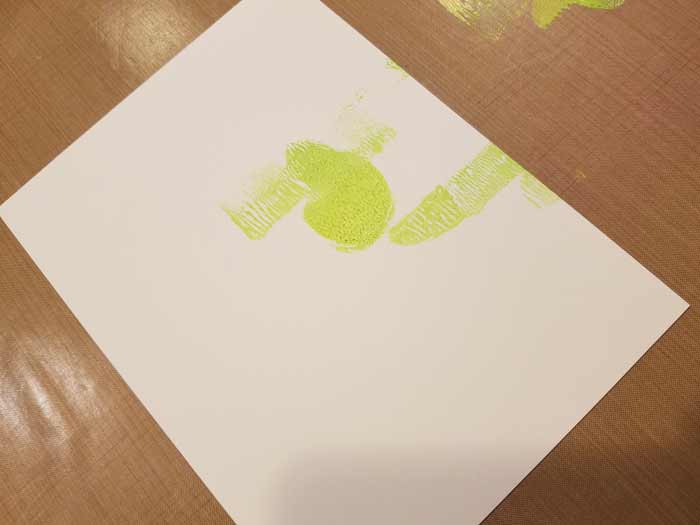
And this is what I ended up with.
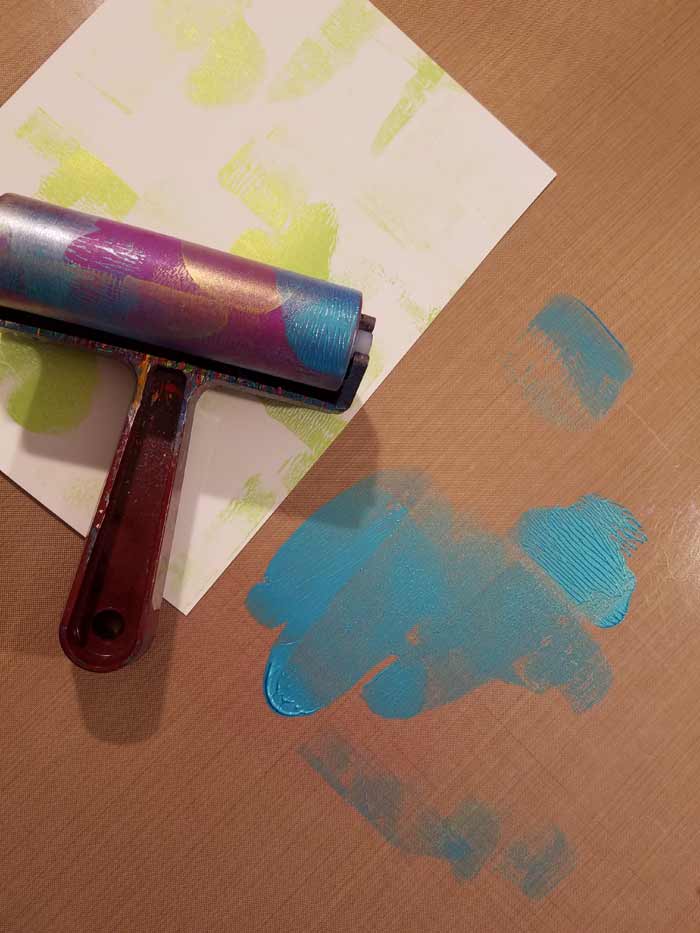
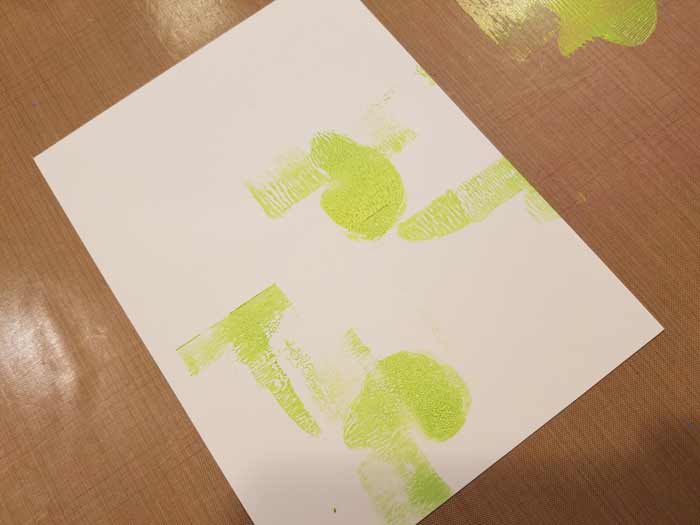
Next up, the second color of paint and you can see I followed the same steps for rolling the brayer through the blob of color.
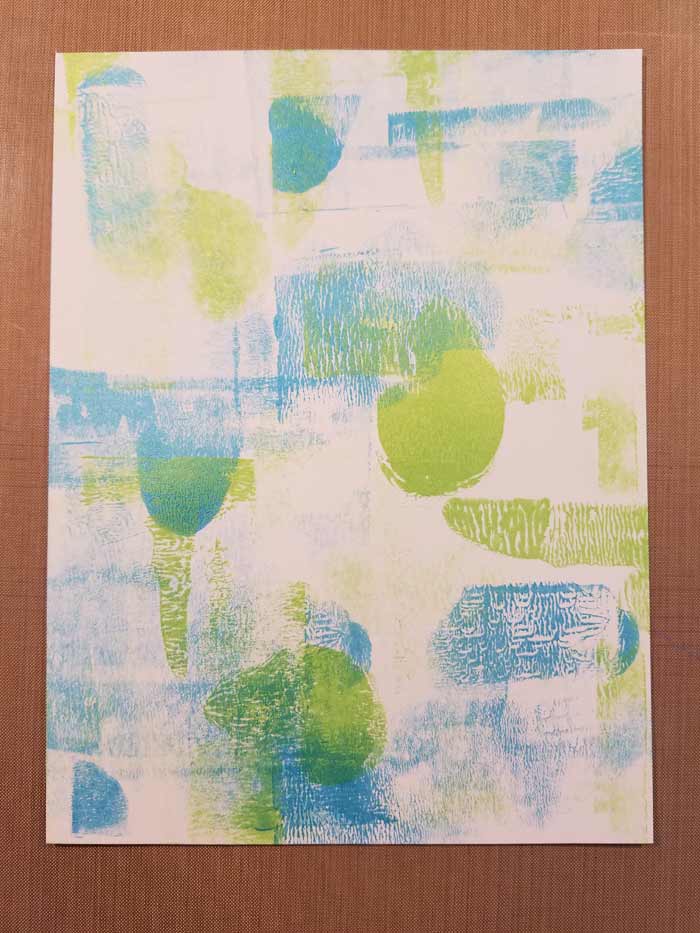
This is what I ended up with. I decided I wanted to knock the colors back a little…
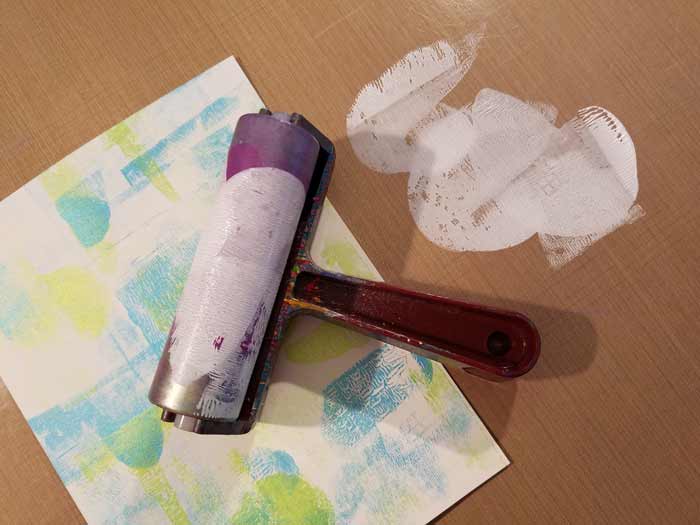
So I followed the same steps with Dina Wakley’s White Gesso. Since I wanted to be random about how the gesso was applied, but I wanted a fair amount of coverage, I walked through the steps twice, adding more gesso to recoat the brayer the second time.
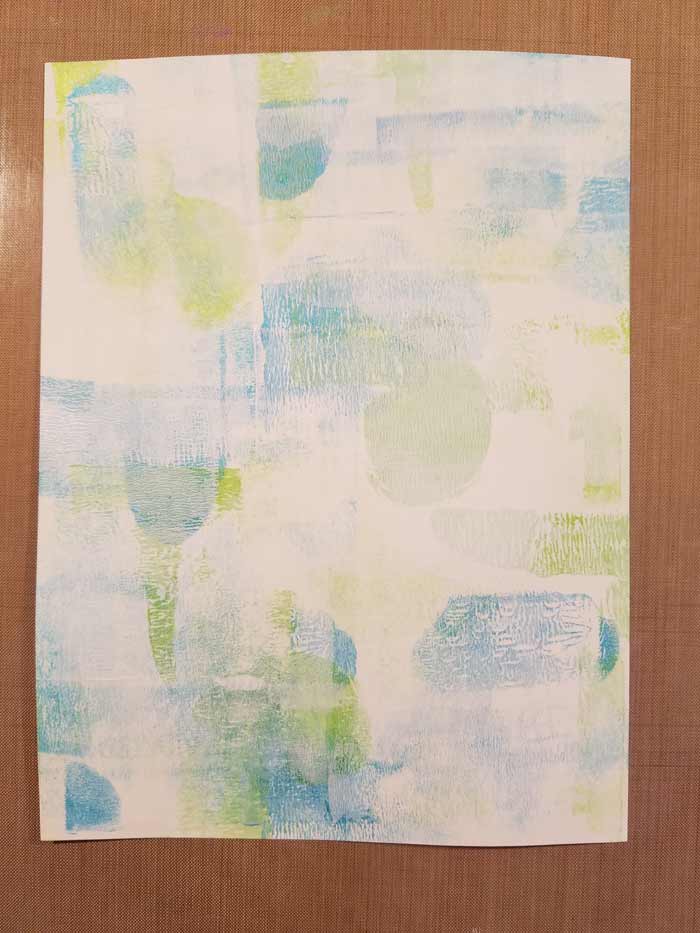
Here’s the page after those two applications of gesso.
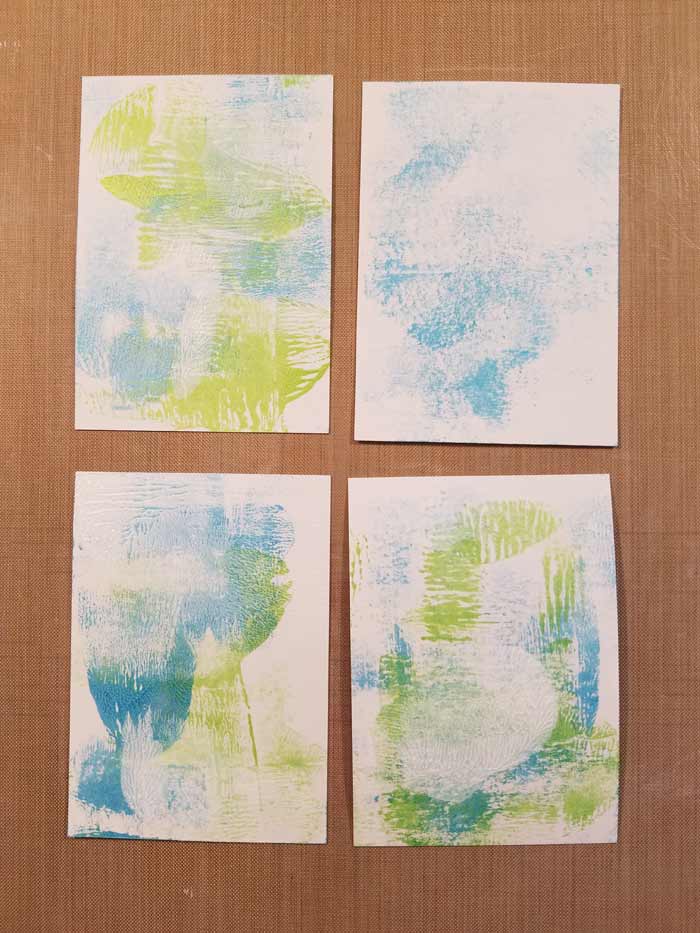
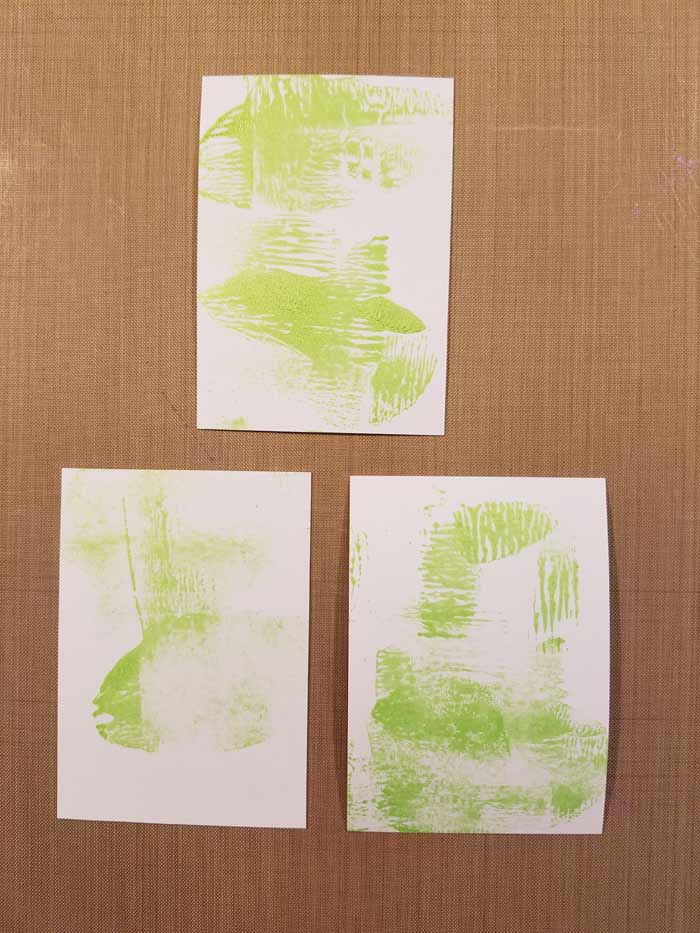
And here are my ATCs.

Having recently been working with the Gel Press Impressables, they were fresh in my mind so I decided to bring them onto the page. This one is Overlapping Circles and is dirty from the last time I used it, but it doesn’t matter. Eventually I’ll remove what’s there using a pick up print.
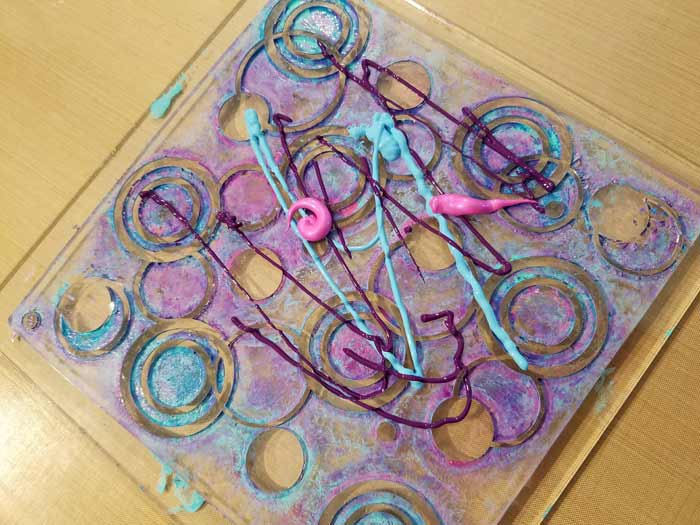
Paint drizzled on and ready to be spread over the surface. Along with the pink Pebeo Studio Acrylic, I added some Blackberry and Turquoise from Dina’s Media Paint line.
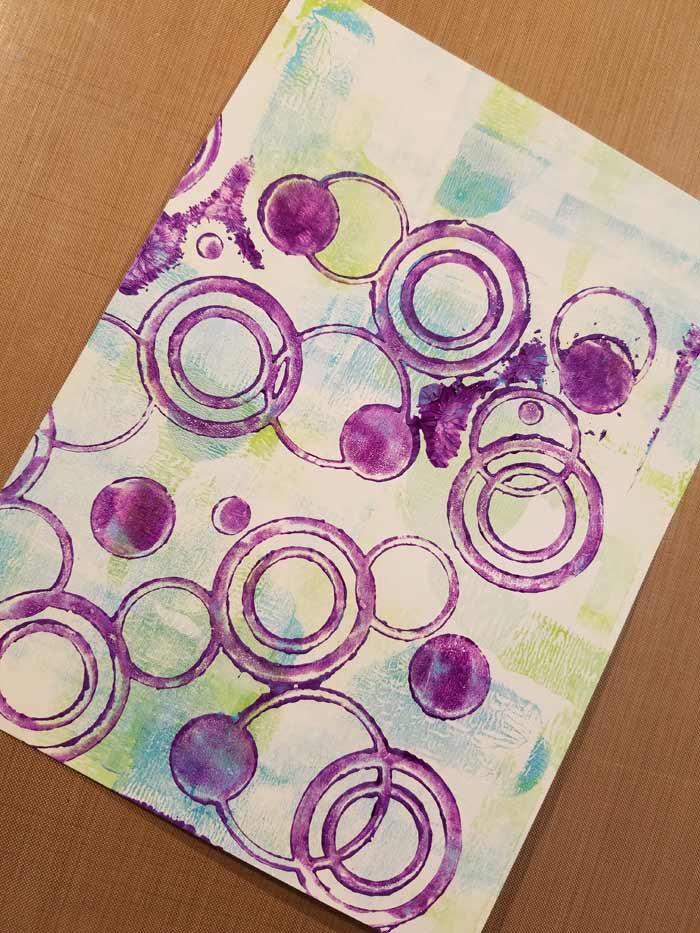
Here’s the page after the first impression using the Impressables plate. Technically, this is a ghost print since I printed what was on the plate to begin with on a scrap piece of paper before the first application to my page.
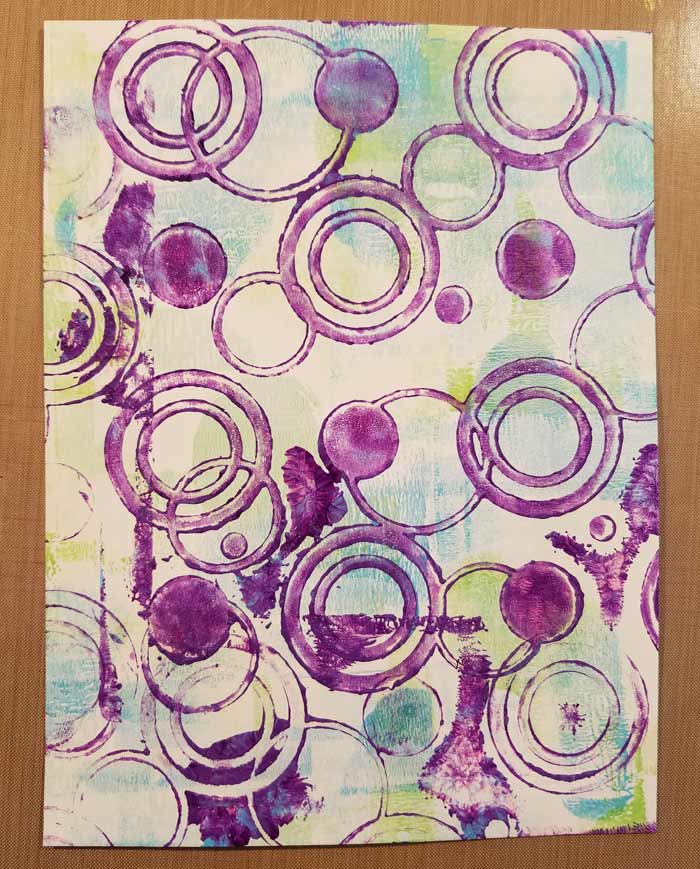
I thought about leaving the page the way it was since I wasn’t necessarily compelled to have the circles over the entire page, but it looked awkward with the small areas left unprinted, so I filled them in. Again, these are ghost prints. I only ever applied paint once to the Impressable.
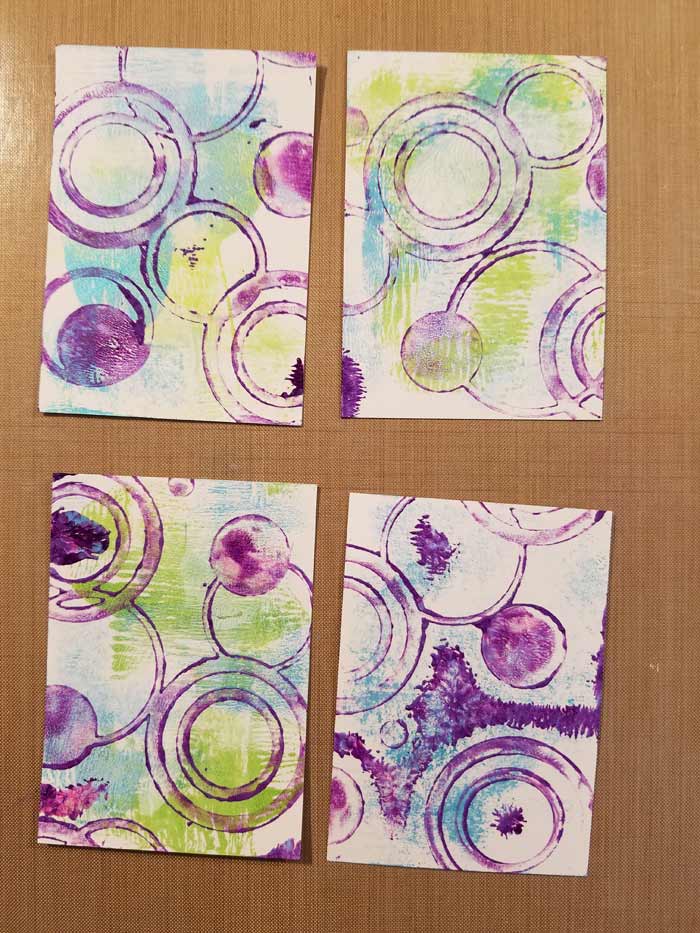
ATCs after printing.

I ended up adding random layers of white gesso with the brayer again since I felt as though the circles were too dominant. I can still see the original blocky layers peeking up from the background.
Once the background was more or less finished I tried (and failed) to decide where to go next. Part of the problem is I was rushed and running out of time because I left Sunday morning for a trade show. Ordinarily I would have walked away and left it for a bit and something would have come to me, but that wasn’t an option this week. I’m satisfied that I accomplished my goal which was to create a background that was different from my usual.
8 Comments
Reality check: sometimes we all run out of time. Nice background.
Thanks Diana!
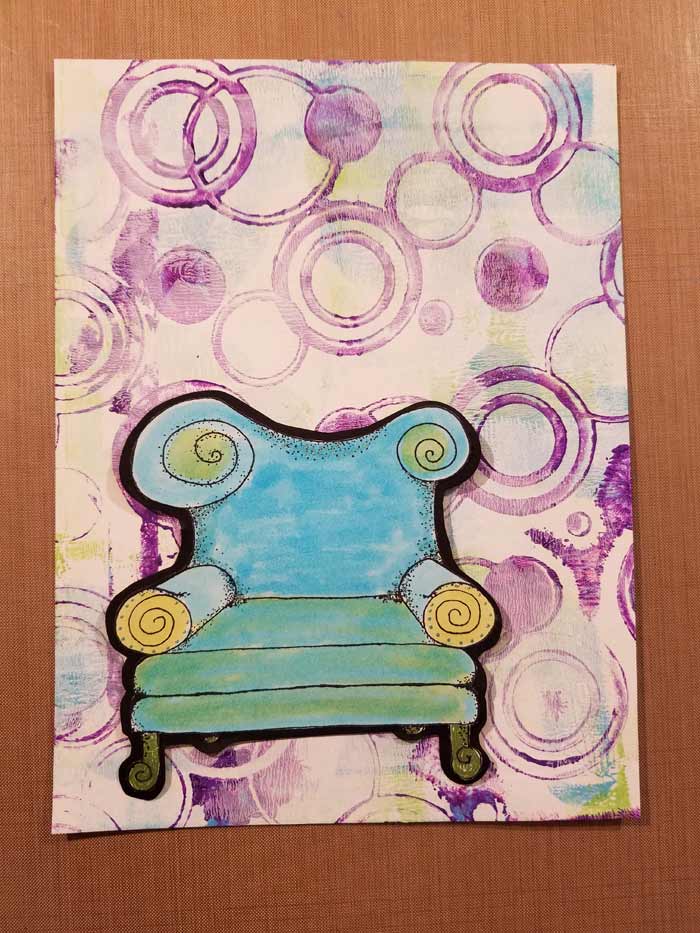
Barb, I really like your background. Where did the chair come from? Is that a stamp?
Thanks very much. The chair is from Stampotique and is named Spiral Velvet Chair. You can see it here on the site:
http://rd.joggles.com/?pf=25539
Barb
Is the brayer textured? If so, where do I find it? If not, how did you get the water effect which could be just me “seeing” it as water. Really like that part.
If you look at the photos you’ll see that it’s a regular brayer with a smooth roller.
It’s the same one I use with a Gel Press Plate. The difference is that I roll it through the paint once in one direction and once in the other. The paint doesn’t get to be smoothed out in a thin layer.
What you’re seeing is the thickness of the paint as a water effect.
I think you intuitively used the chair to express that all you wanted to do a this point is collapse into a comfortable chair with a cuppa tea and a chocolate biccey (Sorry cookie)
Off to get my cuppa!
You may be onto something!!