Hiya Joggles Friends,
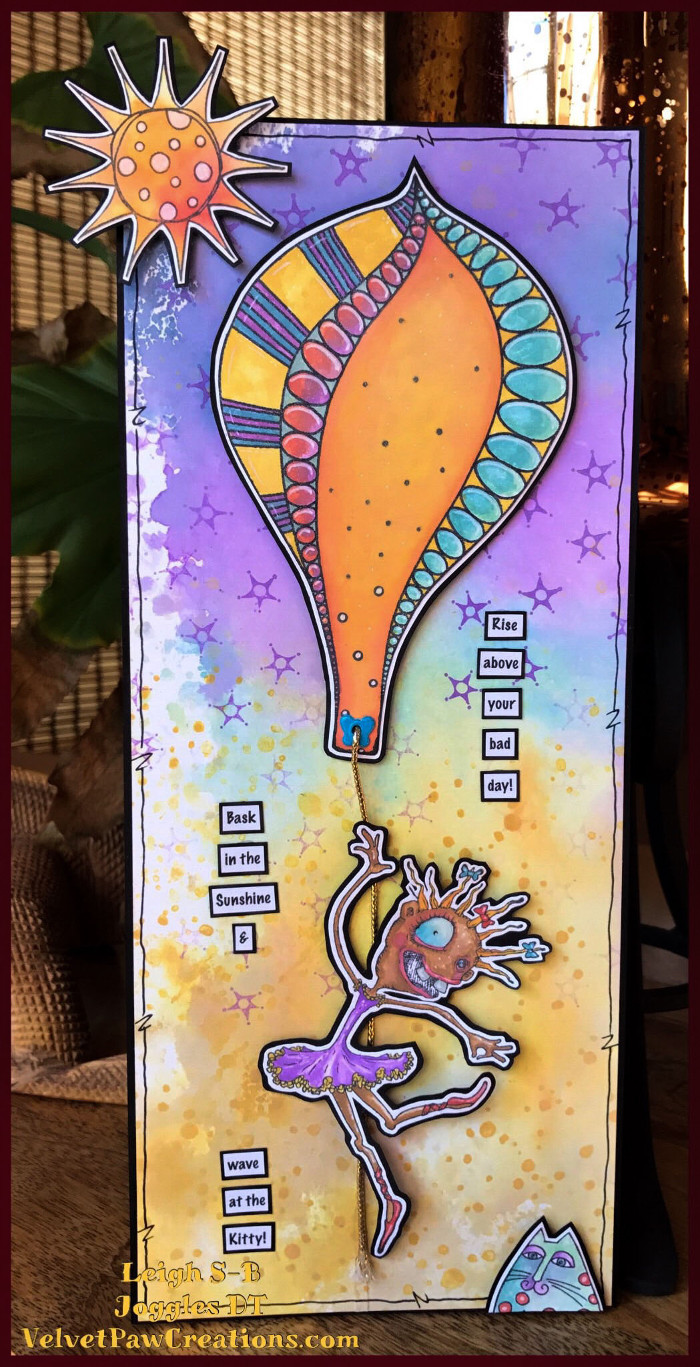
Leigh here and I’m back today with a quirky oversized card featuring Joggles’ rubber stamps combined with Distress Oxide painting. I’ve been stamping for over 20 years and some of my favorite things to do are unconventional cards that are oversized, very tall and very narrow and transforming stamp images into something else entirely like turning a leaf into a hot air balloon and a flower into a sun. I hope today’s tutorial inspires you to look at your stamps with fresh eyes and create your own magical and bizarre sized cards. FUN, right! Let’s get started.
Supplies Used:
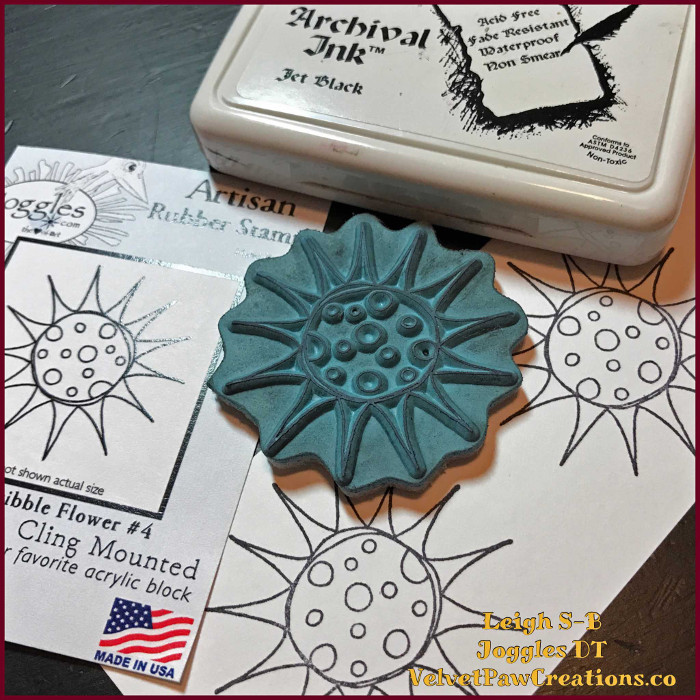
Joggles Cling Mounted Rubber Stamps: Jurassic Leaves #2; Scribble Flower #4; Background Noise – Dots; Background Noise – Spark;
Joggles/Bloobel Cling Mounted Rubber Stamp – Twinkletoes
Laurel Burch Cling Stamp – Whiskers
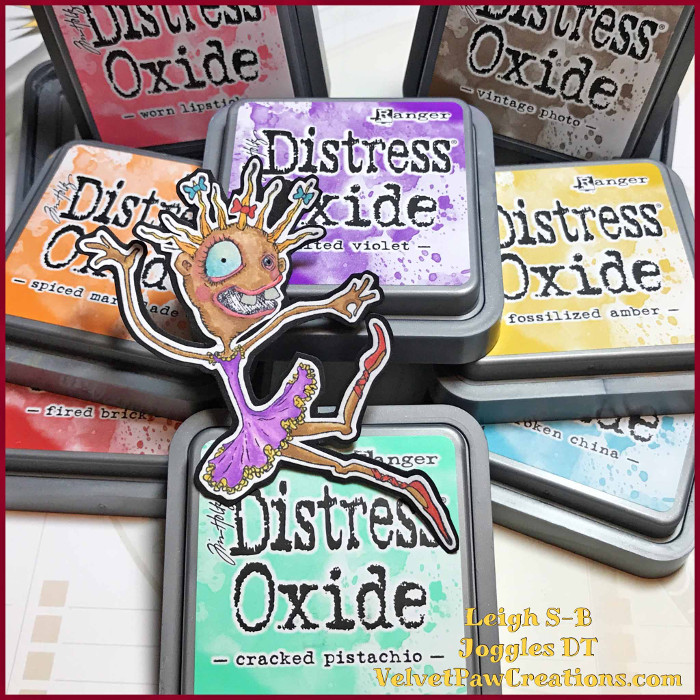
Tim Holtz Distress Oxide Ink Pads: Vintage Photo; Wilted Violet; Worn Lipstick; Fired Brick; Spiced Marmalade; Fossilized Amber; Broken China; Faded Jeans; Cracked Pistachio;
Triple Thick Gloss (Judikins Diamond Glaze or Inkssentials Glossy Accents)
Zig Kuretake Wink of Stella Glitter Brush Marker – Clear
Inkssentials NonStick Craft Sheet
Ranger Heat It Craft Tool (optional)
Scotch Quick Drying Tacky Glue
Other: black cardstock (two weights used);gold cord; eyelet; hole punch and eyelet setter tools; pop dots; paper trimmer; paint brush; scissors printed text; white mixed media cardstock; Inkssentials Matte Accents; black Fineliner pen;
Here is my process:
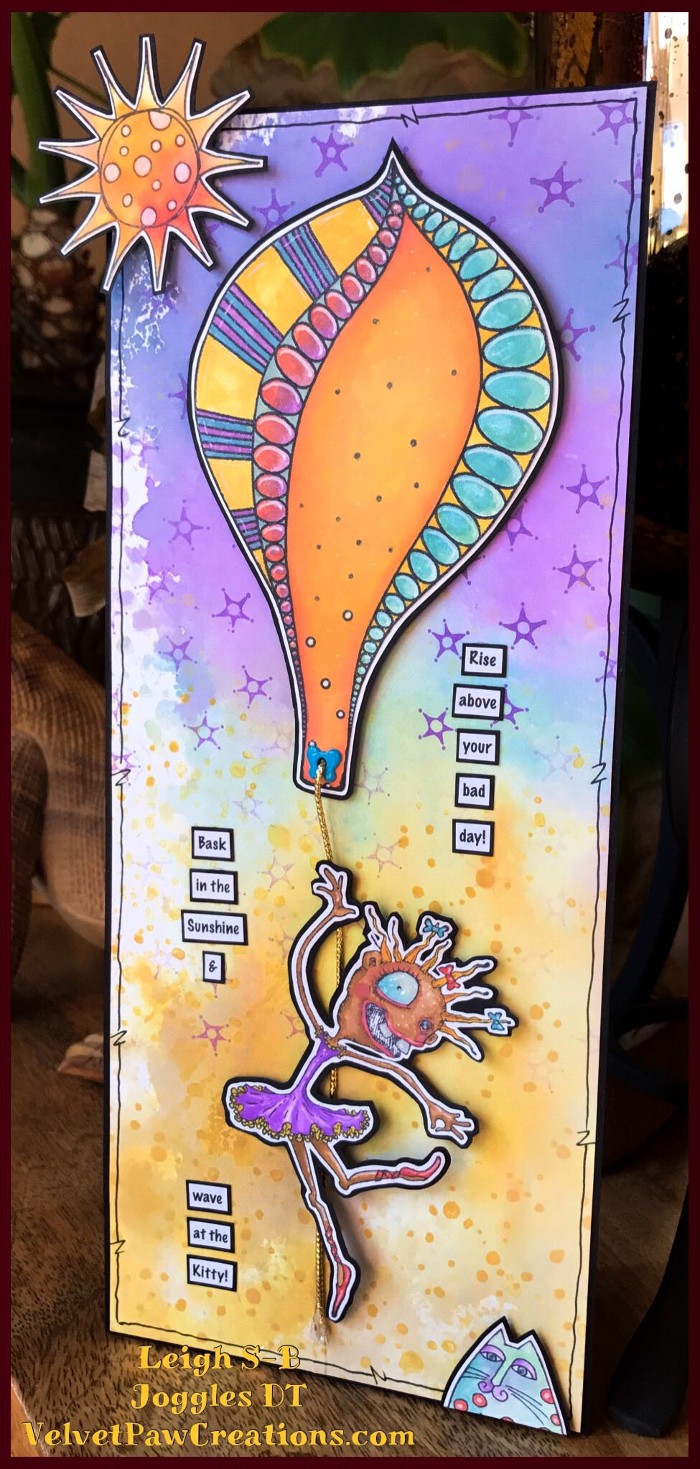
My card measures 4 5/8 inches wide by 11 inches tall (11.5 “ including the sun).
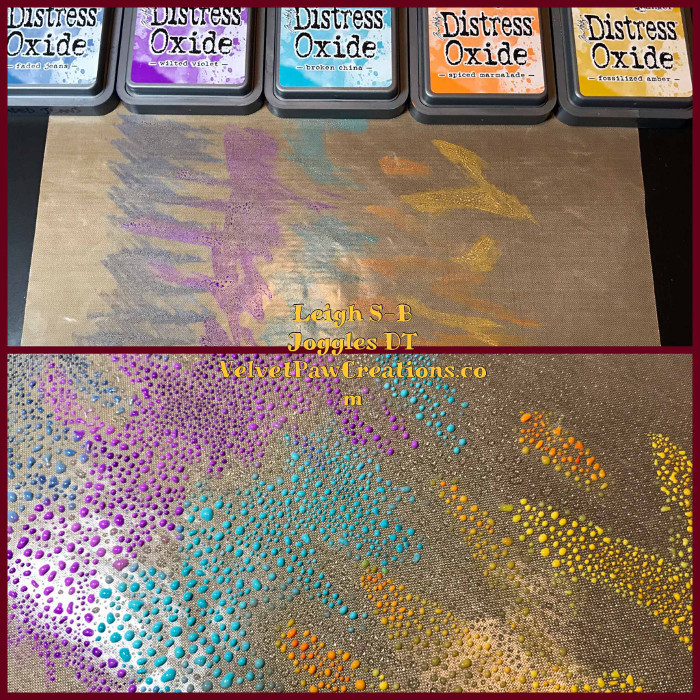
Start off by creating your own colorful watercolored background with Distress Oxide Ink Pads. You can create random colourful patterns or control the layout and colour position like I did. To create a magical sky, I smeared the inks directly onto my NonStick Craft Sheet in the order I wanted the colours to appear. I used from left to right: Faded Jeans, Wilted Violet, Broken China, Spiced Marmalade and Fossilized Amber.
Spritz with water so the inks bead up on the surface of the craft sheet. A few spritzes will give you a deeper colour palette and more water will dilute the inks to produce a variety of lighter shades. Lay a sheet of white mixed media cardstock on top of the spritzed inks to create a fabulous watercolour background with instant gratification.
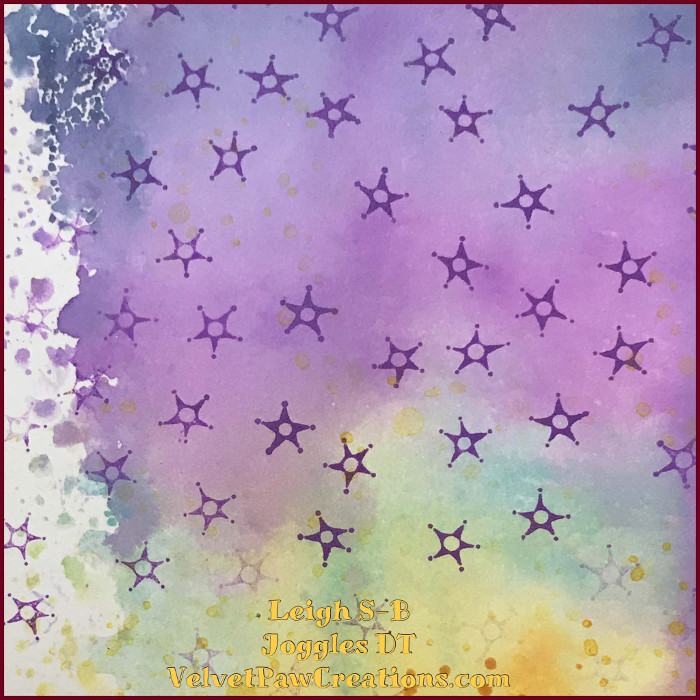
You can move the cardstock around to add more ink to achieve full coverage but I liked the white area on the left. It looks like a fluffy cloud. Allow the cardstock to dry on its own, which can be pretty quick depending on the weather, or you can speed up the process with a heat tool.
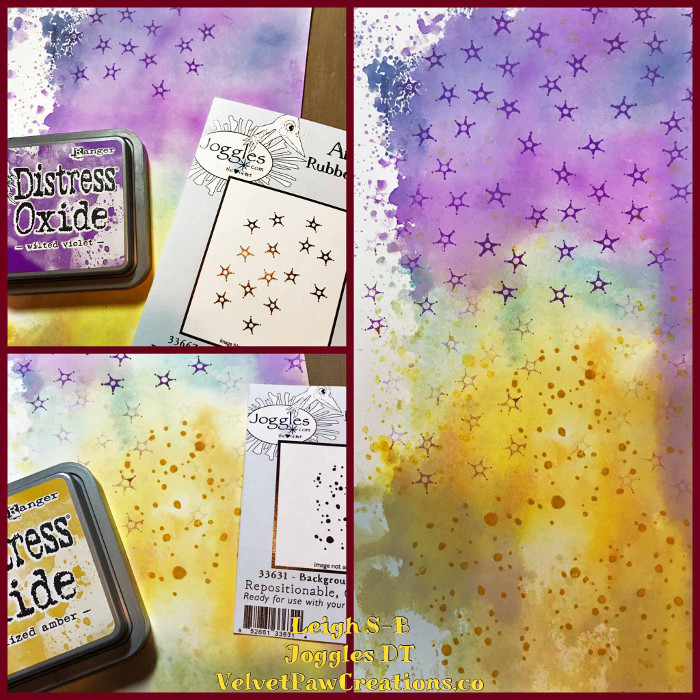
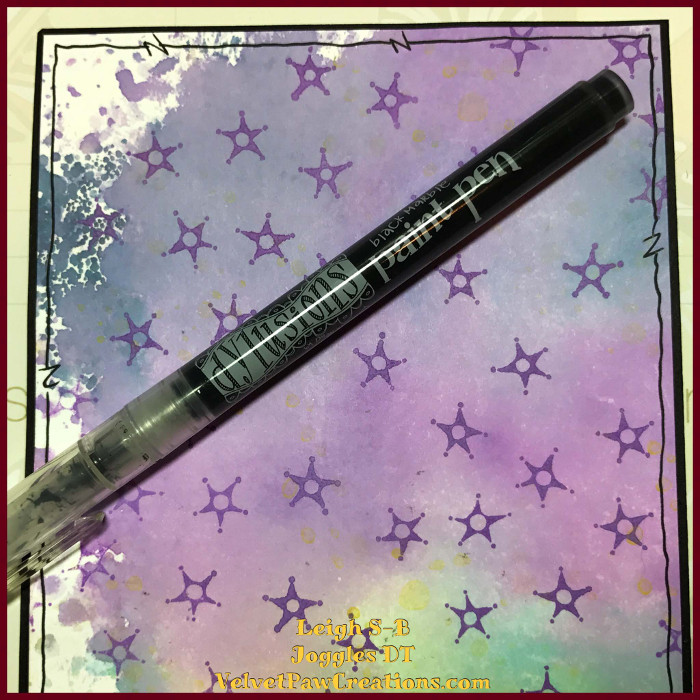
The next step is to decorate the coloured background with rubber stamps. Stamp stars on the upper portion of the sky in Distress Oxide Wilted Violet. Apply ink to the rubber after each stamping at first; then as you move lower down the sky, stamp the stars a few times before inking up again to get a variety of fainter stars. Do the same steps to the lower portion of the sky with dots stamped in DO Fossilized Amber. Finish off by adding a few pale yellow dots to the upper portion of the starry sky, too.
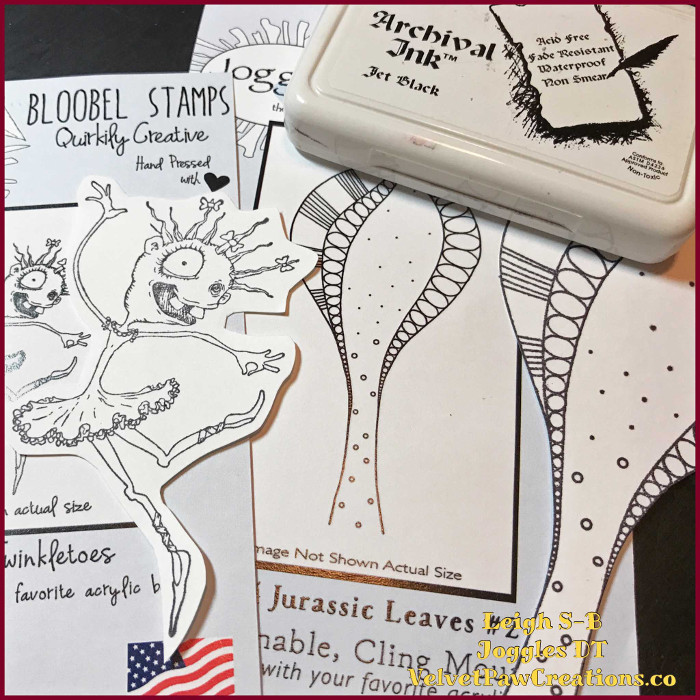
Stamp all the images with Jet Black Archival Ink onto white mixed media cardstock. Archival Ink is perfect for working with water-based techniques because the stamped images don’t smear or bleed.
Watercolor all the images with Distress Oxides. Smear a dab of each colour onto the craft sheet and paint the images with a paintbrush. Create a variety of hues to achieve highlights and shadows just by controlling the amount of water used.
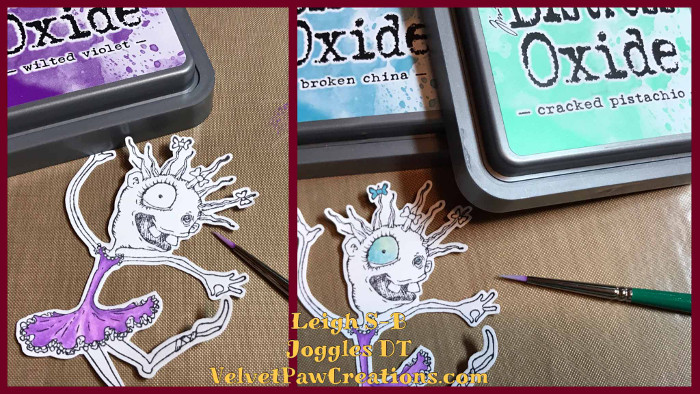
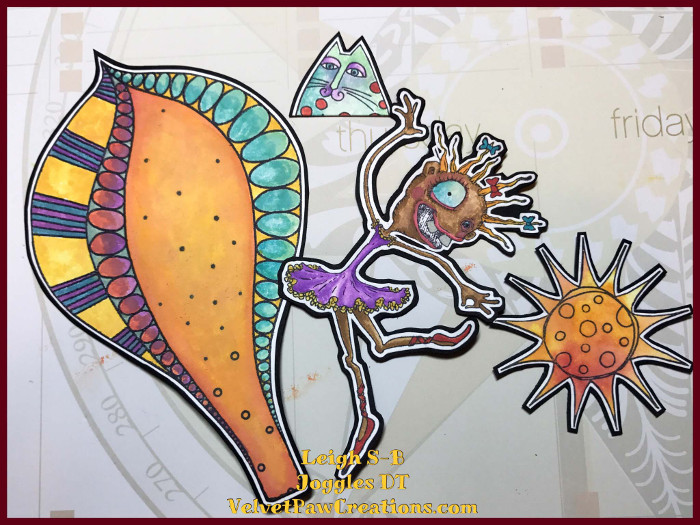
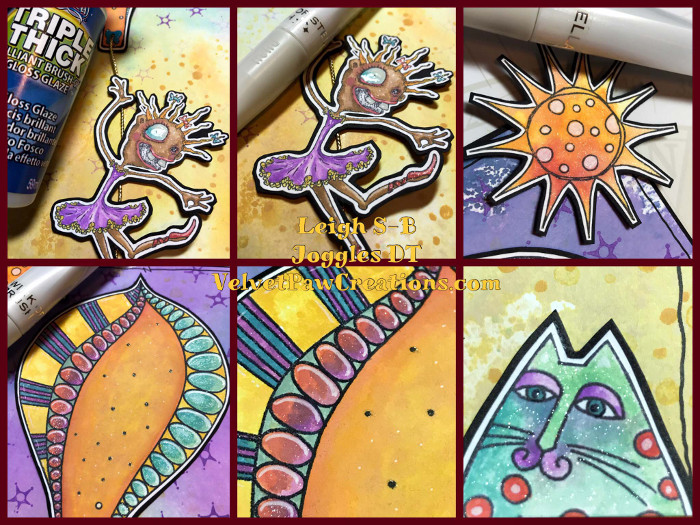
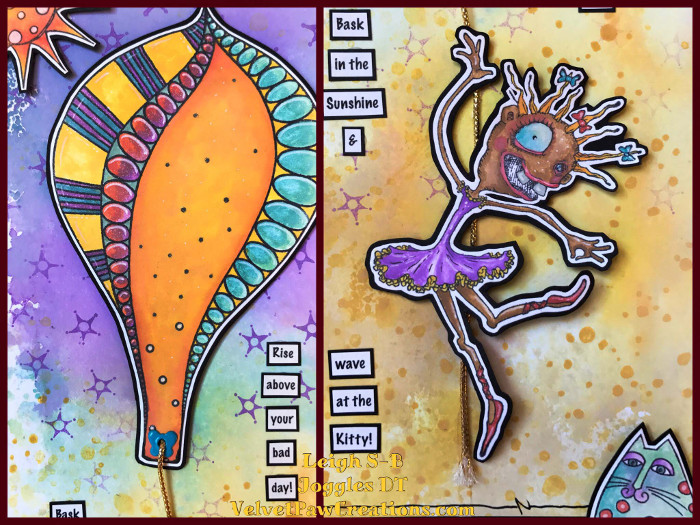
I used DO Vintage Photo, Wilted Violet, Worn Lipstick, Fired Brick, Spiced Marmalade, Fossilized Amber, Broken China, and Cracked Pistachio to paint Twinkletoes.
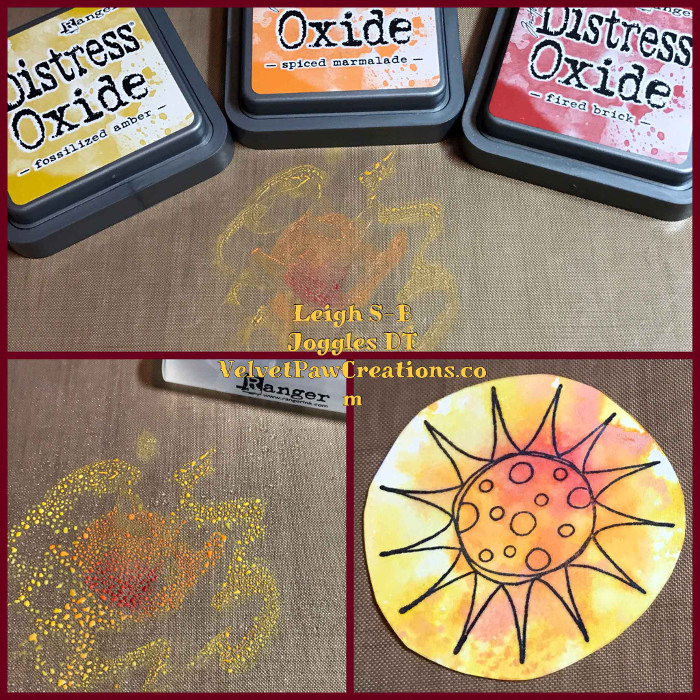
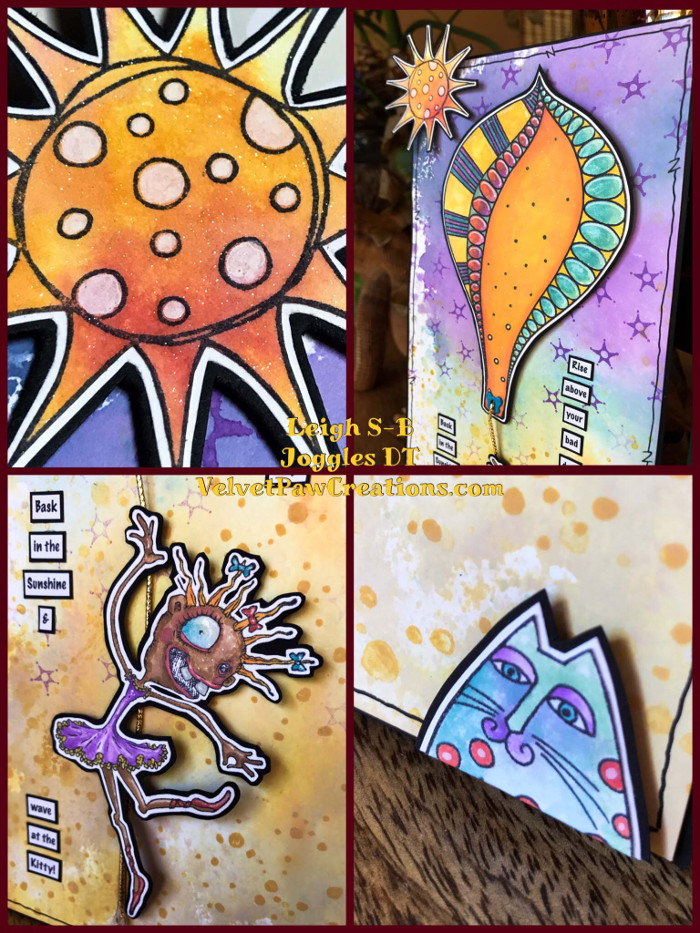
I applied colour to the sun the same way as I did the background. Smear DO Fossilized Amber, Spiced Marmalade, and Fired Brick onto the craft sheet, spritz with water, and lay the sun down onto the inks. You can paint it with a paintbrush, too, if you’d prefer.
Now its time to transform the large leaf stamp into a hot air balloon. To make it look more like a balloon and to also ensure it fit the size of my card I shortened it by cutting off some of the stem and filled in the design with a black fineliner pen.
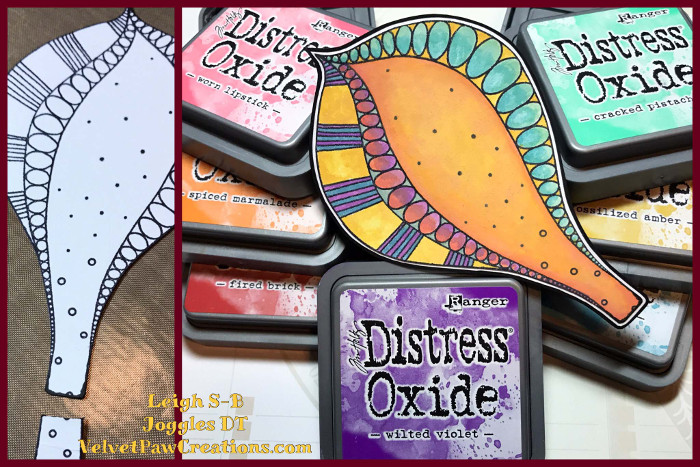
Paint the hot air balloon with Fossilized Amber, Spiced Marmalade, Worn Lipstick, Fired Brick, Wilted Violet, Broken China, and Cracked Pistachio. A kitty cat then appeared on the scene. He just had to see what was going on! Kitty is part of a larger Laurel Burch stamp. I fussy cut and painted him with Fired Brick, Wilted Violet, Broken China, and Cracked Pistachio.

Fussy cut out all the stamped images leaving a narrow white border, adhere them to black cardstock, and fussy cut again leaving a narrow black border. Doing this step makes the images pop against the colourful background and helps reinforce the more delicate parts like the girl’s thin arms & legs.
Add highlights and decorative touches with a white Dylusions Paint Pen (or a gel pen).
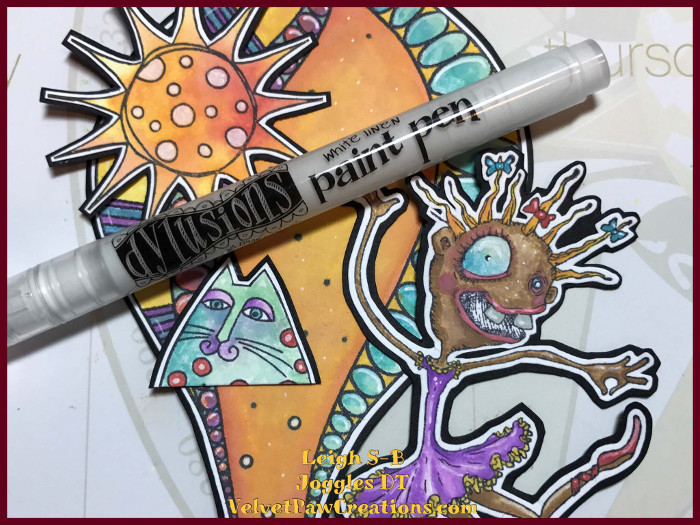
Apply Triple Thick gloss (Judikins or Inkssentials Glossy Accents) to the girl’s and the cat’s eyes with a toothpick because the areas are so tiny. Then add magical shimmer to parts of each image with clear Wink of Stella. You can use a Glitter glue if you’d prefer.
Now its time to make the card. Cut the background cardstock to 4.5 inches wide x 11 15/16 inches tall. Draw a decorative border around the perimeter with a black Dylusions paint pen (or black fineliner). Mount the panel onto black cardstock and trim to leave a 1/16 inch border. Fold a 8.5 x 11 inches sheet of black heavier weight cardstock in half and adhere it to the back of the panel to make the card.
My project was actually inspired by a bad day. An artist draws inspiration from many sources and I used it to feed my creativity and created an inspirational message to match. I typed up the text in Photoshop CS6 and printed it out onto white paper. Fussy cut out the words, mount them on black cardstock and trim to leave a narrow border. If you’ve ever needed an excuse to hoard the smallest of scraps, then here you go…you NEED them to create sentiments for your projects….you’re welcome, LOL!
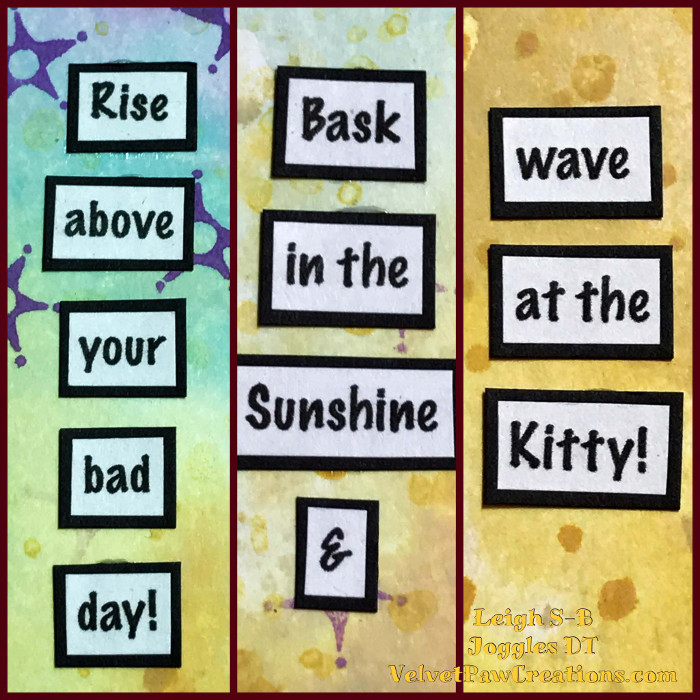
Rise above your bad day! Bask in the sunshine and wave at the kitty!
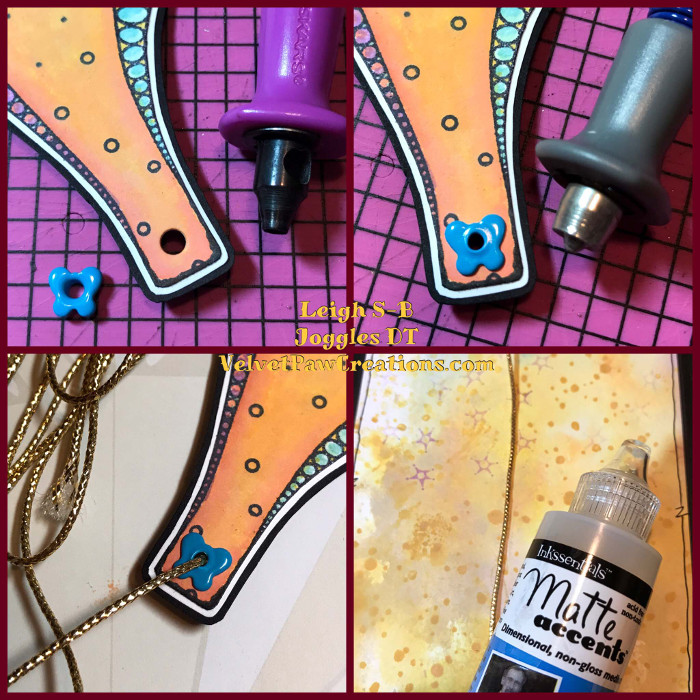
The next step is to add all the elements to the card. Punch a hole at the base of the balloon and attach an eyelet, I picked a fun blue butterfly. Add gold cord and adhere one end to the back of the balloon. Adhere the balloon to the card with pop dots. I also attached the cord in places with Matte accents to give it a bit of movement. Then adhere the rest of the elements with pop dots except the text which I adhered with dabs of glue.
Doesn’t she look frazzled while waving at the kitty like a crazy person, but she soon felt much better floating around above all her troubles! It does feel good to just get away for awhile, even if it is just in our imaginations ;0) I hope my card made you smile and brightened your day!
Thanks for stopping by for my tutorial :0)
Happy Stamping
Leigh
www.VelvetPawCreations.com
6 Comments
Leigh, your card made my day! You’re very talented, and your tip on adding black card stock behind white is great. I love your colors, instructions and whimsy. I want to try this now!
Thank you so much Harmony! I’m thrilled I inspired you & made your day too😊
Hugs
Leigh
Wow! I love it! Thanks for showing us how to stretch the possibilities of our art supplies and to not be hesitant to explore even the “kookiest” of ideas.
Thank you so much Bette Jo, I’m so pleased you’ve embraced the spirit of my project😊
Hugs
Leigh
I saw the word “cat” & knew I would like your work & of course it was nothing like I expected – but so much more! Just wonderful – I am just learning to use DO inks & hadn’t thought to paint with them – so thanks for the ideas, the inspiration to look at all of my supplies differently & with an open mind . You are so talented. Hope it rubs off some. Thank you!
Thank you for your kind words Val! I’m pleased I’ve inspired you. I can’t resist anything to do with cats either so I’m glad my little tease caught your eye😺