Seasons Greetings Joggles Fans!
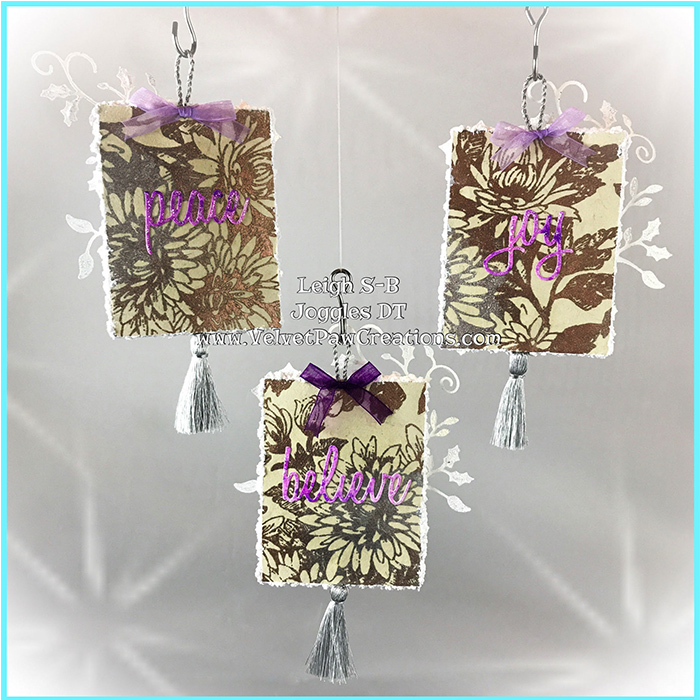
Leigh here to get into the spirit of the season with a trio of hanging ATC Christmas Ornaments full of magic and wonder. I love making Christmas ornaments, they make lovely hand made gifts and are also a fun alternative to giving out Christmas cards too! I’m sure your family and friends would be delighted to receive one of these festive ornaments this year ;0)

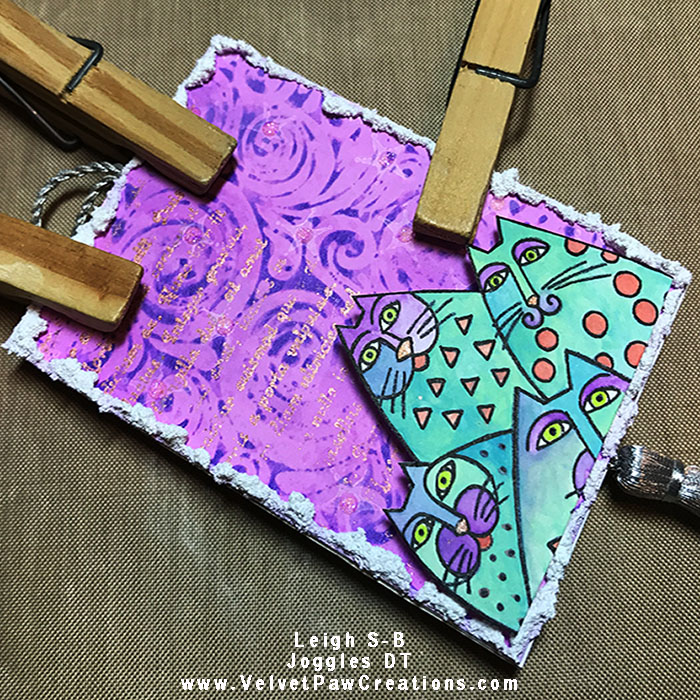
For this tutorial I created three double-sided Artist Trading Card hanging Christmas ornaments. Each side is done in a different style, one side is whimsical and fun and the other is clean and elegant so I’ve technically got 6 ornaments to show you how to create today. You can choose to make single sided ornaments and hang them on your Christmas tree or for cards you can add your Christmas sentiments on the back. Double-sided ornaments are beautiful from all angles and perfect for hanging anywhere in your home. You can even make both sides completely different like I’ve done with mine. The whimsical sides features a Joggles Itty Bitty ATC stencil, Joggles rubber stamps and Laurel Burch cats and the elegant sides feature gorgeous Giftsland Lokta hand made paper from the assorted Copper pack. Joggles has 8 different packs that range from florals to geometrics in a variety of patterns and colours. Each assortment pack contains twelve 8.5” x 11” sheets and you get 2 of each design so you can make lots of ATC ornaments with one pack.
Christmas is fast approaching so lets get started ;0)
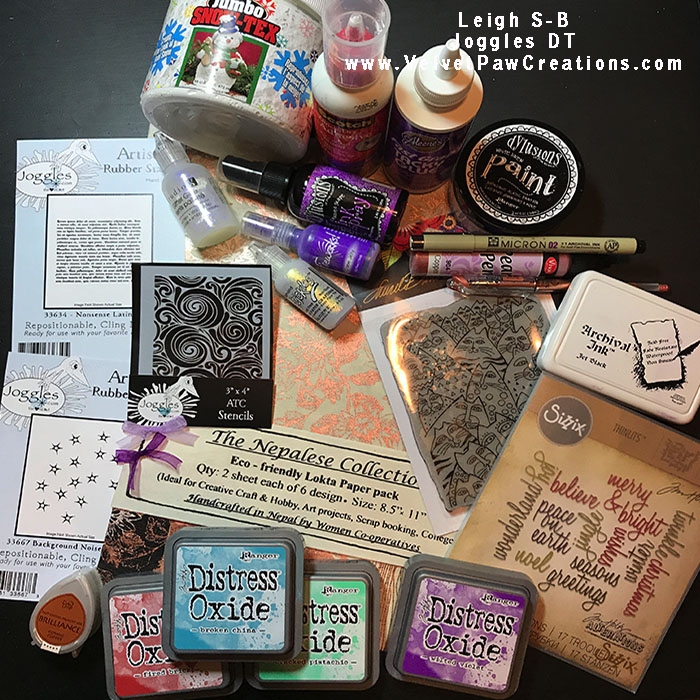
Materials and Supplies
Joggles Rubber stamps: Nonsense Latin Text & Background Noise – Spark
Joggles stencil – Itty Bitty Mini Cyclone
Giftsland Lokta paper – Copper
Laurel Burch cling stamp – Whiskers
Distress Oxides: Fired Brick, Cracked Pistachio, Broken China, Wilted Violet
Brilliance Ink – Cosmic Copper * Archival Ink – Jet Black
Dylusions Ink Spray – Crushed Grape * Fireworks – Grape Jelly
Strathmore/Canson Watercolor Paper
Tim Holtz – Holiday Words – Script dies
Cheery Lynn Designs – Holly Flourish die, Impression Obsession Stamps – Holly leaves die
Viva Pearl Pen – Copper (dimensional liquid drops), Viva Pearl Pen – Magic Transparent white (dimensional liquid drops)
Stickles Glitter Glue – Diamond
Prismacolor Pencil – Chartreuse, Wink of Stella – Clear, Copper gel pen, Black Micron pen
Inkssentials Non-stick Craft Sheet, Ranger Mini Mister and water, Ranger Heat Tool
Aleene’s Fast Grab glue, Scotch Quick Dry Adhesive, Pop Dots, Glue Dots
Silver hanging cord, Silver Tassels, Purple and Lavender organza ribbon
Heavy weight white cardstock
Paint brush, Paper towel, Clothes pegs or clamps, Wood craft stick
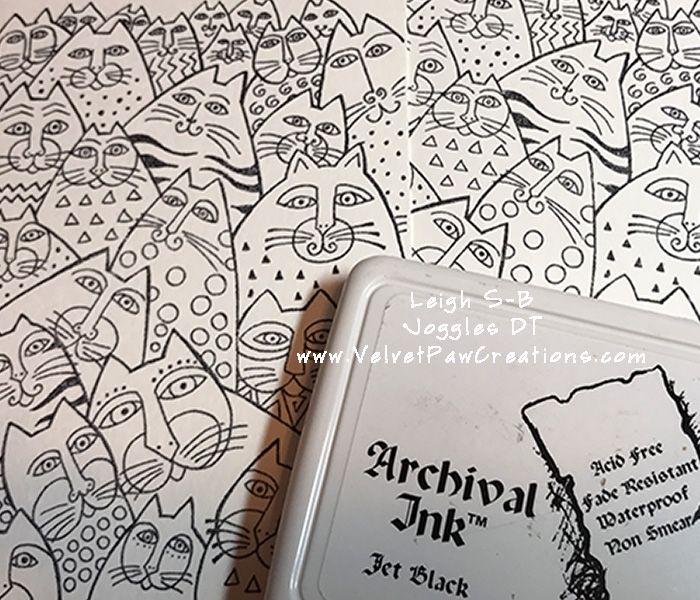
Stamp the Laurel Burch cats collage twice onto a sheet of watercolor paper with Jet Black Archival ink.
Tip: When using textured watercolor paper stamp your images on the back of the paper instead of the front. The back of the paper is smoother and you’ll get a better stamped impression.
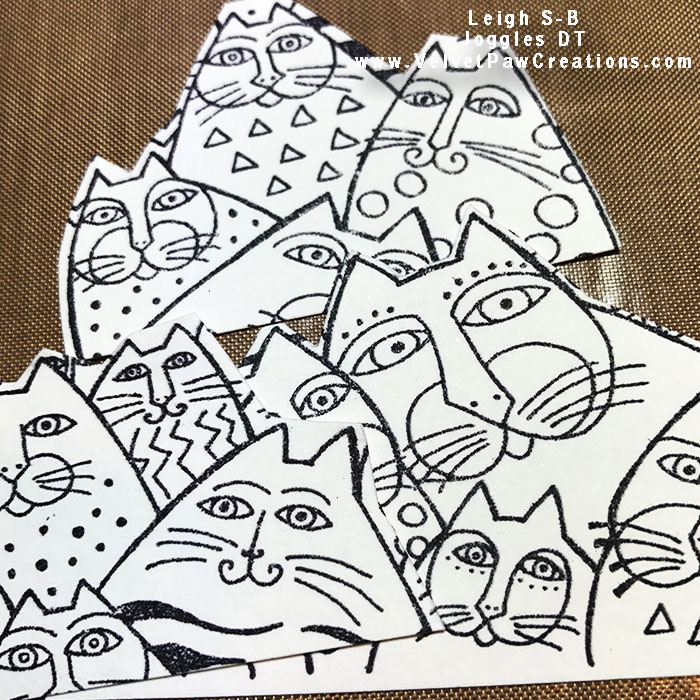
Decide which kitties to use from the collage and cut them out. I decided to create a sense of family with my ornaments so I chose groups of kitties for my focal images.
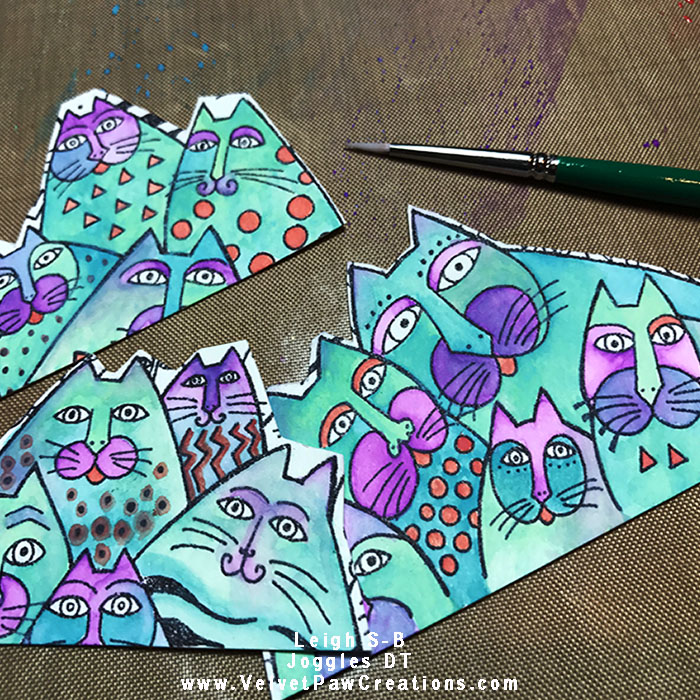
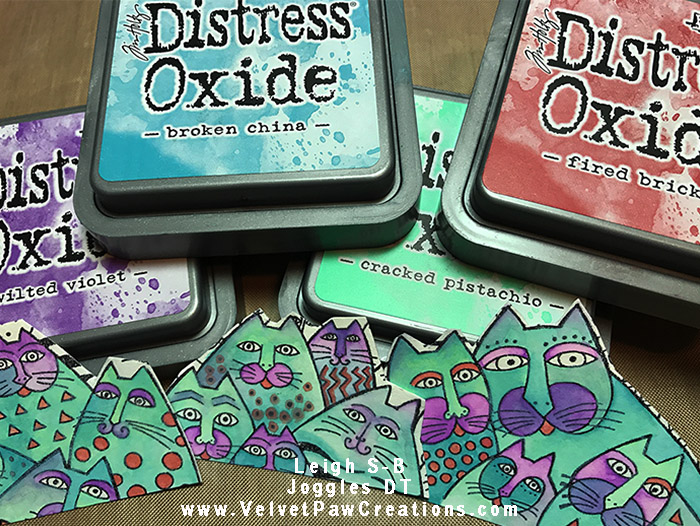
Watercolor paint all the kitties with Distress Oxides. For my kitties I only used 4 colours: Fired Brick, Wilted Violet, Broken China and Cracked Pistachio. I like to smear a bit of each colour directly onto my non-stick craft sheet and add varying quantities of water with my paint brush to create various shades of each colour and mix and blend as I paint.
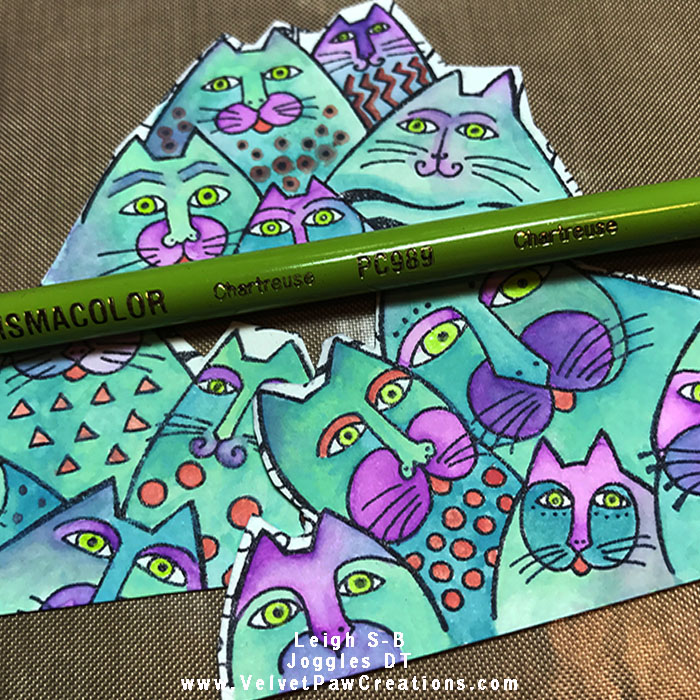
Make sure the kitties are all dry and then colour their eyes with Chartreuse Prismacolour pencil.
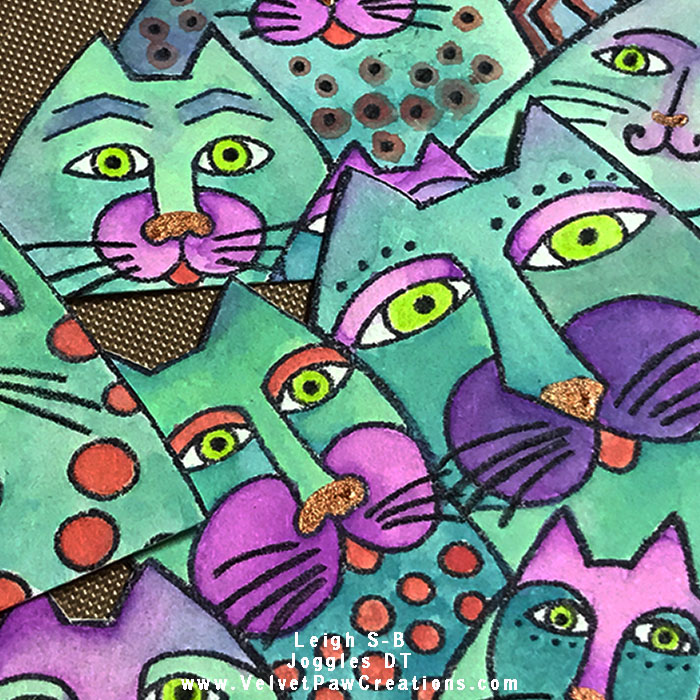
Add a touch of metallic copper to all the cat’s noses with a gel pen. All the copper touches added to the ornament fronts ties in with the copper paper I used on the backs to give the finished ornaments a cohesive look.
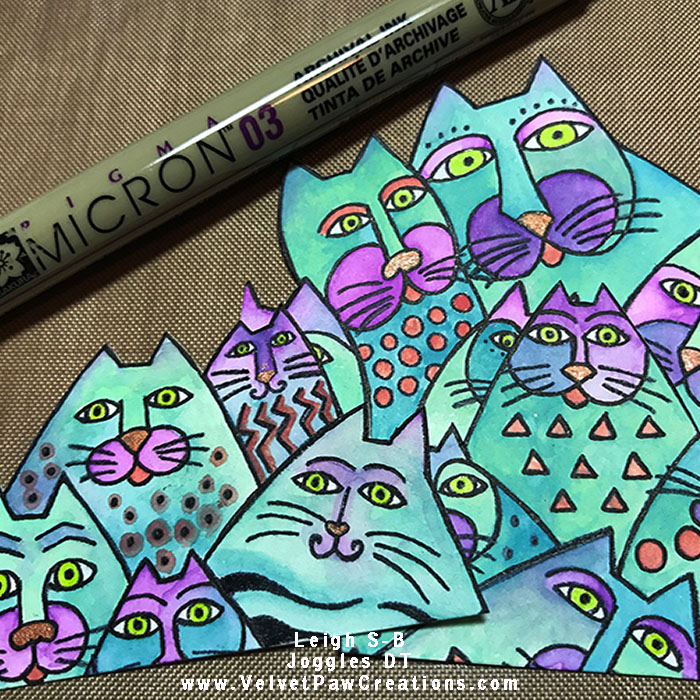
Fussy cut out the kitties and enhance all the stamped edges and design lines with a black Micron pen. I actually started with a black Prismacolor pencil but switched to the pen because some of the areas are really tiny and the pen is a darker black too.
Apply clear Wink of Stella to the kitties for touches of magical shimmer.
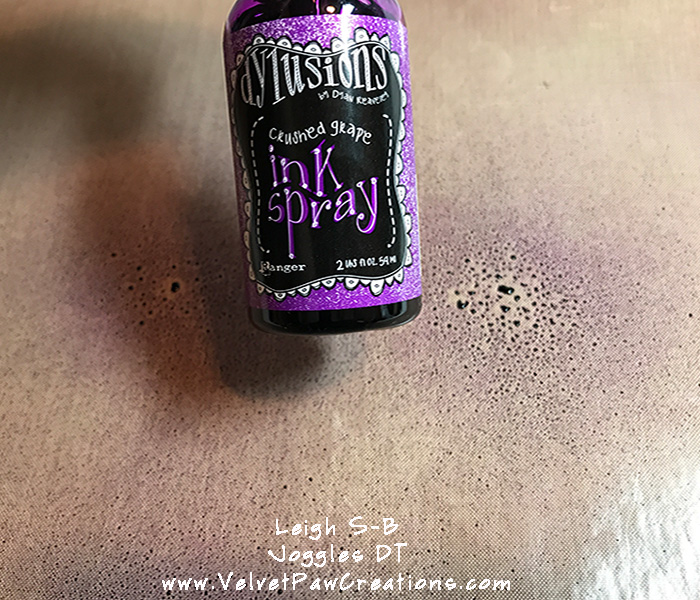
The next step is to create your own background papers for the ATCs. The concept for my ornaments is “visions of sugar plums dancing in their heads”. I began by spritzing just one colour of Dylusions Ink Spray, I used Crushed Grape, onto my craft sheet.
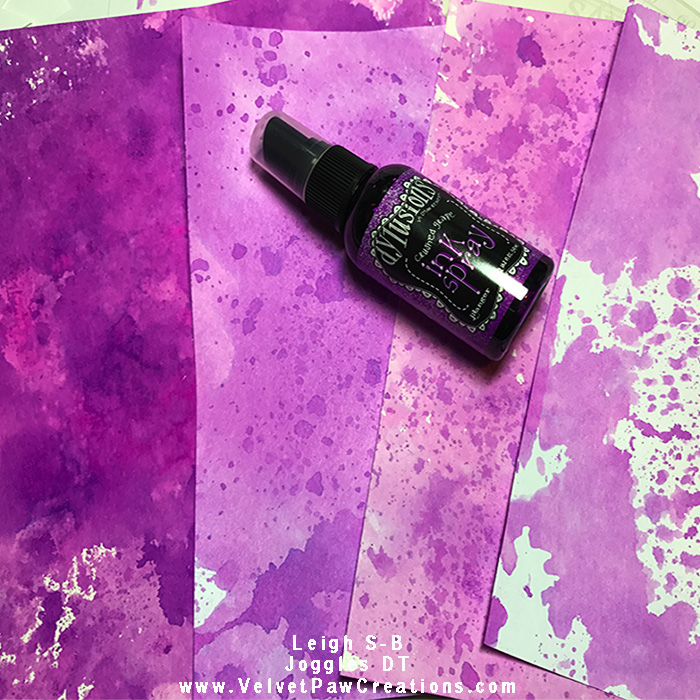
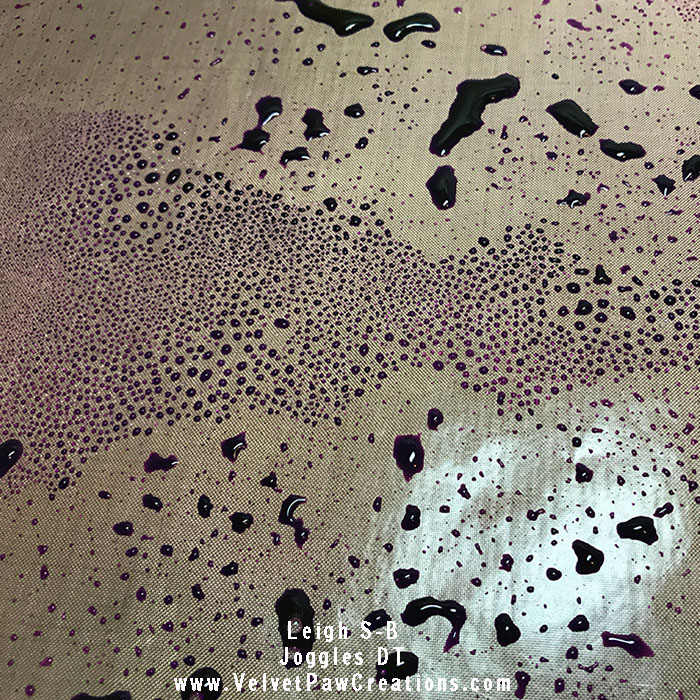
As you can see in this photo you can get quite a few different looks by just using one colour. Undiluted ink is deep purple but when you start diluting it with spritzed water you can get various shades of pink too by controlling how much water you add. Just have lots of fun experimenting with the amount of ink and water and create multiple backgrounds. Dry the papers with a heat tool and continue playing by adding texture and patterns to them by re-smooshing them onto less diluted ink.
Once I was finished playing, and all my fingers were a yummy purple colour, I chose the background paper I wanted to use and cut 3 ATCs from it. Artist Trading Cards measurements are 2.5 inches x 3.5 inches (64mm x 89mm).
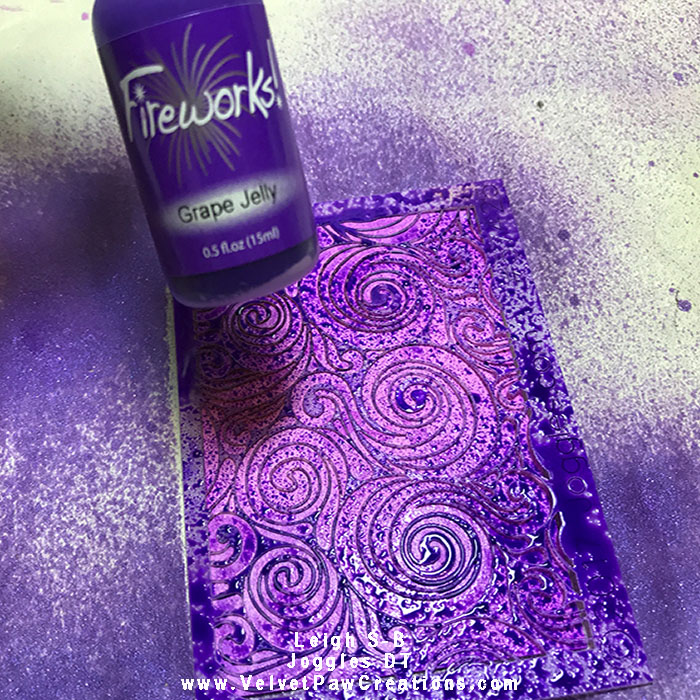
The next step is to add purple shimmer to your purple fingers…and the ATCs ;0) Joggles’ Itty Bitty mini Cyclone stencil was perfect to create the “visions of sugar plums”. For this step I used the stencil a bit different to the traditional way. I wanted the finer swirly lines of the stencil pattern so I applied the ink onto the stencil itself instead of spraying the ink through the stencil to colour the background.
I spritzed Grape Jelly Fireworks, which is a water-based shimmery ink onto the stencil, turned it over and laid it down onto my ATC. I then used paper towel to dab at the back of the stencil and transfer the ink pattern to the ATC.
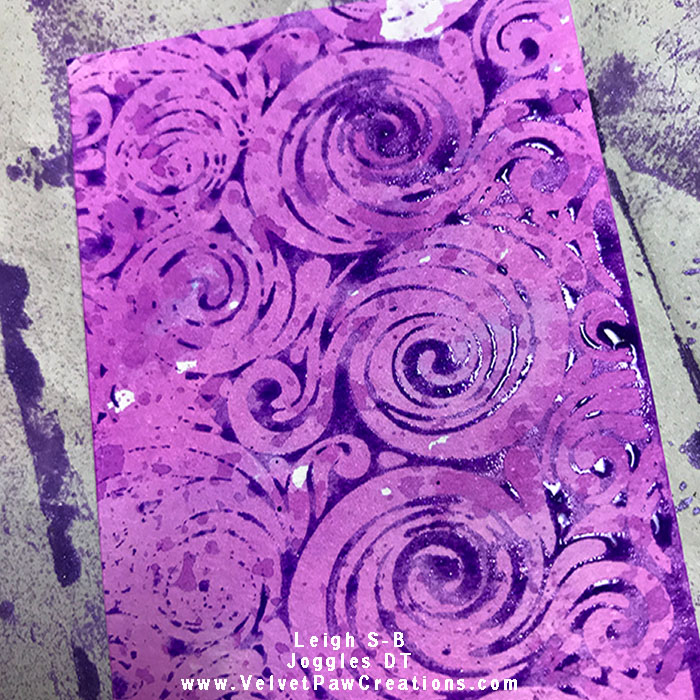
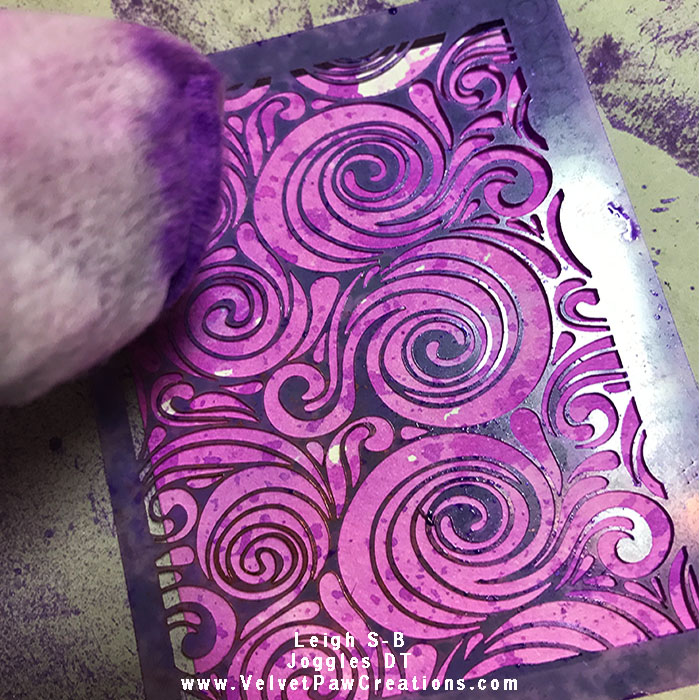
YAY, I love it! The impression is exactly what I envisioned dancing sugar plums would look like ;0)

Of course you cannot waste all that yummy over-spray ink so spritz up the stencil on the other backgrounds you made and create new sparkly backgrounds in the process. Once you’re done playing dry all the papers with a heat tool.
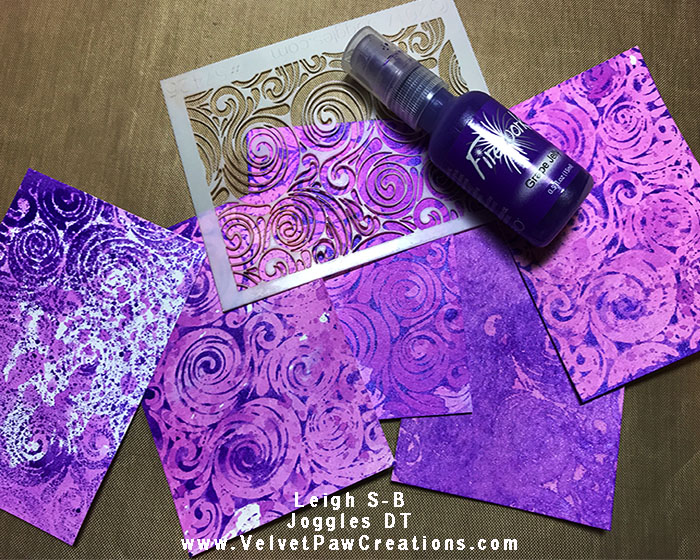
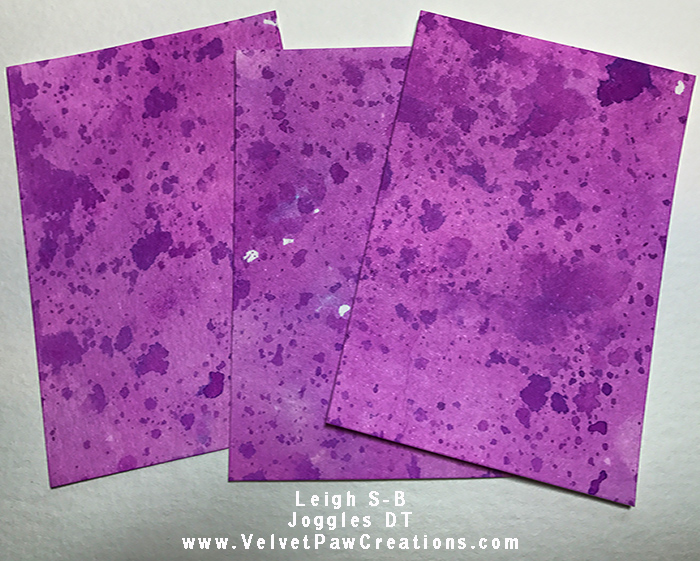
Look at some of the fun ATCs I made just using 2 purple Ink sprays!
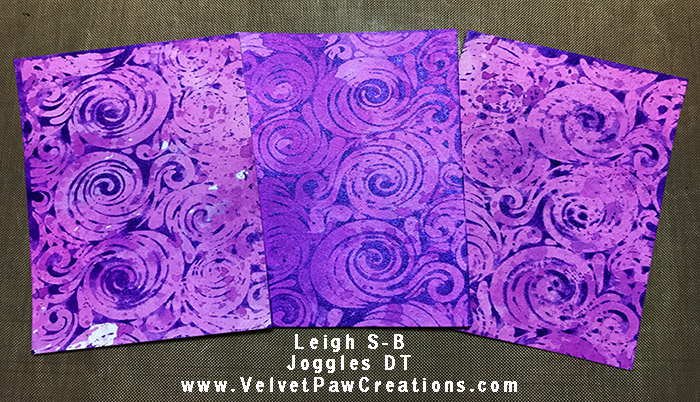
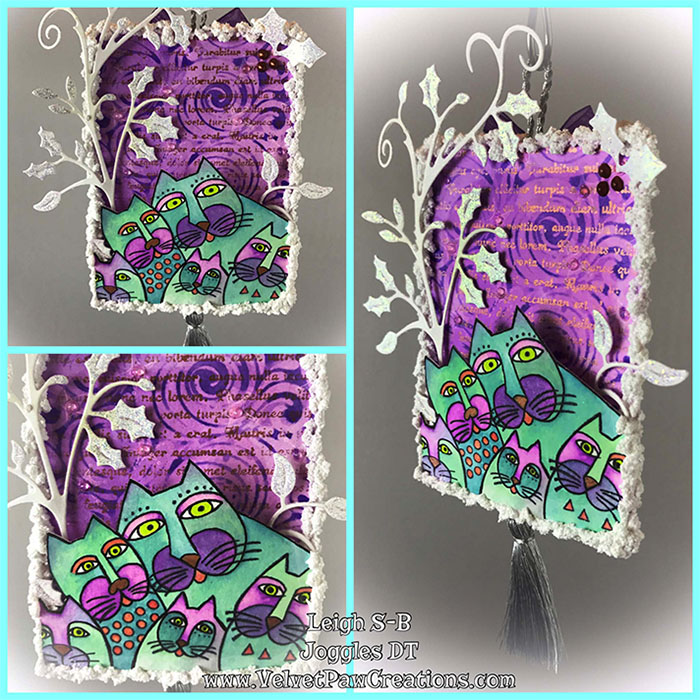
These are the 3 ATCs I decided to use for the whimsical kitty sides of my Christmas ornaments.
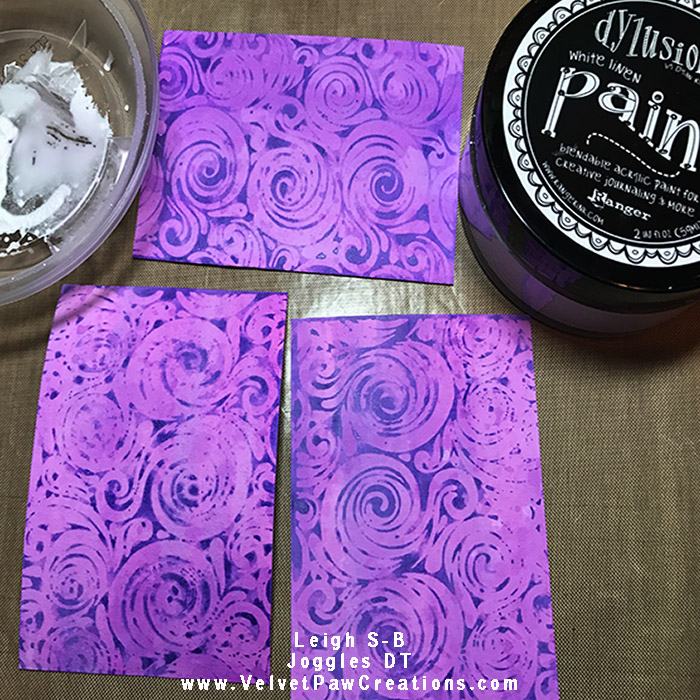
Now don’t gasp in horror…but I decided the colour was a little bit too “bright” so I toned it down with a coat of White Linen Dylusions paint. I made a whitewash by mixing a tiny dab of paint with water and applied it with a brush. You can’t really tell a difference in the photos but the colour is less bright and it didn’t effect the shimmer of the Fireworks spray either.
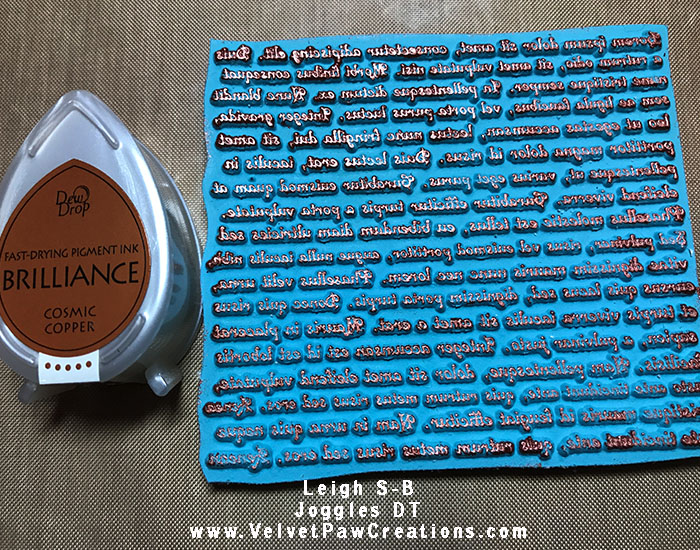
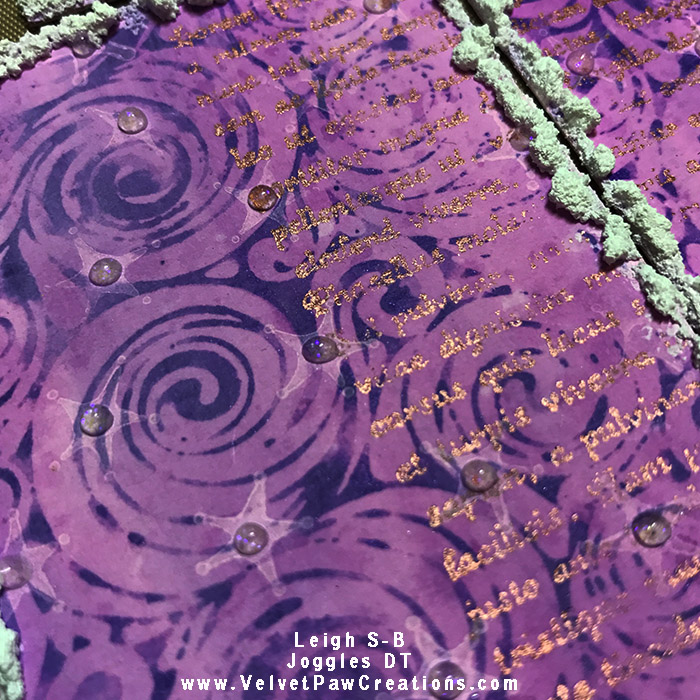
Now its time for the rubber stamping. Ink up the Joggles Nonsense Latin Text with Cosmic Copper Brilliance ink. Apply the ink with random pressure to create a distressed look.
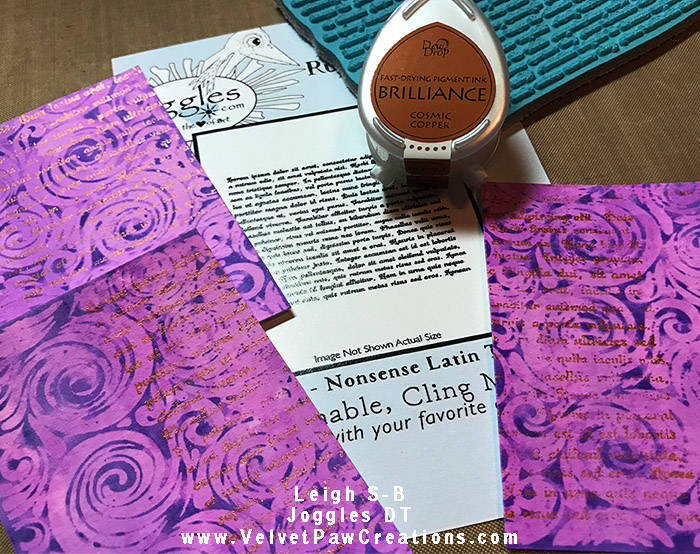
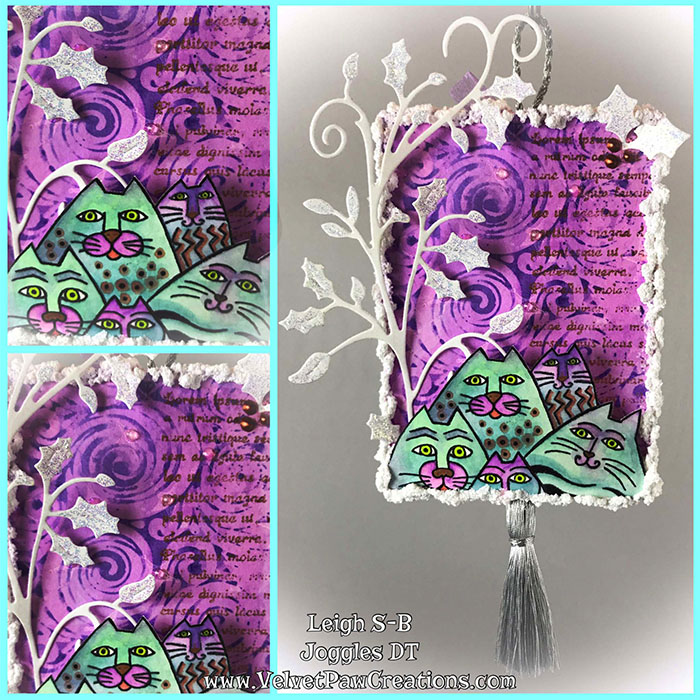
Stamp a portion of the text onto each ATC. I did one with the text covering the upper portion of the ATC and the others I stamped the text down alternate sides.
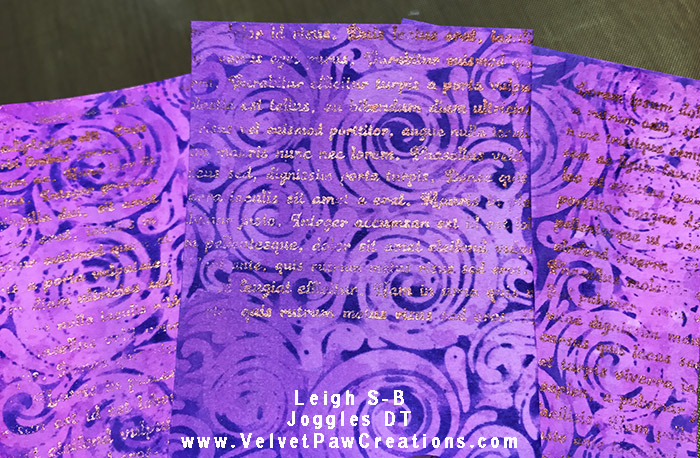
Heat set the ink to dry it. The copper text adds a lovely metallic touch to the backgrounds.
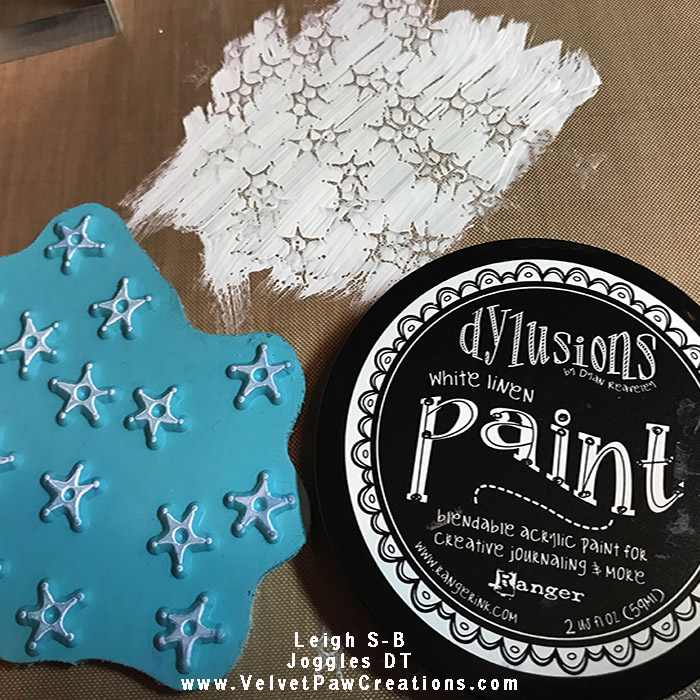
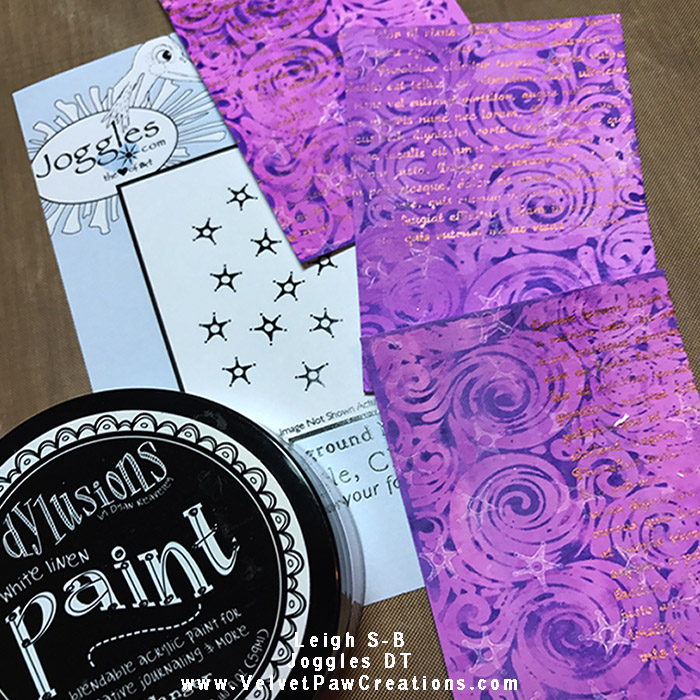
Stamp stars, Joggles Background Noise – Sparks rubber stamp, onto the ATCs with White Linen Dylusions paint. Do this by thinly smearing a dab of paint onto your craft sheet and tap the stamp in to the paint. You can get a few impressions out of one smear.
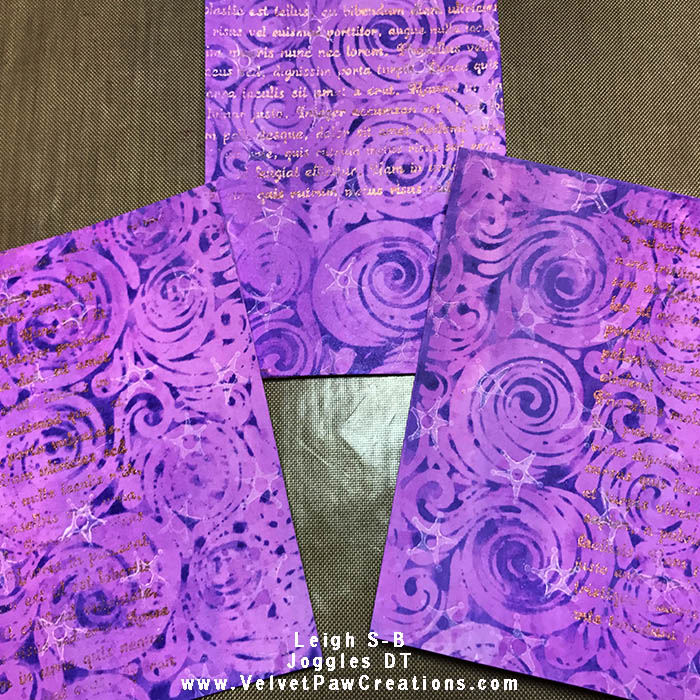
Here’s a look at the ATCs so far…the stamped stars add a lovely subtle touch to the backgrounds.
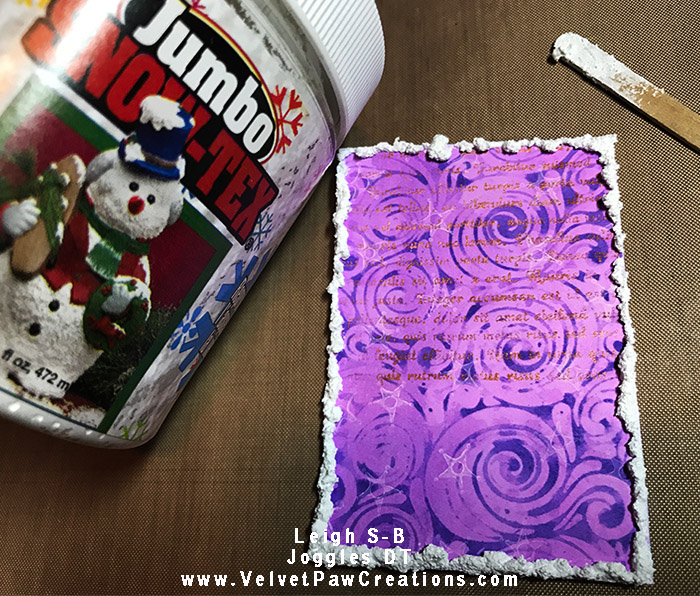
Turn the ATCs into a magical winter wonderland by applying DecoArt Snow-tex to the ATC edges with a wood craft stick. I love this stuff!
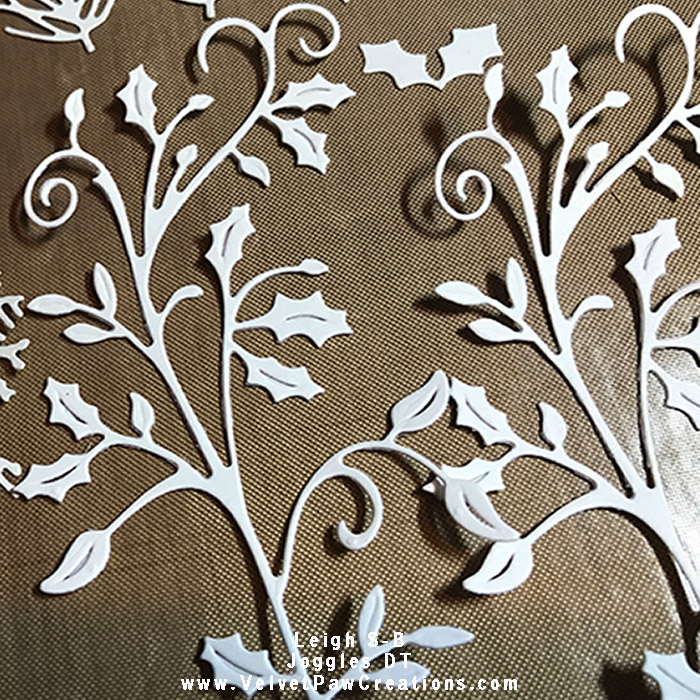
Die cut out holly flourishes and leaves from heavy weight white cardstock. I used Cheery Lynn Designs’ Holly Flourish and the holly leaves are from a wreath die by Impression Obsession Stamps.
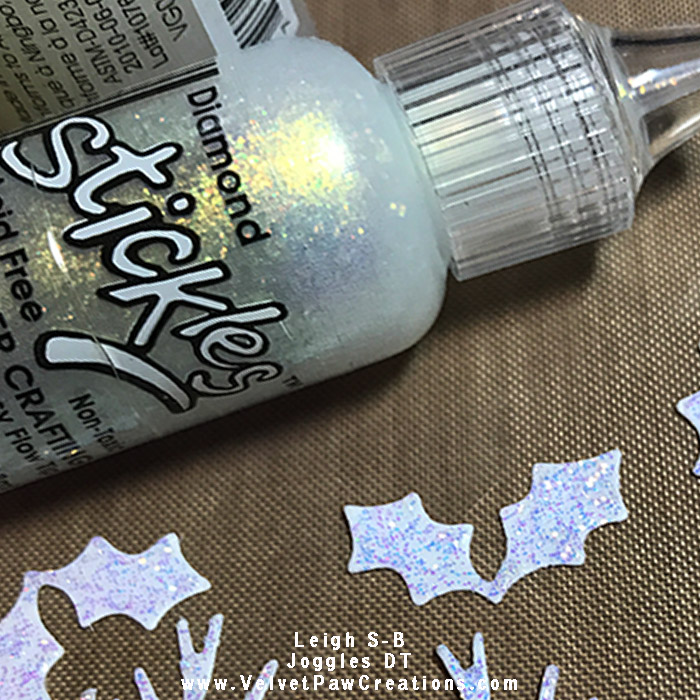
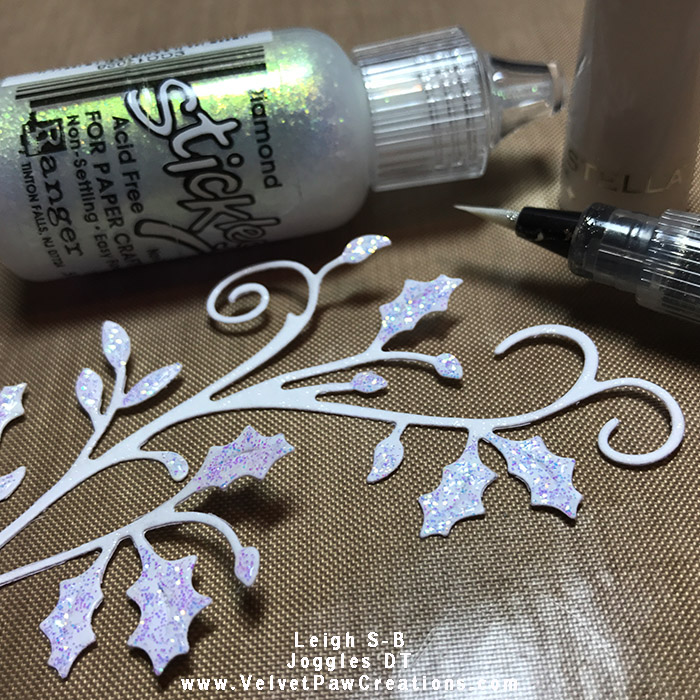
Apply clear Wink of Stella to the flourish and Diamond Stickles Glitter glue to all the holly leaves.
Add dimensional shimmery dots to all the stamped stars. I used Magic Transparent White Viva Pearl Pen but any clear shimmery dimensional drops will do the trick. If you don’t have any then use glitter glue instead to add touches of magical shimmer to the backgrounds.
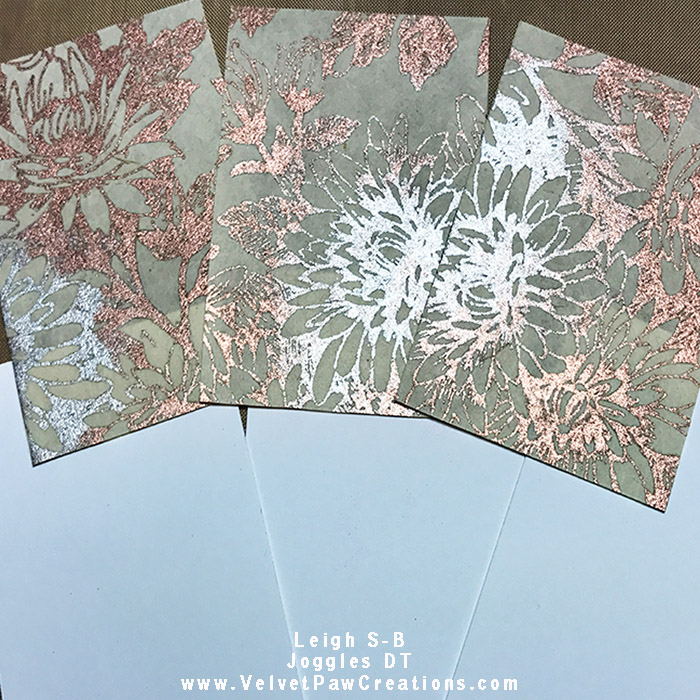
While the embellishments and the ATC backgrounds are drying its time to make the elegant sides of the ATCs. Cut 3 ATCs from heavy weight white cardstock and 3 ATC sized pieces from a sheet of the cream, copper and silver floral patterned Lokta paper.

Adhere the Lokta paper to the ATC blanks with a coat of your favourite adhesive. I applied a bead of Scotch Quick Dry adhesive around the inner edge of each ATC blank and smeared it with my finger to thin and make sure the glue covered all the edges.
The next step is to start assembling the ornaments. Make hangers from silver cord and adhere them in place on the back of the Lokta paper ATCs with Aleene’s Fast Grab glue. Adhere the silver tassels in the same way. Then run a bead of glue around the inner edge of the undecorated side of the ATC and sandwich the hanger and tassel between the front and back panels of each ATC ornament. Make sure the front and back ATCs line up nicely, press the edges together with your fingers to achieve good adhesion and clamp as needed. The Aleene’s Fast Grab glue is awesome for projects like this when you don’t want to wait ages for the glue to dry. The first ornament was nice and glued by the time I’d adhered the second together and I was able to re-use the same pegs (clamps) on each ornament.
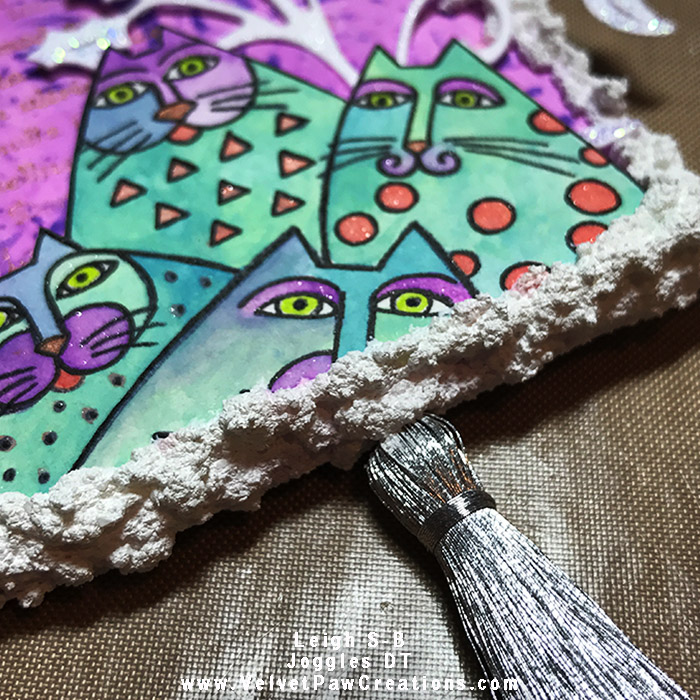
Adhere the kitties to the front of each ornament with pop dots. Then apply more Snow-Tex to hide the edges of the kitties layer, cover the gab between the kitties layer and the ATC and hide the seam of the joined ATC panels.
Tip: I applied the textured snow in two stages because the stuff is quite sticky and tricky to cover larger areas in one application. I recommend you do the first application mentioned in Step 10 and let it dry instead of attempting to apply all the snow now.
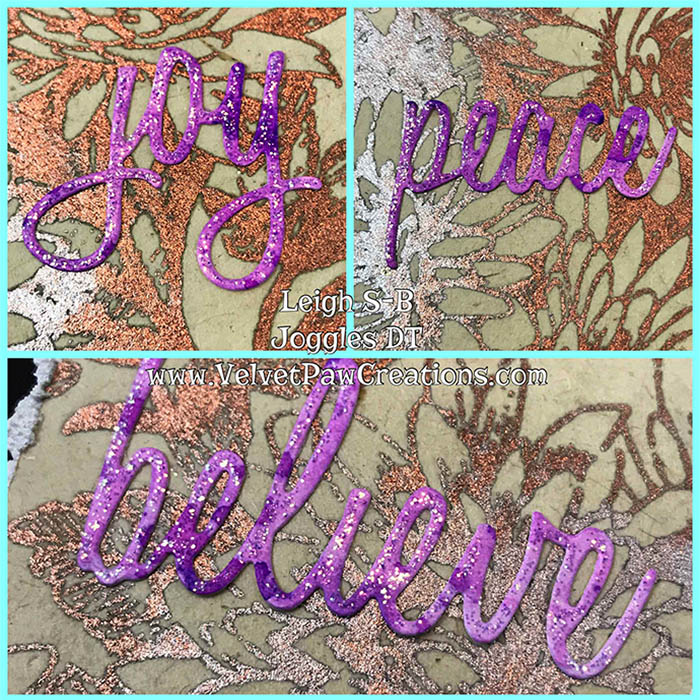
While the snow is drying die cut out the Christmas words for the elegant ATCs. I die cut mine from a piece of the “sugar plum” backgrounds I made and added Diamond Stickles to it for more festive sparkle. Once everything was dry I adhered the words to the ATCs with dabs of glue.
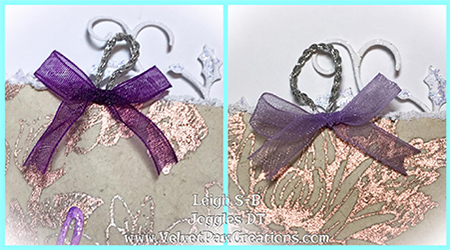
I then made bows from purple and lavender organza ribbon as the finishing touch for the elegant sides of my ATC ornaments. These were adhered in place with glue dots.
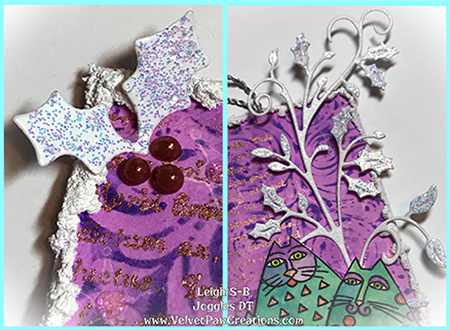
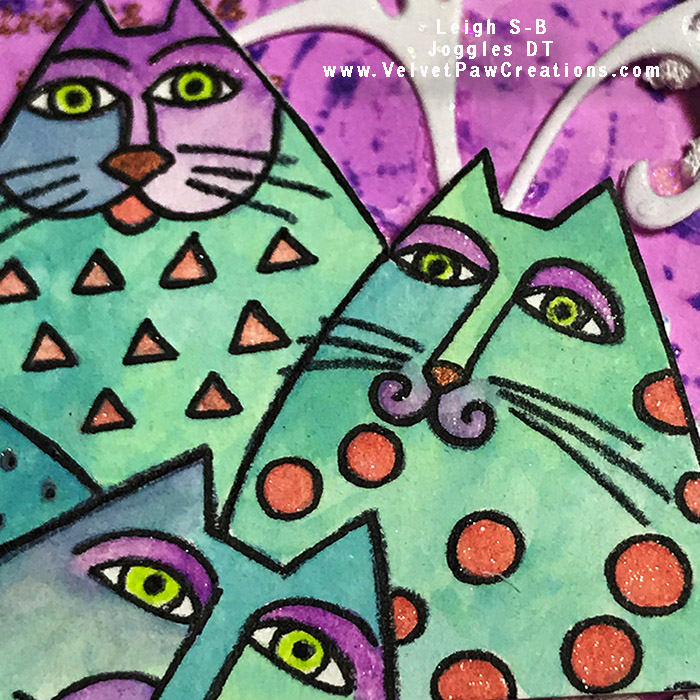
I then completed the whimsical kitty sides of the ornaments by adhering all the holly flourishes and leaves in place with dabs of glue and added dimensional copper dots for holly berries. I love how they turned out! Here’s a closer look at the whimsical kitty side of each ornament.

Check out my little video of the ornaments in action! They’re so pretty and exactly what I envisioned for “sugar plums dancing in their heads” :0) (please note the video contains flashing lights)
I hope my tutorial has inspired you to make your own Christmas ornaments this holiday season! I’d love to see your ornaments, share them with me by adding links to your blog posts in the comments below and also on my blog post here:
http://www.velvetpawcreations.com/2017/11/visions-of-sugar-plums-hanging-atc.html
This is my last Joggles tutorial for 2017, I can’t believe how fast this year has gone by, time truly does fly when you’re having fun :0) I’ve thoroughly enjoyed creating for Joggles over the last 6 months and I hope you’ve been equally delighted and inspired by my projects
too :0)
Happy Holidays to you all and Best Wishes for a fabulous 2018!
Happy Stamping!
Leigh
6 Comments
Such fun, Leigh! I love the holly leaves with the stickles and wink of stella.
Thank you Diana😃 It has been a pleasure getting to know you & creating with you this year! Happy Holidays🎉
Fabulous…I love these hanging ATC’s ….love all the inks, texture and colours and those kittie. You always put so much into your projects. I have enjoyed seeing each and everyone this year. x
Thank you so much😊
What a great little project. It is always nice to find new ways to use what I have. So nice and cute and elegant at the same time!
Thank you Jane😊 I’m pleased you found my project inspiring & useful!