
Last week’s prompt was to use a brayer to create the page background. I’m back using the brayer again this week, but this time in combination with Dina Wakley’s Gel Medium.
Why? Primarily because there are a lot of ways to use a brayer and I wanted to explore other options, bringing us to this week’s prompt:
Use a brayer with something that will act as a resist. It could be gel medium, though gesso, embossed images, and paint will also act as a resist.
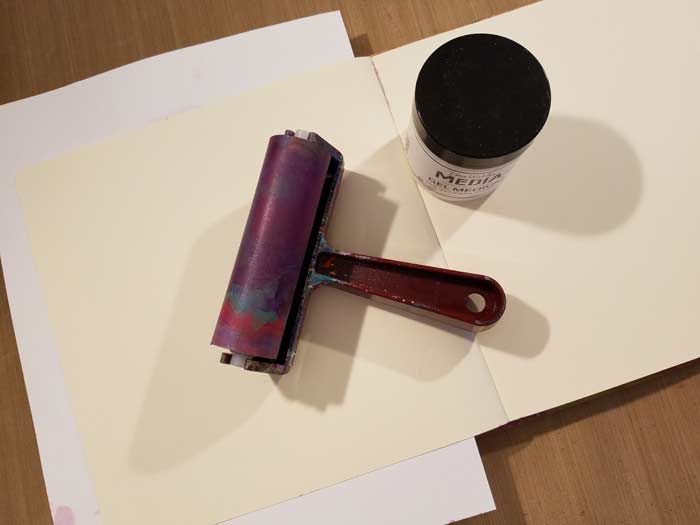
Ready to go. Simple tools this week. Dina’s Gel Medium and a brayer.
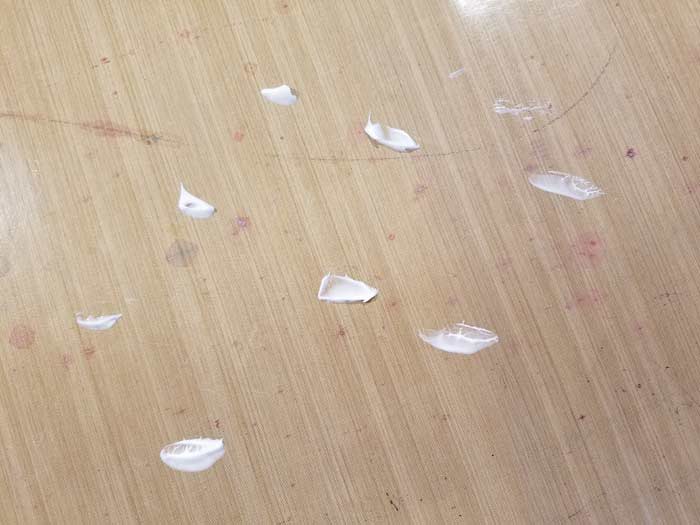
I knew I wanted a completely random pattern of blob shapes, so I put dabs of gel medium on my table, then grabbed the brayer…
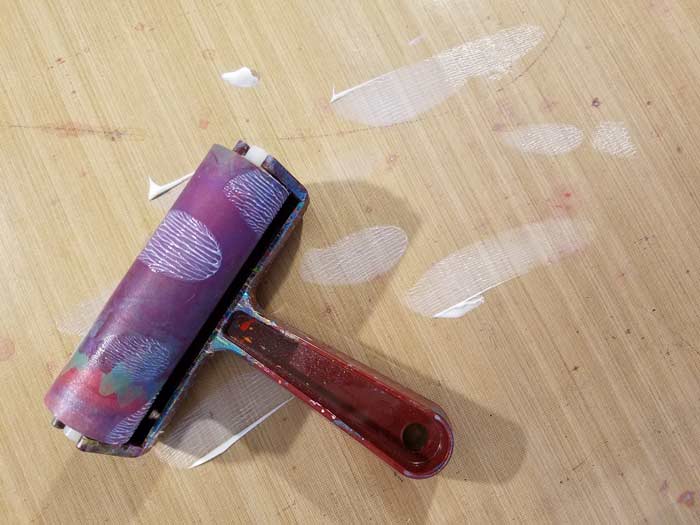
And rolled it once through the gel medium. That provides distinct blobs on the brayer. If I had rolled back and forth it would have spread the medium out into a layer and that would have caused a roll of the brayer on the page to be a solid stripe. With that single pass through the gel medium done, I rolled the loaded brayer on the page. Twice, knowing full well that the second pass would provide less transfer of the gel medium.
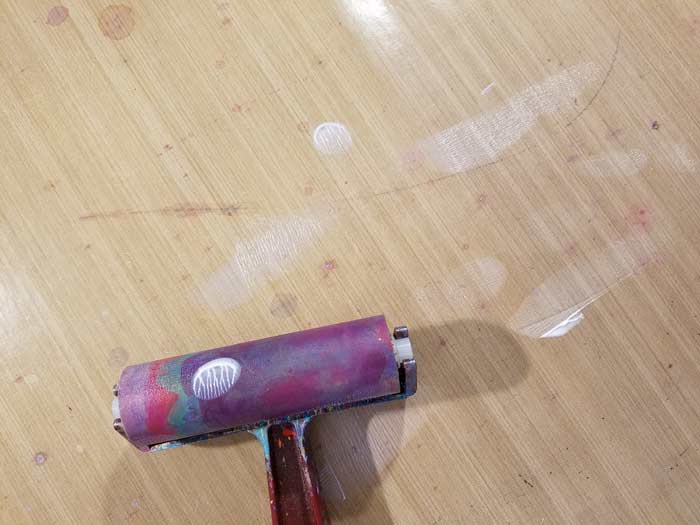
After the second roll of the brayer on the page it was time to load more gel medium on it. Same process as before, a couple of rolls through the gel medium and nothing more. See how the blobs of gel medium on the bench surface still have not rolled out into a smooth later? That’s what I’m looking for to keep those distinct shapes.
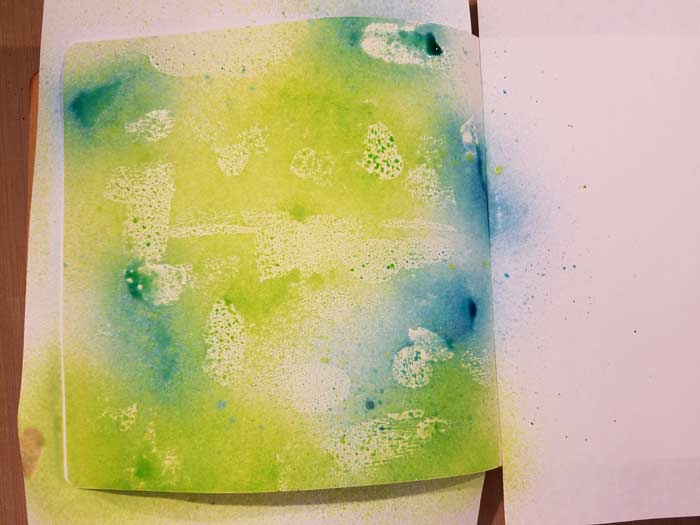
There was no point in photographing the page with the dried blobs of gel medium since it was nearly impossible to see them. This is how it looked after I sprayed Twisted Citron and Tumbled Glass Distress Spray Stain on page, once the gel medium was completely dry.
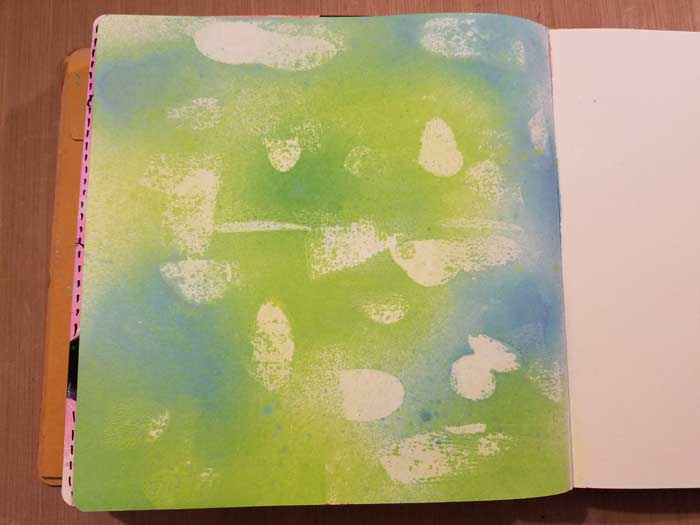
With the spray dry, it’s easy to see the pattern of the gel medium, doing its job and acting as a resist. While this is interesting, it needs more.
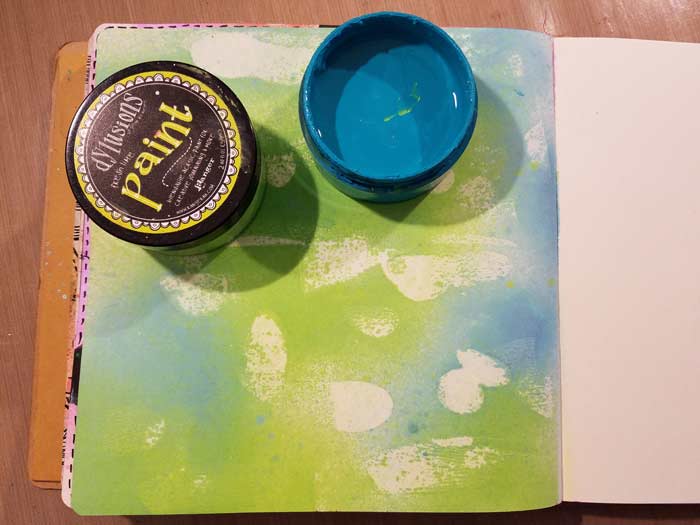
So I pulled out Dylusions Paint in two colors: Dirty Martini and Vibrant Turquoise. And then I got engrossed in the process and completed several steps without taking interim photos. Ooops. Sorry about that!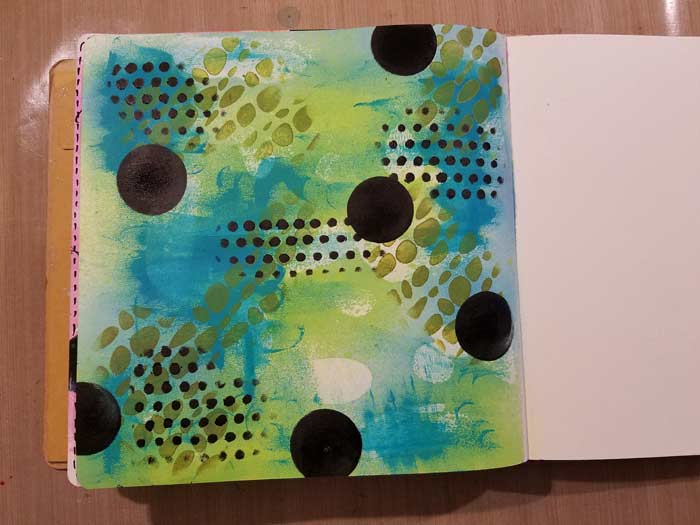
You can see the Vibrant Turquoise paint as loose applications of color. I used Dirty Martini with our 9″ x 12″ Wander Stencil. The Vibrant Turquoise was added with my fingers, just smooshing the color around. I used one of the Mini Ink Blending Tools to apply Dirty Martini through the stencil. I also used Dylusions Black Marble Paint on the Mini Ink Blending Tool and made the area of small black dots using our 9″ x 12″ Punchinella Trio #1 Stencil. The large black dots were made with the Mini Ink Blending tool by applying it to the page surface and twisting in a circle.
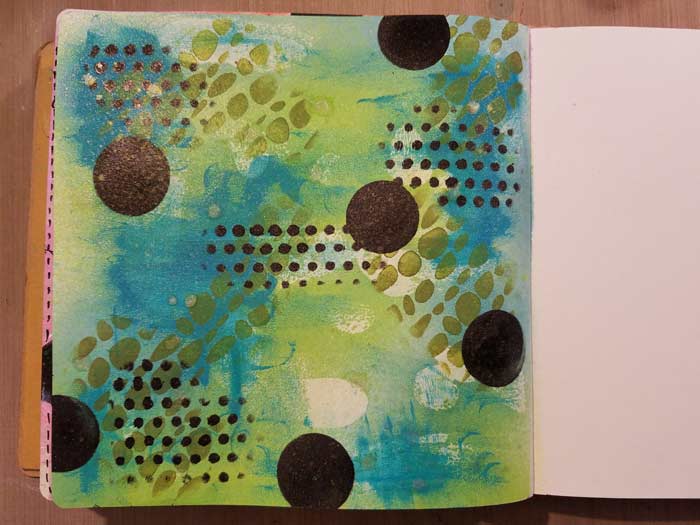
Thinking the page lacked cohesiveness, I used one of the Lindy’s Starburst Spray and added a layer over the entire page.
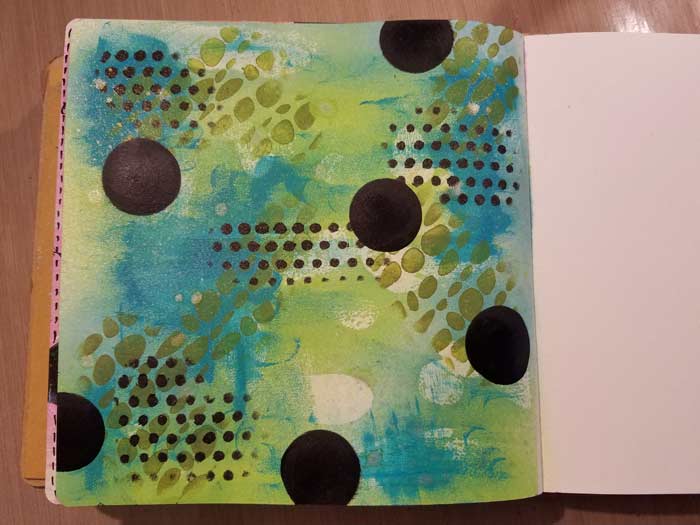
That pulled everything together in a way I liked, but it was a little flat and lacking depth so I recoated the big black dots.
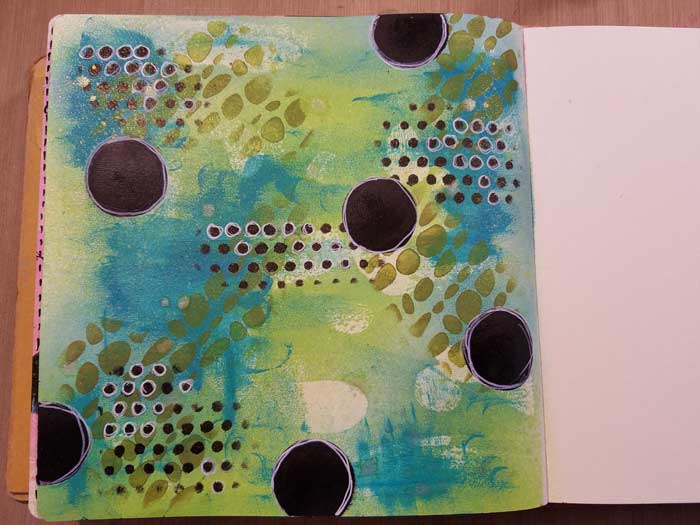
Got out a white pen and drew around both size dots. I like this, but… it still seems to be missing something.
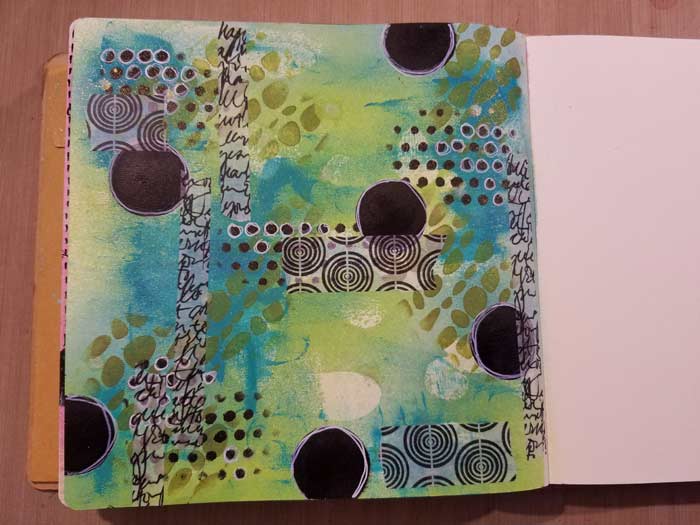
I grabbed two of the rolls of Dina Wakley’s Printed Media Tape and added strips in both directions. Now I like it well enough to call it done.








4 Comments
Another great idea for creating texture and interest. Thanks a bunch!
It wasn’t doing it for me until you added the tape. Great job.
I love this Barb!!! So pretty! Thanks for sharing.
I love your process and when you know it is done. /abitger great page from the master of great work!