
Unlike several of the last few weeks I knew exactly what I wanted to do for this page spread. The prompt was going to be “green” and I had this idea already blossoming in my head about how I wanted to proceed.
What I didn’t count on was the very first thing I added to the spread being the very thing that veered me right off the prompt.
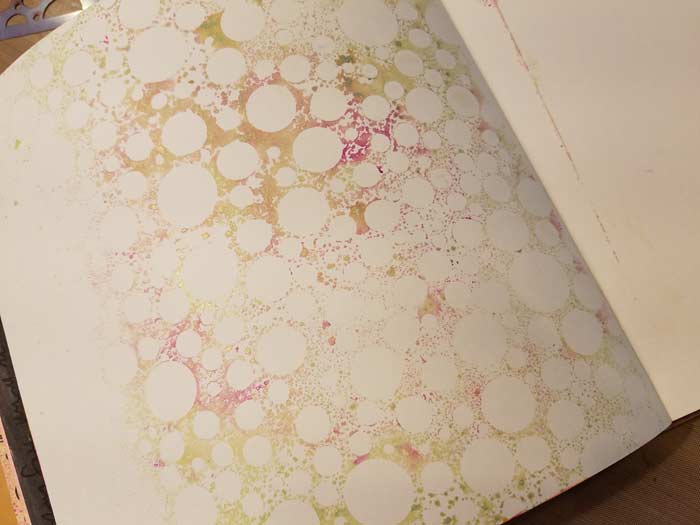
This is our Bubbles Blast Stencil, or rather than negative of it, since I sprayed through the openings on another project and then printed what was left on the surface of the stencil on the left side of the spread. I used one of the green Lindy’s Starburst Sprays. What’s quite obvious is that what I printed is not entirely green.
While I love the combination, and even where the colors mixed, I didn’t get all green. With the original prompt completely screwed it was time to punt (football seasons is nearly upon us. Expect more football to art analogies as the season unfolds. I digress) and figure out what this could become. The original idea included some scribbled circles with text stamped inside, so with that in mind I figured the new prompt could be something about shapes. Then I played a little more and it was cemented in my head…
And with that I give you this week’s prompt: Choose a geometric shape and use it repeatedly on your page or spread.
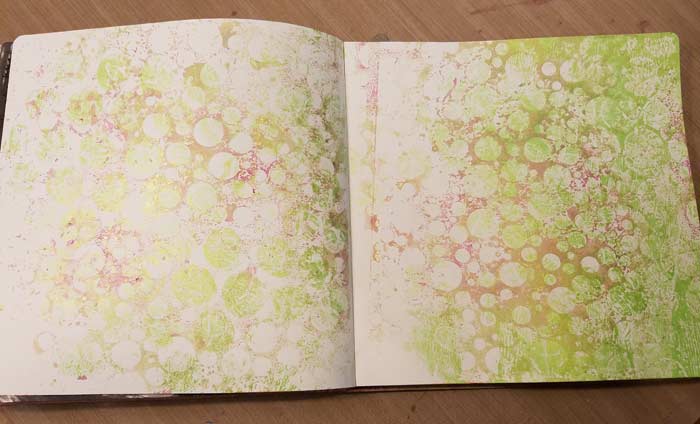
Here’s the spread after I repeated the “print the negative of the stencil” step. The green you see is large bubble wrap (not the size of the piece of bubble wrap, the size of the bubbles themselves) that I dipped into green paint, then printed on the page. More circles.
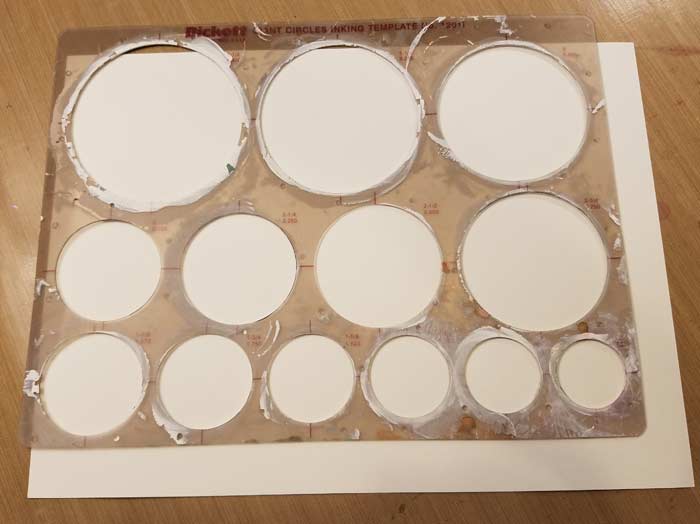
To create even more of them, I used the Pickett Giant Circles Template and traced a bunch of sizes on 90# watercolor paper.
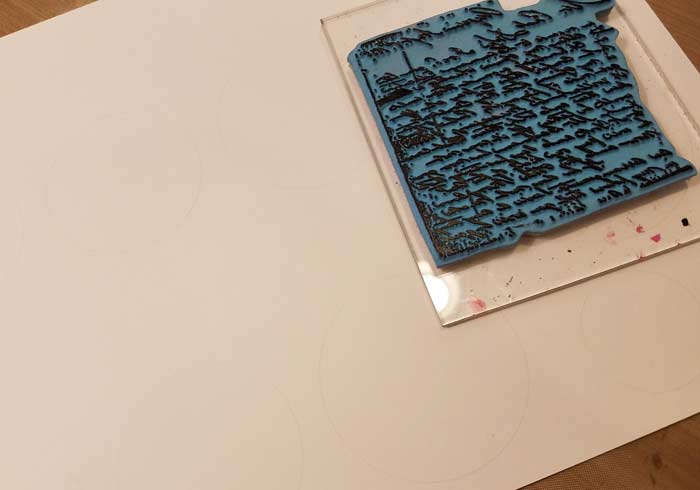
To get text inside of the circles I use Margaret’s Vintage Correspondence stamp (mounted on a 4″ x 4″ Clear Acrylic Stamp Mount) and Black StazOn Ink.
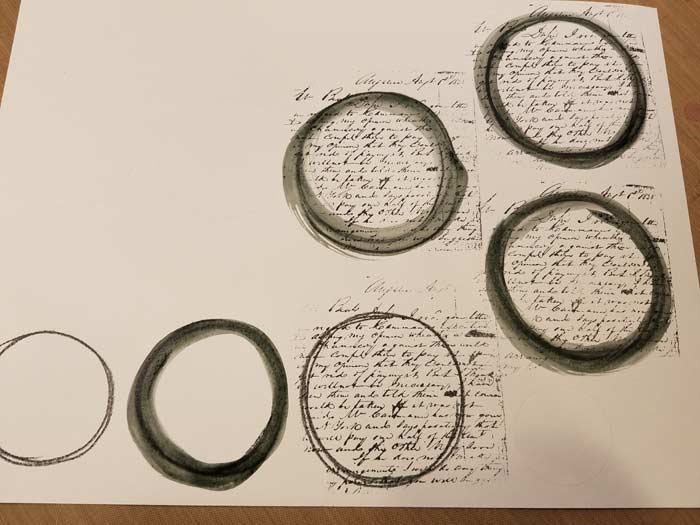
Here are the mostly finished circles. Before I stamped the text I used a black Watercolor Pencil and scribbled around the circumference of the shape, right over the light pencil lines. After I’d stamped the text I used a wet brush to activate the watercolor pigment and spread it in a rough shape of the circle. (Precision is unimportant to me. If you prefer it, take your time and spread the color more carefully)
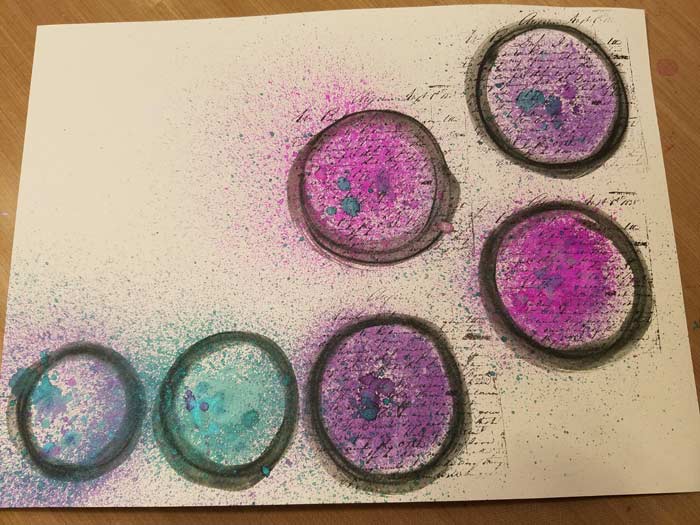
More of the Starburst Sprays.
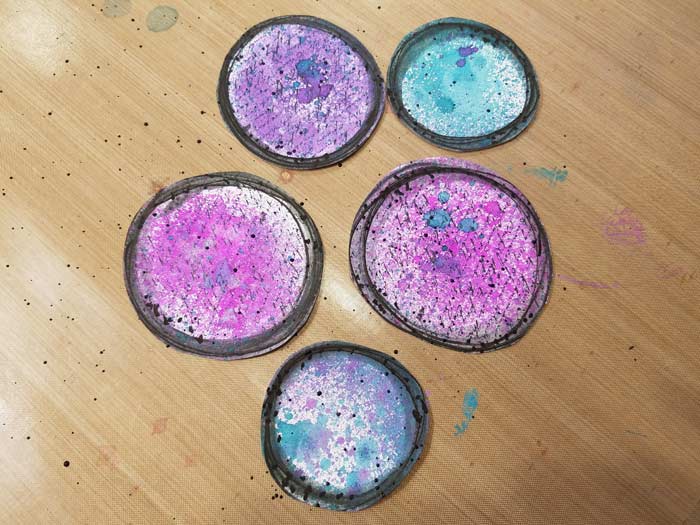
Once I cut out the circles I decided they needed more texture. Pictured here is what they looked like once I used Black FW Pearlescent Ink and a #4 Fan Brush to spatter it.
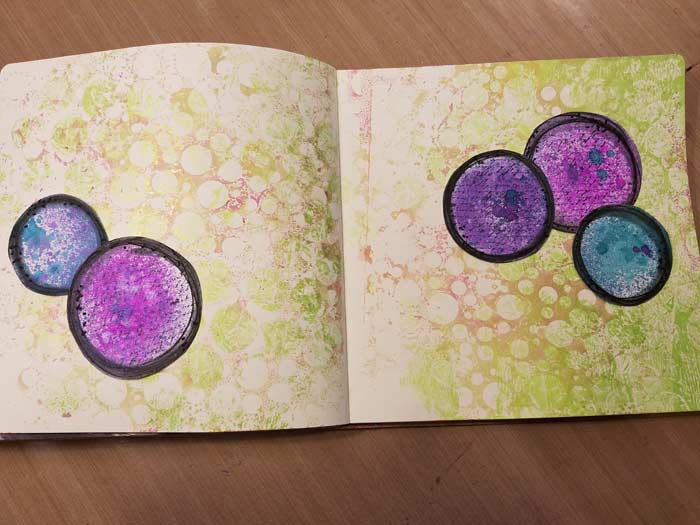
Tentative placement. Getting there, but this is not looking finished yet.
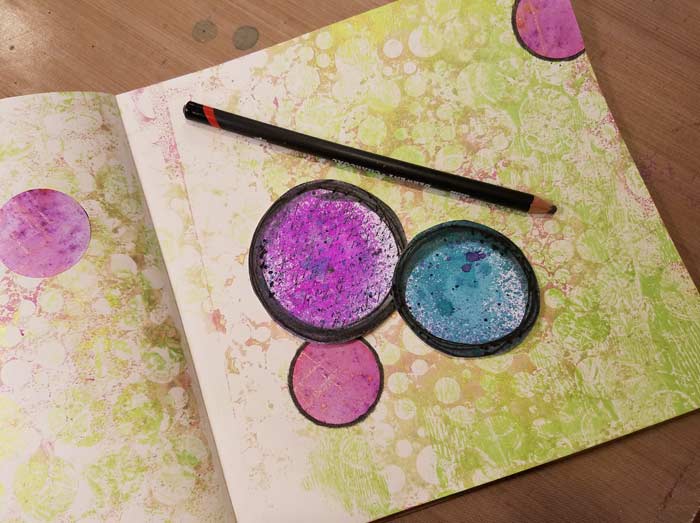
I pulled out a sheet of the Medium Circles Sticky Snippets™ that I’d previously colored. They measure 1.5″ in diameter, so the size works with what I already have. Once they were stuck to the surface I used a Charcoal Pencil to create a black outline, then I smudged each to soften the appearance.
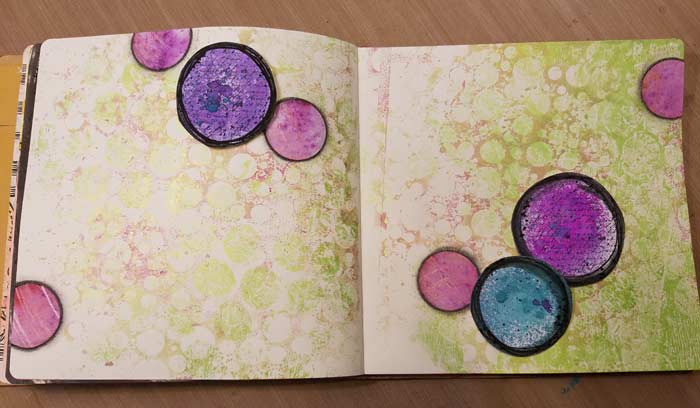
Another possible placement of the larger circles. Getting closer.
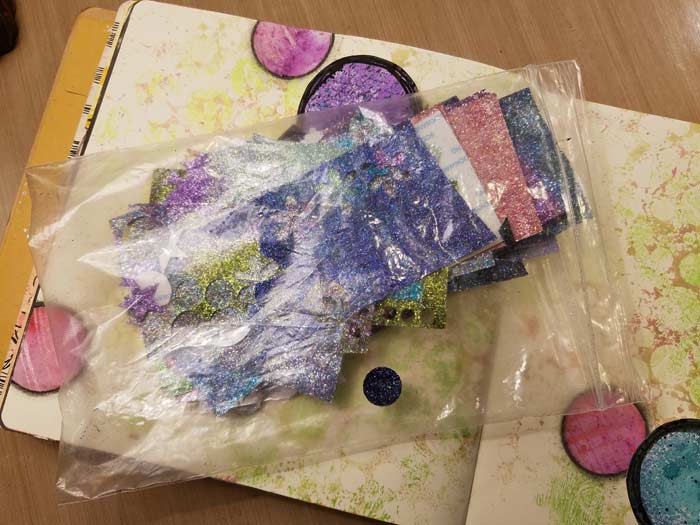
But still not quite there yet, so I pulled out my bag of self-adhesive glitter strips. I make them from 2.5″ Scor Tape by cutting a length and then dumping glitter on the sticky side. I use more than one color to get some interesting mixes and combinations. Once they’re done they can be punched or die cut to almost any shape. I tend to make circles which I’m sure comes as no great surprise to many of you.
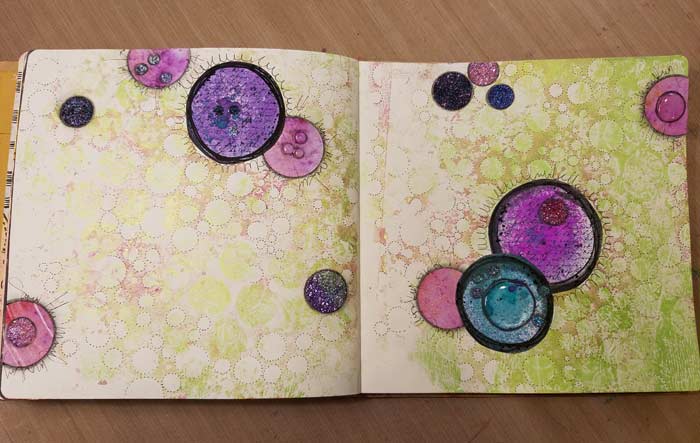
This is the final arrangement. The glitter circles (of many different sizes) are in place as are the larger circles with text. The round shapes that look like water drops were made with Ice Resin. An explanation/demo for that process will come at a later time.
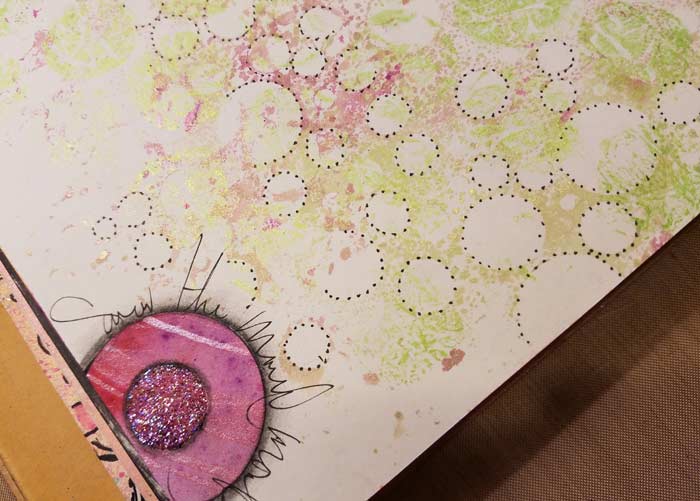
To further continue the “use your shape repeatedly” prompt, I used a black PITT Superfine Pen to dot around the circle shapes in the background. These are the original shapes made from printing the Bubble Blast Stencil.
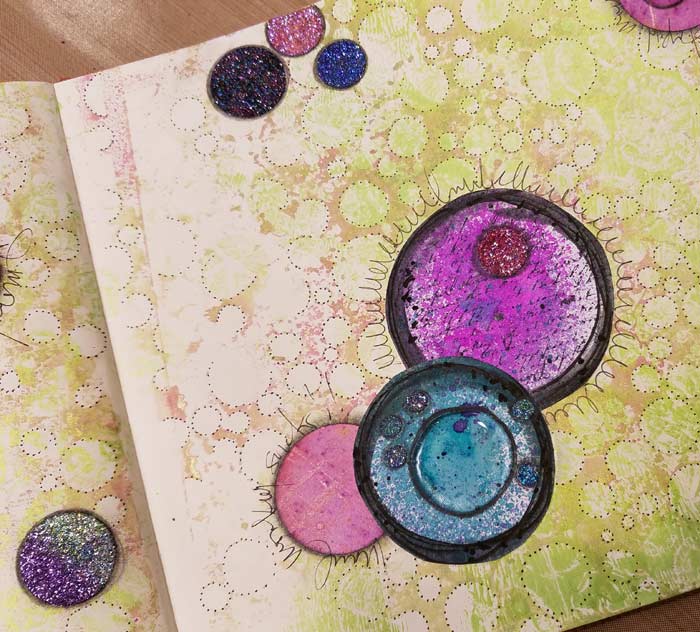
Details, details. The dots made with the PITT Pen are easier to see in this close up. You can also see the pseudo-text around the large pink circle with stamped text and the actual scribbled text I put around the Sticky Snippets™. I used the Charcoal Pencil around the Ice Resin too.
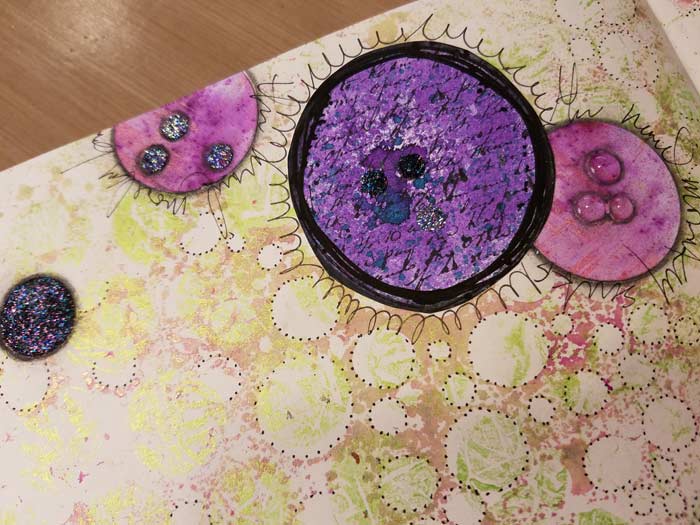
Little drops of Ice Resin on the Sticky Snippet™ and little 1/4″ glitter punch outs on the large purple circle and the other Sticky Snippet™.








7 Comments
I really like these pages. You made them pop with sparkles and resin. So cool.
This is delightful! I especially love the way the background with the dots give the effect of bubbles popping. I continue to be in awe of how you continue to develop depth in a page with such a simple concept. Thanks for teaching me so much over the years, Barb.
Love this idea! Now I need the bubble blast stencil! I am really curious about the ice resin drops – I have seen something similar used on tags and journal pages and have been looking for flat circle shapes to incorporate in my work. Closest I could come is epoxy stickers. Not at all the same effect. Looking forward to the ice resin demo! Thanks for sharing all these great techniques.
I love the way your mind works and I love your heart. I believe it’s the heart that allows us to let go of what we perceived we would create, and permits us to be spontaneous and watch what happens. I LOVE that you changed your mind about the direction you were about to take, kept your intent of ‘green’ and then let the combination of your head and heart inspire you. Thank you… because you continue to inspire me to do the same. That is the value of this lesson for me.
What is ice resin?
Hurry with the ice resin demo! I have been wanting to try it but did not want a ‘real’ project…
Your pages always inspire me to get out my journal and play. Thanks, Barb!