
Hello Joggles fans! It’s Kim here. I am so very excited to share with you my next design team project for Joggles! This time I have altered the cover of my art journal and used one of my favorite stencils from Joggles.
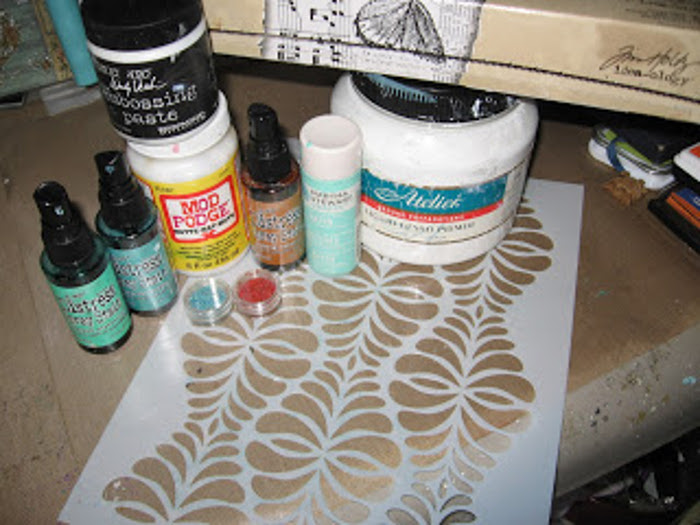
Products Used
Tim Holtz Tissue Wrap – Melange
Joggles Stencil – Secret Garden
Tim Holtz Distress Spray Stain – Cracked Pistachio
Tim Holtz Distress Spray Stain – Evergreen Bough
Tim Holtz Distress Spray Stain – Rusty Hinge
Martha Stewart Paint – Beach Glass OR Alternative: Dina Wakley Media Heavy Body Acrylic Paint – Turquoise
Copper and Teal Micro beads from my stash OR Alternative: Joggles Micro Beads
Glue gun OR Alternative: Aleene’s Super Thick Tacky Glue
Chipboard Number plate and brads OR Alternative: Idea-ology by Tim Holtz – Plaquettes
Other supplies: Art Script Stamp; Resin Frame & Key from my stash; Prima Resin Pieces; Turquoise Butterfly; white thread; paint brushes.
Here is my process:
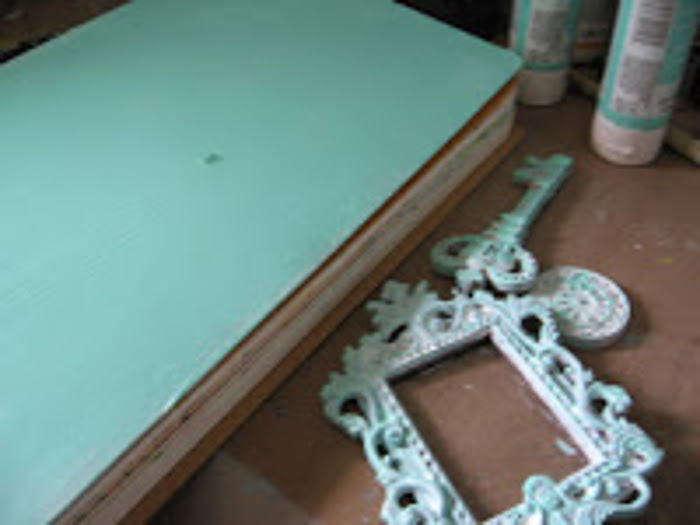
To start off my journal cover, I gave it a coat of gesso. Once that was dry, I gave it a coat of aqua coloured acrylic paint. I also gave my embellishments a similar treatment and set them aside to dry.
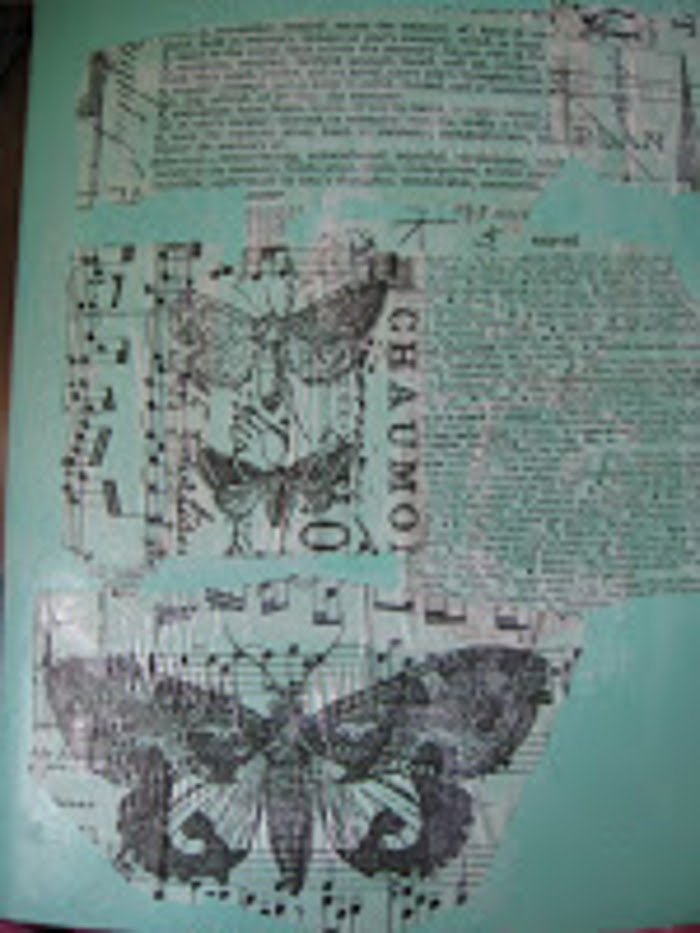
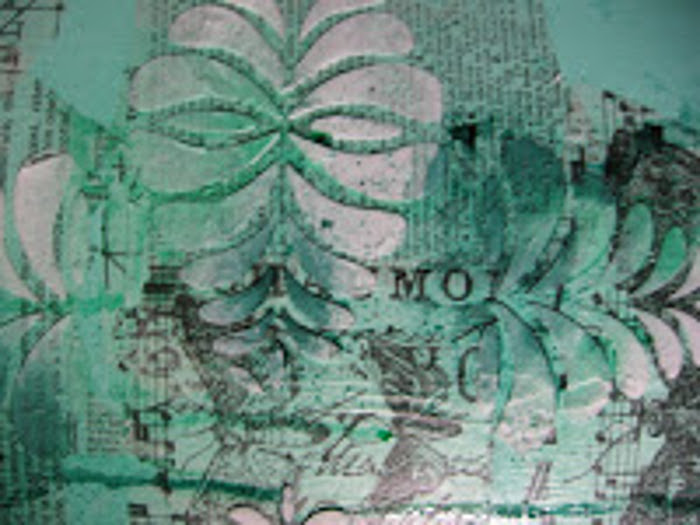
Next it was time to start the layering process. I tore pieces of the Tim Holtz Melange Tissue Wrap and laid them down on the journal cover, using Mod Podge to adhere them.
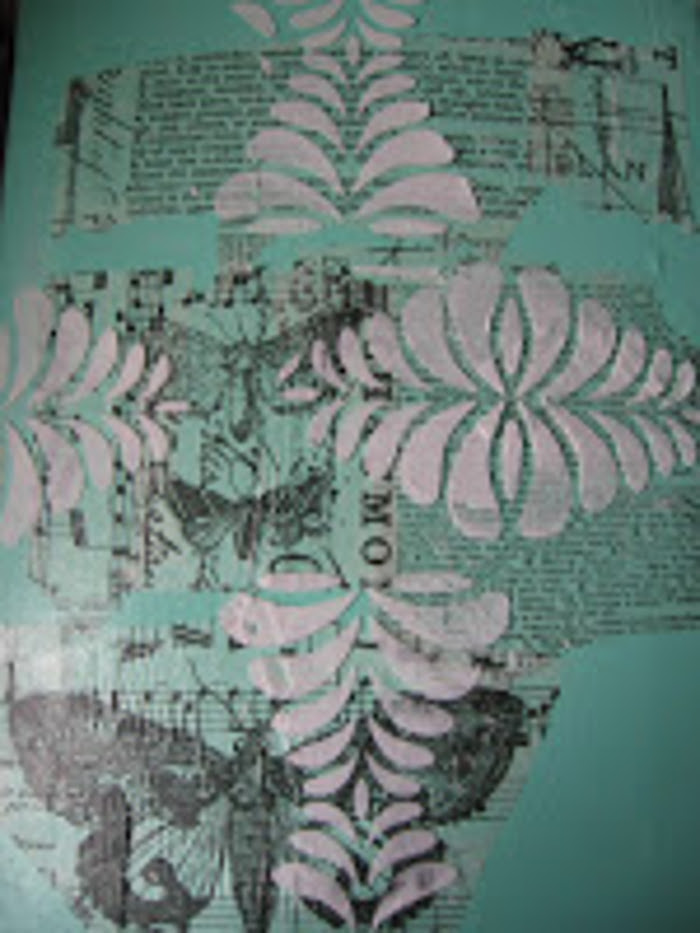
Using the Secret Garden Stencil and Ranger Texture Paste, I laid the stencil down and scraped Texture Paste through the openings. I kept rotating the stencil to give a different look to the pattern all around the journal. I love the effect it gave. Texture Paste is such a great way to add dimension to your projects.
Once the Texture Paste was dry, it was time to get out the Distress Spray Stains, and again, you could substitute whatever colours you like. Joggles has such a great range of them in their store that you will be spoiled for choice!
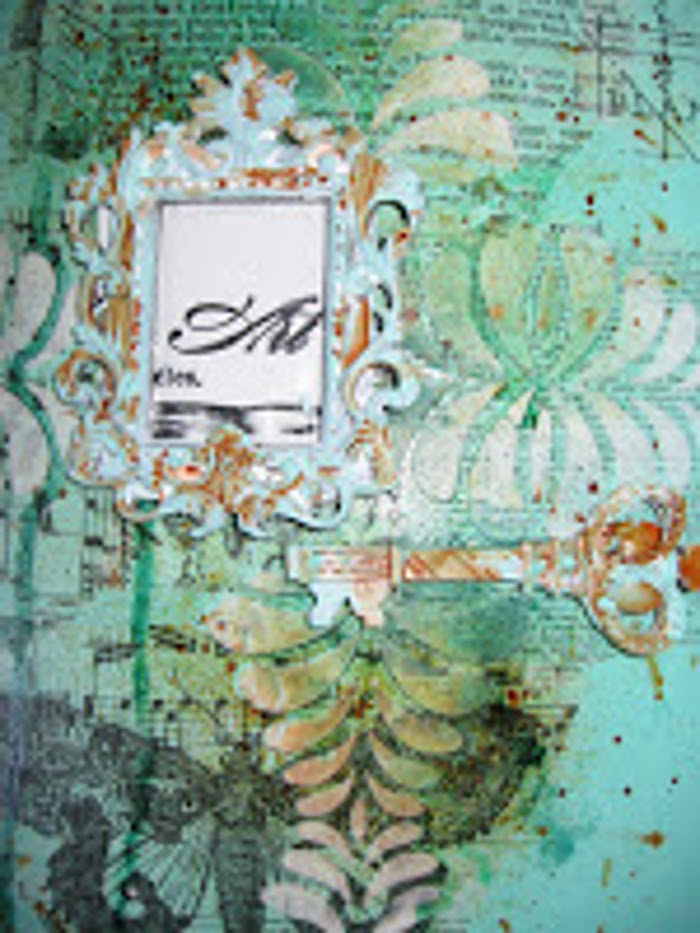
I allowed the sprays to run down the front of the journal, letting the texture paste help to gather the colour so it was more intense in spots.
I started off with Cracked Pistachio, the lightest colour of the sprays, working my way through Evergreen Bough to the rust coloured spray, Rusty Hinge. I also took the pump portion off the sprays and used it to splatter some of the colour on the book cover, giving a distressed and grungy feel to the background.
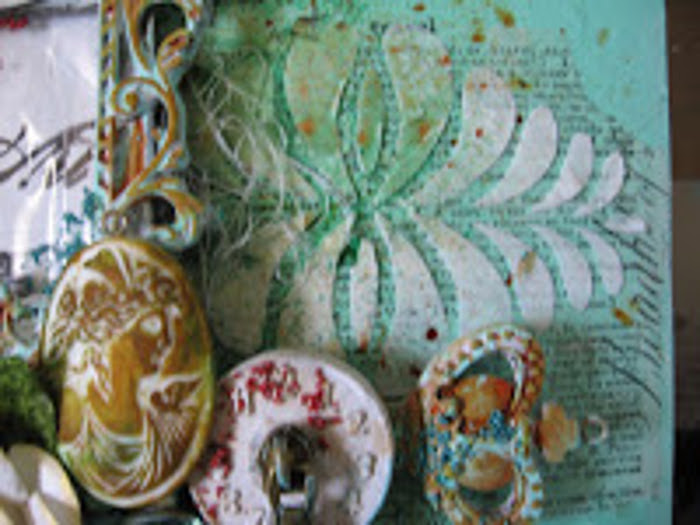

After the sprays had dried, it was time to add embellishments and some micro beads for further texture and pops of colour. I laid out my embellishments in a way I liked then used hot glue to adhere them to the cover. Aleene’s Super Thick Tacky Glue is a good alternative to adhere them.
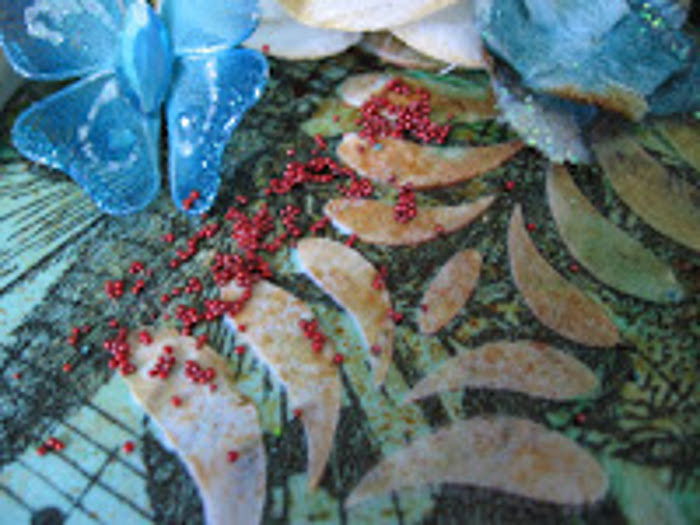
I got out the Mod Podge once again and a tiny paint brush to add the micro beads in coordinating colours. I stamped the word “art” onto some paper using black StazOn Ink and adhered it to the frame.
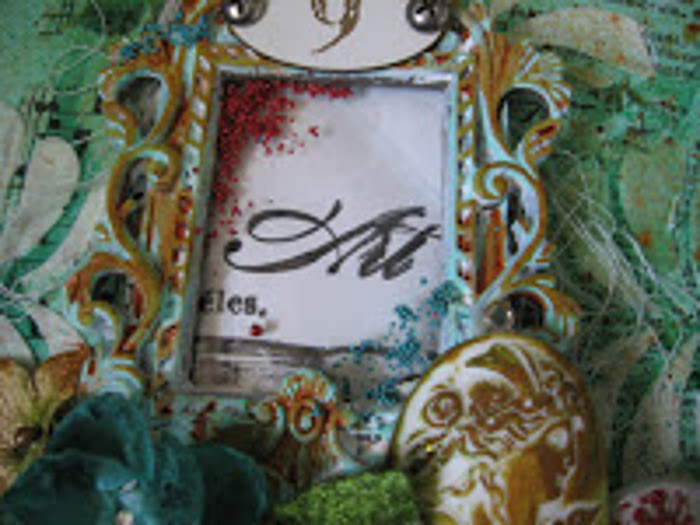
I then added some white thread under the resin frame for some fun and whimsy, and also added my chipboard number plate and brads to finish this part of the journal off.
I hope you have enjoyed my project today. I am happy with the outcome. Now it can be ready for my next art journal page inspiration!
5 Comments
I love all the layers. Beautiful job!
Wonderful colors and layers! Thank you for sharing your process to create this beautiful cover.
Lovely project! Thank you for sharing the great pictures and straightforward, easily understood tutorial.
I do a lot of mixed media art but it is always rather flat, as in no real dimension. After seeing this project I am ready to take the plunge, dive in and go dimensional! Thanks for the inspiration.
WOWeeeeee, this is quite out-of-this-world!!! That journal needs to be a “coffee table” book since it should NEVER just be put on a shelf!!! Seeee what you’ve started now. It’s LOVELY.