
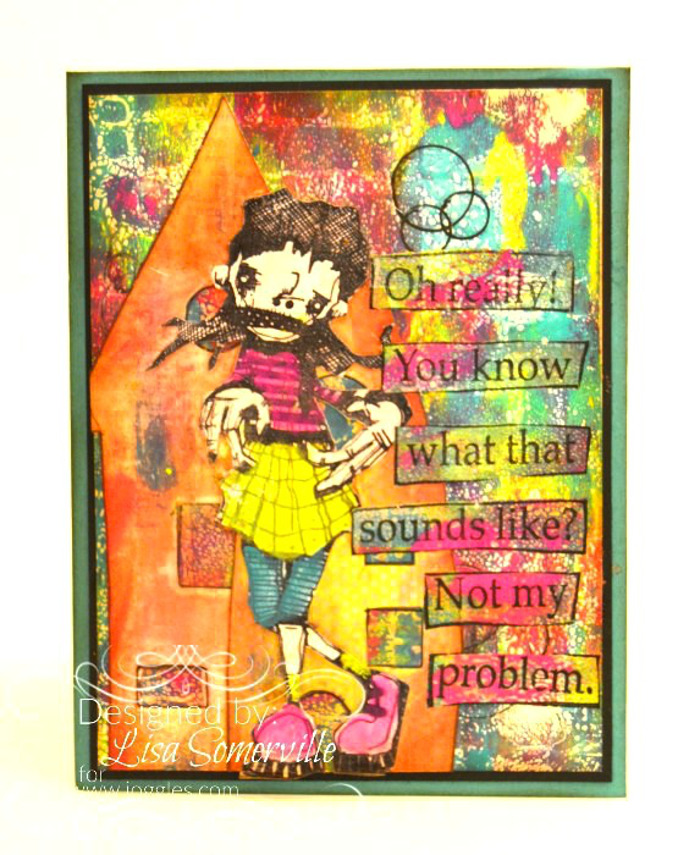
Hi. Thanks for stopping by the Joggles Blog! It’s Lisa from the Joggles Design Team here today to share with you a Mixed Media Card tutorial using Joggles Stencils and Stampotique’s Moody stamp.
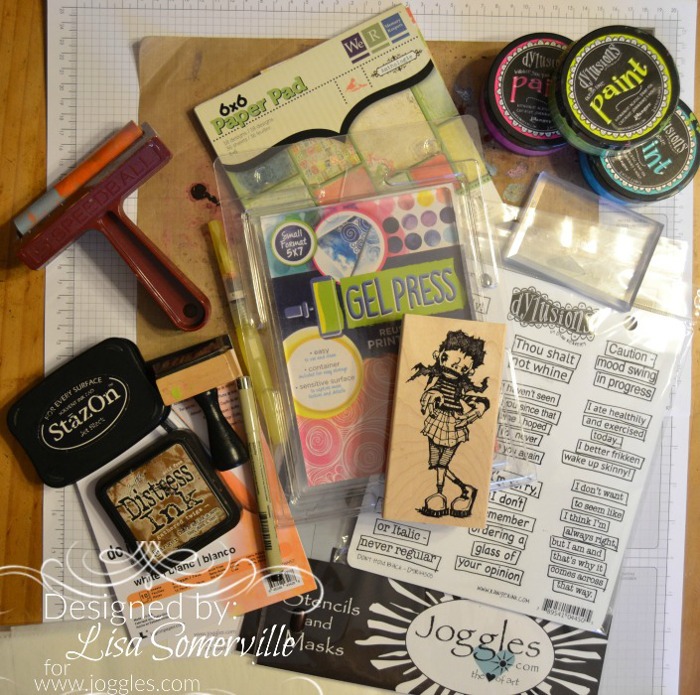
Supplies available from Joggles:
Joggles Skinny Minny Mask – Wonky Houses
Joggles Stencil – Ancient Ruins
Gel Press Reusable Print Plate – 5″ x 7″
Speedball 4″ Soft Rubber Brayer
Dylusions Unmounted Rubber Stamps – Don’t Hold Back
Tim Holtz Water Brush by Ranger – Fine Detail Nib
Tim Holtz Distress Ink Pad – Gathered Twigs
Ranger Inkssentials Ink Blending Tool
Inkssentials NonStick Craft Sheet
Dylusions Paint – Bubblegum Pink
Dylusions Paint – Vibrant Turquoise
Additional supplies:
Card Stock – Black, Teal
DecoArt Matte Medium
Brush
We R Memory Keepers Anthology 6″ x 6″ Paper Pad
Scissors

Step 1: Add dabs of Dylusions Bubblegum Pink, Vibrant Turquoise, and Fresh Lime Paint to Gel Press Plate.Using Speedball Soft Rubber Brayer, spread paint over Gel Press Plate.
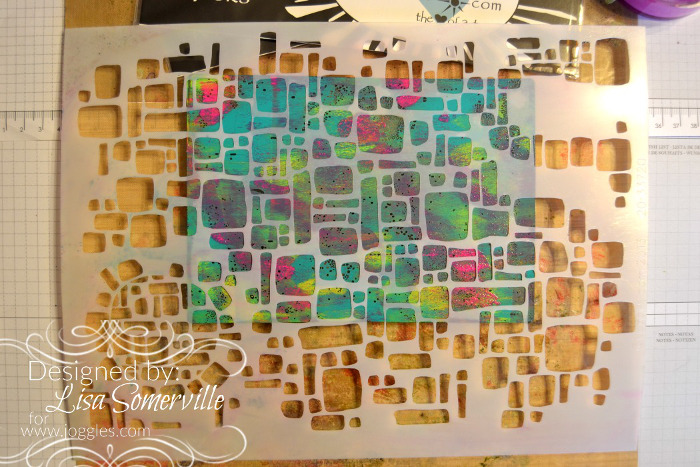
Step 2: Place Joggles Ancient Ruins Stencil over brayered Gel Press Plate, press down slightly, then lift off stencil.
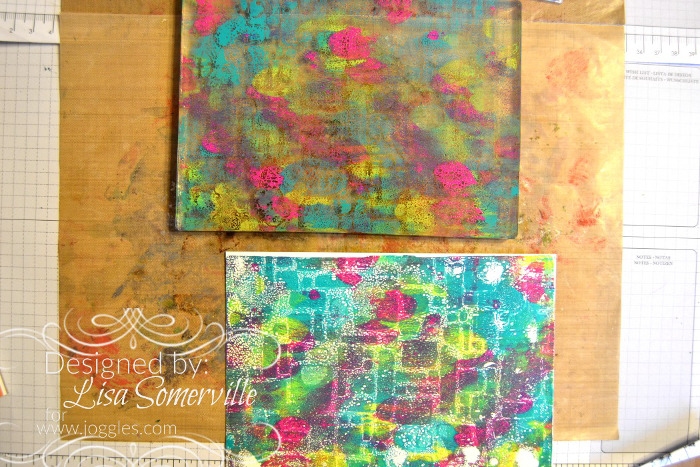
Step 3: Place one 5 x 7 inch sheet of Yupo Paper onto Gel Press Plate, press down firmly, and pull up print. Let dry.
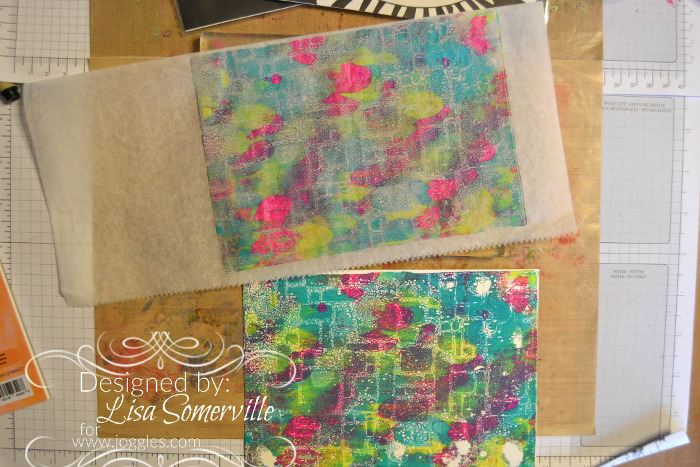
Step 4: Place Deli Paper onto Gel Press Plate, press down firmly, and pull up print. Let dry.
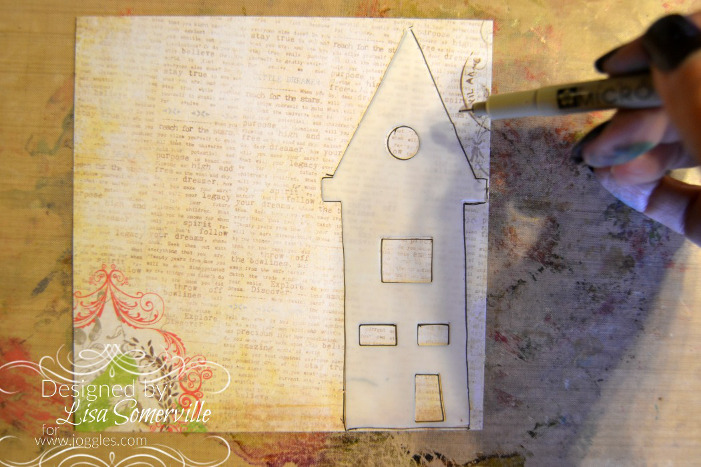
Step 5: Using Black Micron Pen, trace two of the Wonky Houses Skinny Minny Masks onto pattern paper and fussy cut.
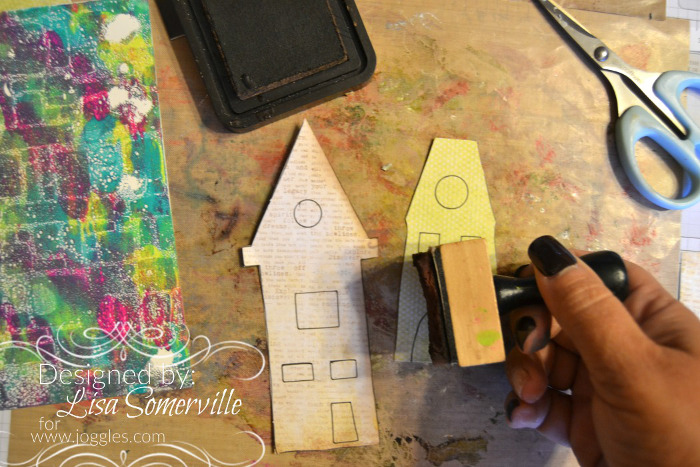
Step 6: Using Ink Blending Tool and Gathered Twigs Distress Ink, sponge edges of houses as desired.
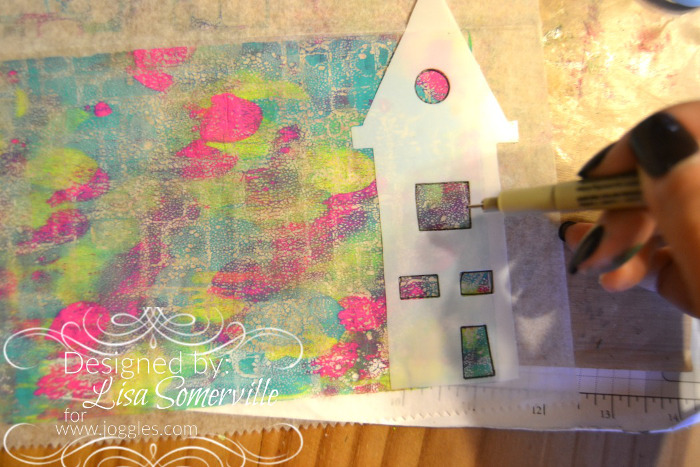
Step 7: Using the same two Wonky Houses masks and Black Micron Pen, trace window and door openings onto printed deli paper and cut out. Apply the cut out windows and doors to the paper houses with matte medium.
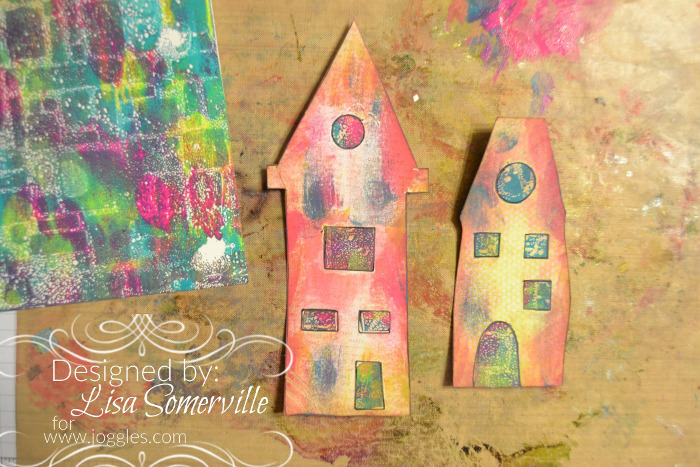
Step 8: Using fingers, apply the same colours of Dylusions Paint to houses as desired.
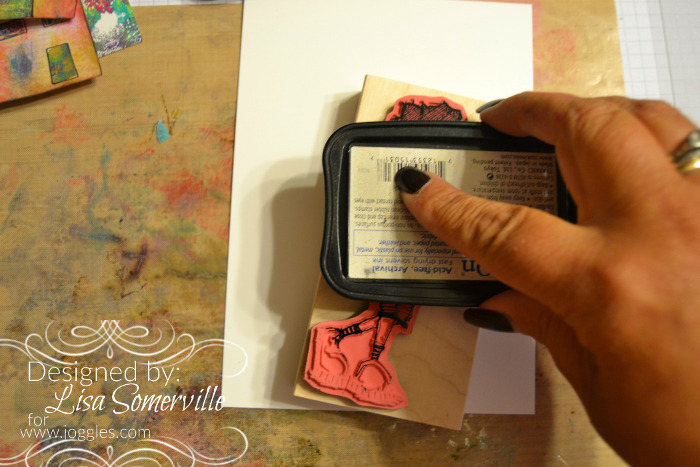
Step 9: Apply Jet Black StazOn Ink to Stampotique’s Moody rubber stamp and stamp onto Yupo paper.
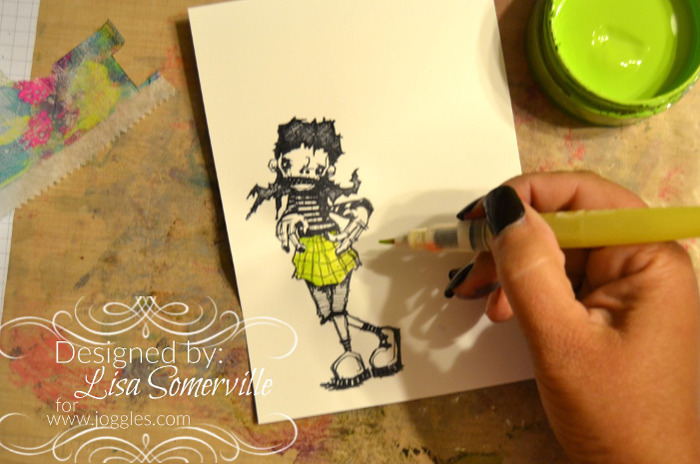
Step 10: Using the Tim Holtz Fine Detail Water Brush, add color to the stamped image with Dylusions paints as desired. Let dry.
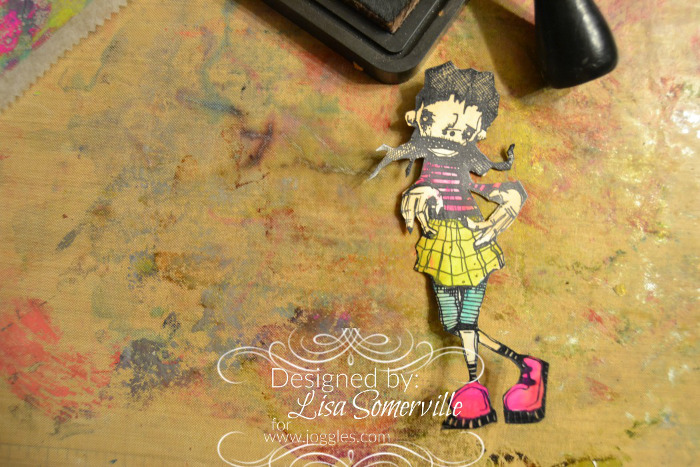
Step 11: Using scissors, cut out image and sponge edges with Gathered Twigs Distress Ink.
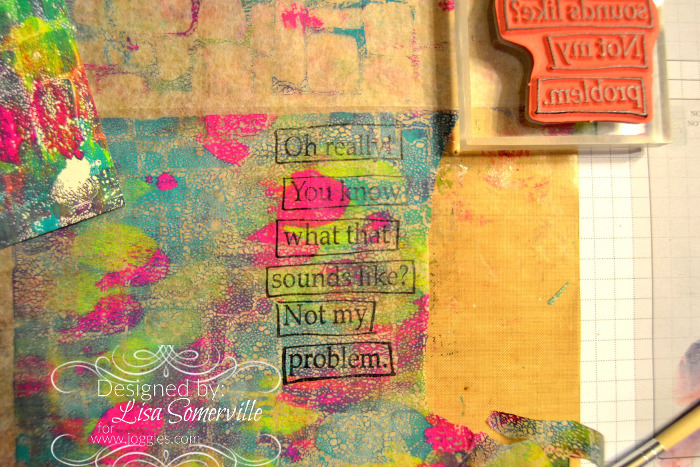
Step 12: Choose sentiment from the Dylusions Don’t Hold Back stamp set, ink with Jet Black StazOn, and stamp on printed deli paper. Cut out and set aside.

Step 13: Place the Floral Fantasy Stencil onto the gel printed Yupo background panel, and trace circles here and there from the flower centers using the Black Micron Pen. Place these in clusters, overlapping them in places.
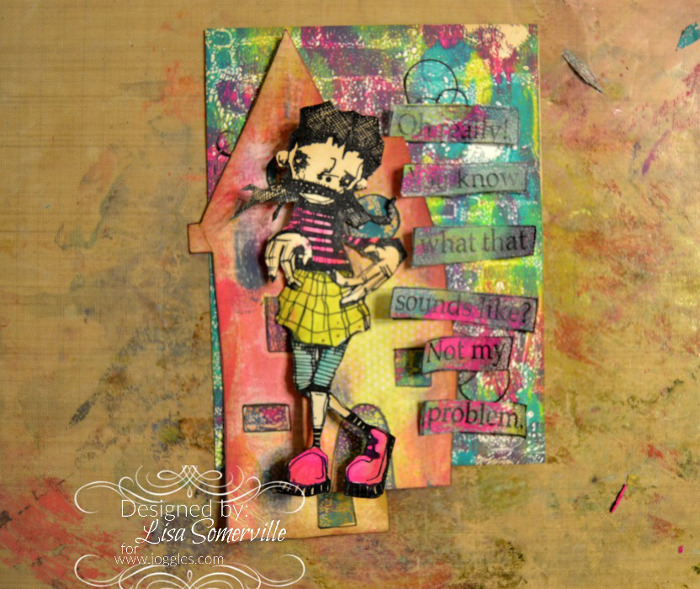
Step 14: Place pieces onto your background and decide placement. Adhere pieces with brush and Matte Medium. Let dry.
Step 15: Trim edges of the houses even with the background paper and adhere to card stock as shown. Sponge edges of card base with Gathered Twigs Distress Ink to help frame it.
I hope I’ve inspired you to create art! Thank you for stopping by the Joggles Blog!








3 Comments
Wonderful work. Love the way you made the background and used the deli paper with the houses. Really cute card, thank you for sharing all your great ideas!
awesome new ideas! i love how you used the deli paper to mimic the main base for your page. is there a reason you used yupo as opposed to another type of paper? i’m wondering if yupo handles differently, looks differently?
So many great ways to use all of those supplies Lisa! Never thought of using the Dylusions paint with the water brush! Nice job!