It’s week 5 of the 2016 Art Journal Adventure. How are you all doing? I’m happy with what I’ve created so far and am excited for this week’s page spread and the ones to come. Remember, if you didn’t become aware of the project, or life got in the way of you starting during week 1, it doesn’t make a whit of difference. Jump in now and have fun with the rest of us!
As I look back at the previous weeks’ posts I’m seeing photos being uploaded in the comments, which is awesome. Thanks to everyone who took the time to share a photo of their work!
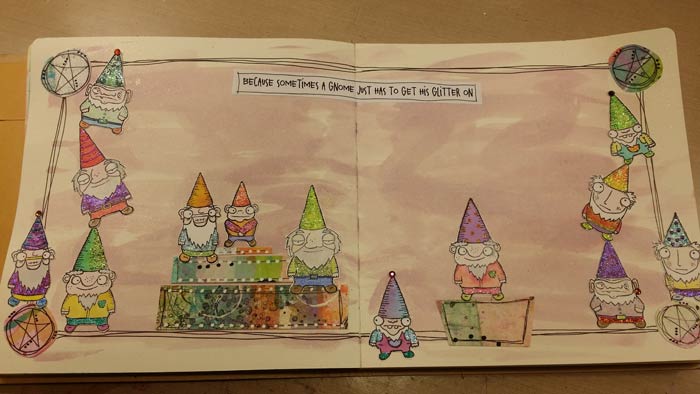
In Friday’s newsletter I dropped a broad hint about today’s page spread, “7 Blingy Gnomes”, and mentioned Stickles would play a large part in what I was creating. Both true as you’ll see in the photos. Let me tell you about those gnomes and Stickles, one of my favorite supplies…
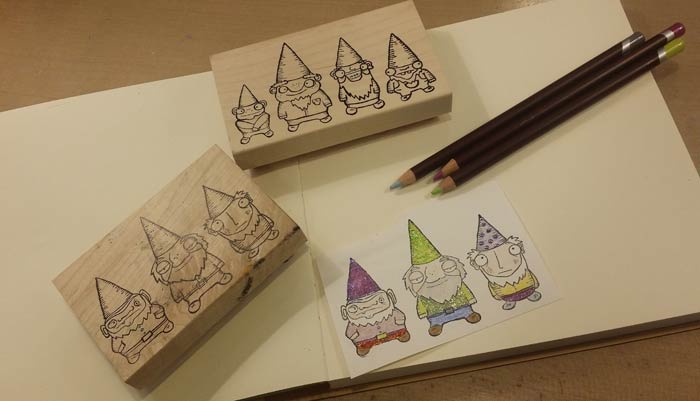
The 7 gnomes comes from two Stampotique Originals stamps, appropriately enough named 3 Dwarfy Gnomes and 4 Dwarfy Gnomes. Both are artwork drawn by Kira Nichols, who is a fantastic artist. A big shout out to Kira for providing the imagery that made today’s page spread possible!
In the photo you’ll see that I have Derwent’s Coloursoft Pencils along with the stamps as they were one of my two choices to color the gnomes. Unlike with the AdornIt Paintables, I did no shading on the gnomes and simply colored the areas. Just do that using whatever appeals. As we go along you’ll see that I used colors that made me smile, most un-gnome like.
Unlike most page spreads, I worked on the gnomes first, coloring them and cutting them out, before I gave any thought to the background. I wanted the gnomes to dictate what the page ended up looking like.
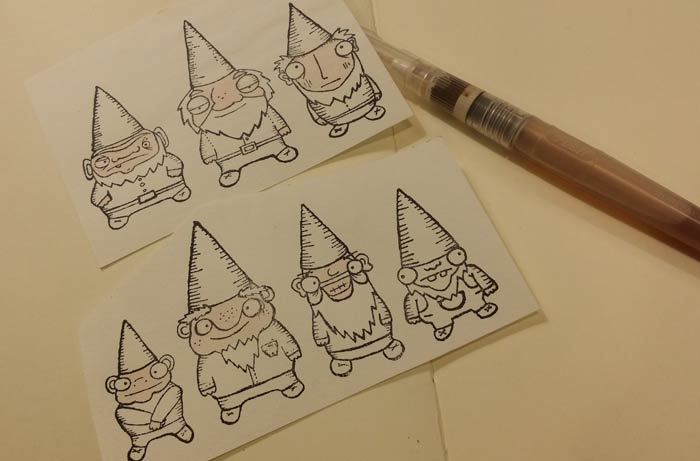
My other option for coloring was various sprays inside of Tim’s Detail Water Brushes. I usually add a diluted version of an ink spray –Dylusions, Color Wash, Distress – add water to the barrel, then color until you like what you see. Put the brush back together and test the color to see how it looks. I do all of my stamping on 90# watercolor paper. I like the way the paper accepts the Black StazOn I use to stamp. The color in the brush doesn’t always dry exactly as you see it, so test to be sure you’re happy.
The Water Brush you see in the photo contains my own concoction of colors to approximate Caucasian flesh. I mix several to get a combination that I like, thought quite honestly there is no formula and when I mix a new batch it rarely is the exact same as the previous one. What colors to use? I mix a little orange, yellow, red, and some brown to tone the whole thing down. When I say a little, I really mean a tiny amount. Put water in the barrel of the Water Brush, filling it about 3/4 full. Choose your ink sprays and unscrew the spray head from the bottle. Dribble a tiny amount of the color in the barrel and continue to do that with the others until you’re satisfied. I usually begin with an orange, add a little yellow, then some brown. If you need to blush it a bit, use some red. Be sure to test the color before you use it so you’re sure you like the way it looks.
Hate it? Dump out what’s in the barrel and start again. You’ll likely need to experiment a little till you get a combo you like. Discarding what you don’t like isn’t a big deal since you use so little color.
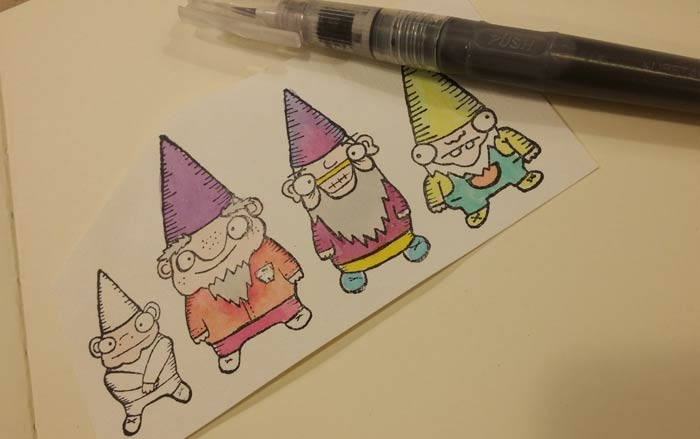
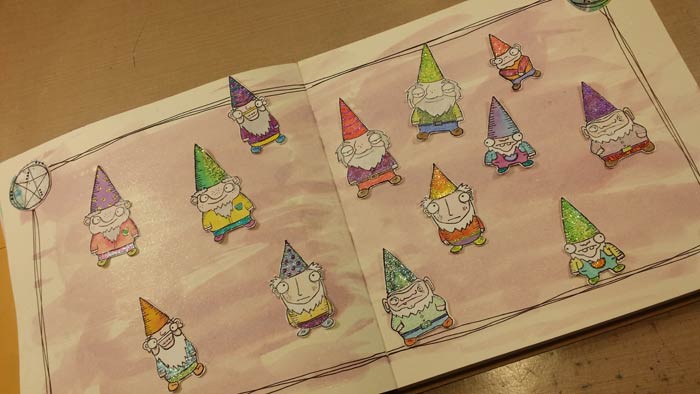
Some gnomes in process, but not blingy yet! These were done with various inks in Water Brushes. Color a bunch of them – I ended up with 13 – and glitter them before beginning the background of the spread to allow time for the Stickles to dry.
Lots of glitter or a little. Glitter hats, pants, shirts. Glitter belt buckles and shoes!
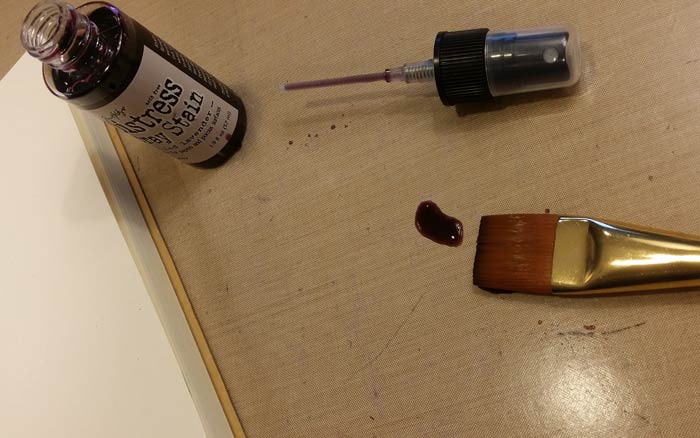
On to the background where I used Milled Lavender Distress Spray Stain, applied with a brush. I wanted a loose look so used a large flat brush and picked up the color I’d spilled onto my work surface. I used Milled Lavender because the color appeals to me and because it worked with the gnomes. Use whatever of the Distress Spray Stains you like. Or Dylusions. Or Color Wash. Just remember that a dark background may compete with your gnomes, so give it some thought before you slap color on the pages. If you want light but not pale lavender, choose Tumbled Glass, Cracked Pistachio, Tattered Rose, Scattered Straw, Shaded Lilac, or Spun Sugar. Of course you can lighten a darker color by adding water, so if there’s one you love but think it’s a bit dark, water it down!
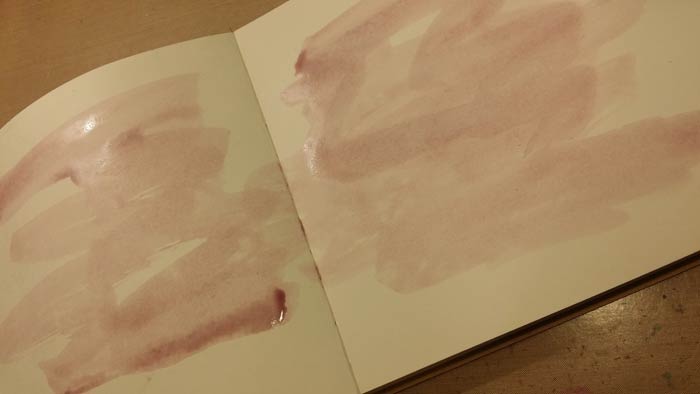
Loose strokes of color, leaving white space on the pages. I’m trying to embrace Dina Wakley’s sensibilities when it comes to leaving white space. So far so good!

What would blingy gnomes be without some sparkles at their back? Nothing in my book, so I spritzed some Lindy’s Crème Brule Cream Starburst Spray on the background. If you look closely, you can just see the glimmer. It will be more evident in later photos. If you want your background bling a little more evident, choose a different color from the Starburst Sprays. Again, remember that some can be very dark so test first on scratch paper to be sure the spray does not overwhelm the background.
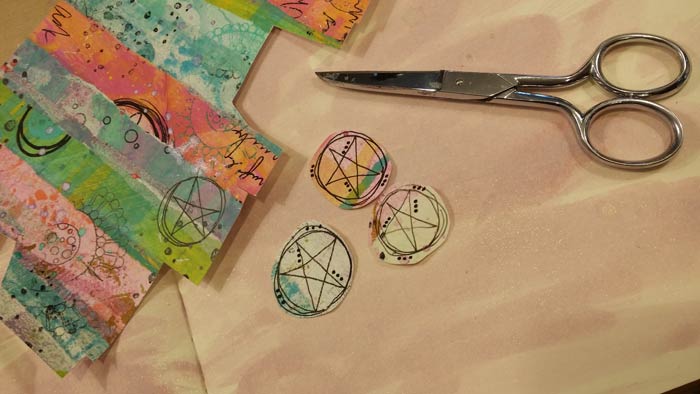
My gnomes will need something to stand on and I’ll need some elements for the corners of the pages, so out came some of my Deli Paper that had been adhered to watercolor paper. It makes marvelous embellishments. You can see how to do that in this MidWeek Muse post – the video will explain all!
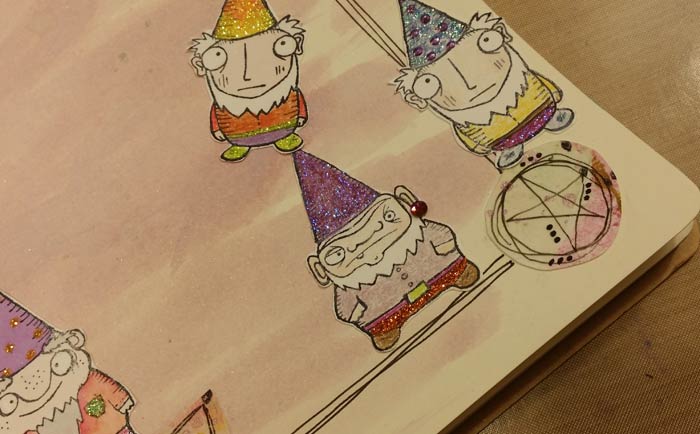
I scribbled circles, drew a star in each, then cut them out. Added a few dots. Because I like dots.

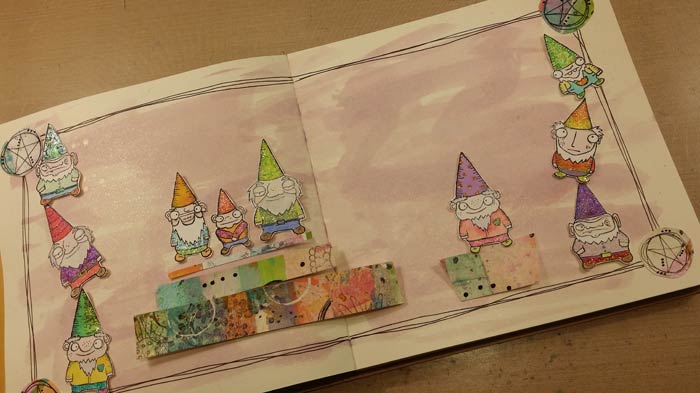
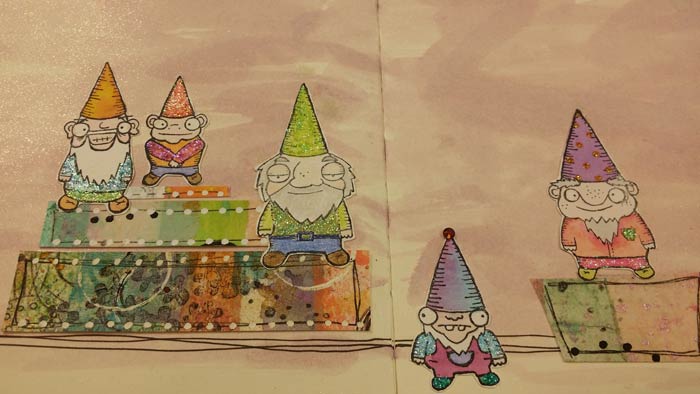
I made a stand for the gnomes using strips cut from another sheet of Deli Paper adhered to watercolor paper and began to place some elements to see how things looked. You can see that the strips are likely too long since they cross the center of the spread, but at least I get an idea of what they’ll look like.

Now it’s time to begin gluing the elements to the page. I began with the 4 corner pieces, using Scotch Quick Dry Adhesive that has one of our Fineline Applicator Tips attached. I like that glue for applications like this since it’s dry almost as soon as you put the piece in place. You have maybe 10 seconds to make adjustments, then it’s in place and you can move on. For a liquid glue of this viscosity, our 18 gauge Fineline Applicator is the best choice. For this particular 2 ounce bottle of glue you need a 20/410 style. If you want one of them to put on your bottle of Quick Dry glue, click here to go to the exact one you need.
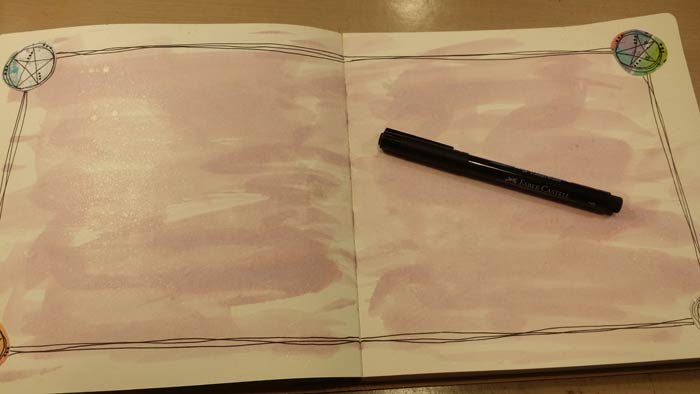
Next up are the borders; simple lines connecting the corner circles, drawn with a PITT Pen. Why three? Because if they’re wobbly – which mine always are – it looks intentional.
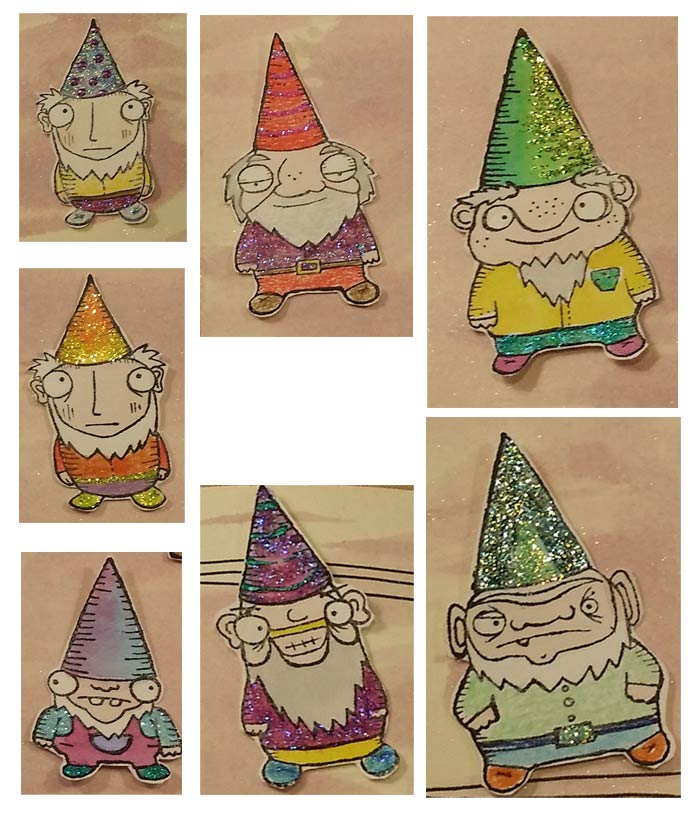
Blingy gnomes!
This is my final choice for how to lay out the page, minus a couple of gnomes that I thought would not be needed. Then I changed my mind and added ’em anyway which you see momentarily. The Deli Paper strips did end up being too long, so I’ll need to trim them. The rest fits just perfectly.
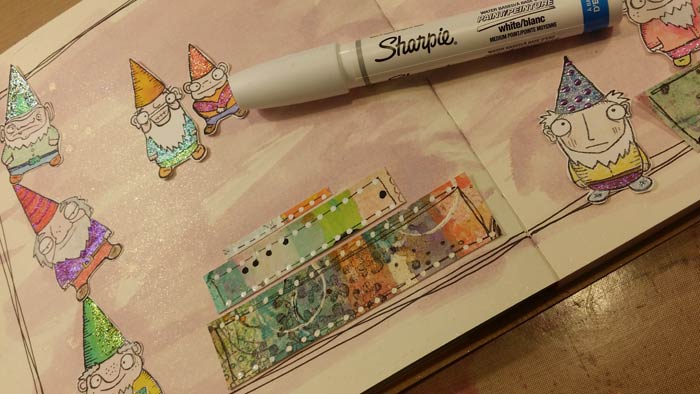
The strips are cut to length and I decided they needed a little more, so I added white dots with a Sharpie Water Based Paint Pen.
Time to add the text. I wrote it on a plain piece of Deli Paper and laid it on the spread. Hmmn… not liking that at all…
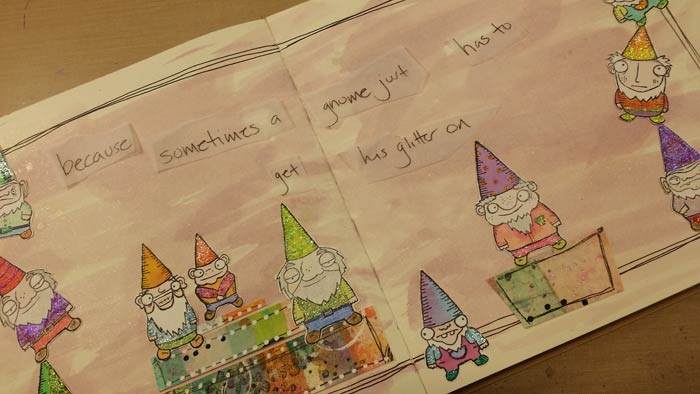
So I tried cutting the words apart. Nope. Still don’t like it.

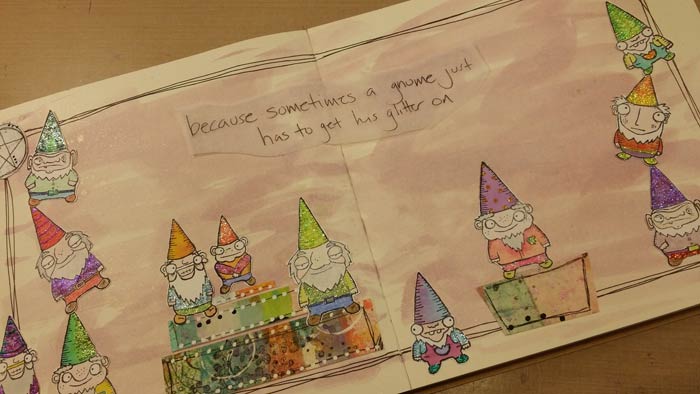
So I typed the text out in a Word document a bunch of times, varying the size of the font, and printed it. I cut out several and ended up with what you see here and glued it in place.
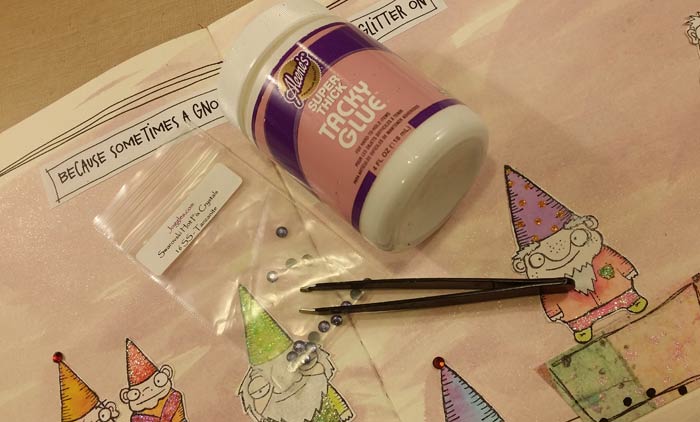
Bling is not only glitter, so out came the Swarovski 4mm Rhinestones and the Aleene’s Super Thick Tacky Glue. Tweezers are far better to work with the itty bitty rhinestones than my clumsy fingers!
Rhinestones make great earrings! Not all of the gnomes have ears that are really large enough, but a couple do. Gives him a bit of a rakish, pirate look, doesn’t it?

I had a really good time coloring these guys and then blinging the heck out of them. The whole page makes me grin. Isn’t that what art should do?? I think so anyway.
Barb
21 Comments
What a fun page! And those gnomes was absolutly adorable. Smashing sweet!
You’ve made my day – I have a big smile on my face 🙂 Thank you, Barb! ♥
Hugs, Anita
Great spread, Barb! Made me grin too!
Big smile on my face too…looks like soooo much FUN!!
Thanks ♥
Oh my goodness, yes! They make me grin. How cute are those stamps and with all of the glitter, the details really stand out. Love the stacked ones. It’s like Cirque de Soleil in Gnome-land. Great use of the deli paper strips for a pop of colour and texture. Now to come up with my own version! Thanks for the inspiration and the smile.
So very cute and they make me smile. Love.
GREAT page, Barb! LOVE all those blinged-up gnomes! Your deli paper is fab, too. Just love all your doodles and dots and terrific sentiment. 🙂
Love it! I don’t have the gnomes but I do have Birdy Up so used it instead. The background is Daler Rowney pearlescent inks. This was so much fun to do. Thanks for the great ideas!
Wow! This is awesome! I LOVE how you colored and decorated the birds. The colorful glasses on the bird in the lower right side are fantastic! What a HOOT! 😉
Thank you. This is one of my favorite quotes!
Those gnomes made my day! Need to purchase them! Thanks.
I also had lots of fun with this page but discovered that my journal was the wrong way around ,I have put all my gnomes and mushrooms upside down. One giant oops!
Donna, I was just thinking about you when I realized I did the same thing!!! My book was upside down when I began glueing pieces into place, lol! Another giant oops!
I am laughing because I don’t know of one person who has not flipped the book in their excitement to begin! This includes me.
I have made at least half a dozen upside down pages in just the last year! It happens. I just go with it now. It’s like a little surprise for anyone looking through my journals!
Your spread came out fantastic! Love your blingy gnomes and all of the elements from your painted deli papers.
Well, upside down in my journal ? But I’m pleased with the results!
I LOVE how it came out! Such clever elements with the birds. You colored them beautifully.
I just did (another!) upside down page in my journal. We get so involved in the elements of the page that we don’t notice which direction the journal is facing!
This is so awesome. LOVE the birds and all their hats!
So much fun!
i am in love with these gnomes!
I didn’t have gnomes so I used these quirky little cat images. I had to stack two of them because the stacked gnomes made me laugh so much. The background is done with Daler Rowney FW Inks watered down. Thanks for the fun inspiration project, Barb. I incorporated several of your wonderful details in mine.
Week 5…I used Joggles Birds for this one…sort of a pep rally for birds to use their wings and fly