This week’s prompt is “mug shot”, as in create a face that’s more or less a straight on view and surrounded by some sort of frame. It can be one you draw, something cut from a magazine, a collage sheet image, or even a face you’ve created using the Fearless Face Stencil System. The frame is fodder for doodles or tangles. Mine is not terribly elaborate, but you can certainly use a lot of the page that surrounds your face if you prefer. I remain undecided if I’ll add more. What I really do like is the oval format. It feels right for this page.
I’d like to say that the idea for this was one I thought a lot about, but honestly, it popped into my head as I was looking at some art journal pages that featured heads or head and shoulder views surrounded by a frame. They weren’t necessarily mug shot like, but who knows the way my mind works? So, mug shot it is!
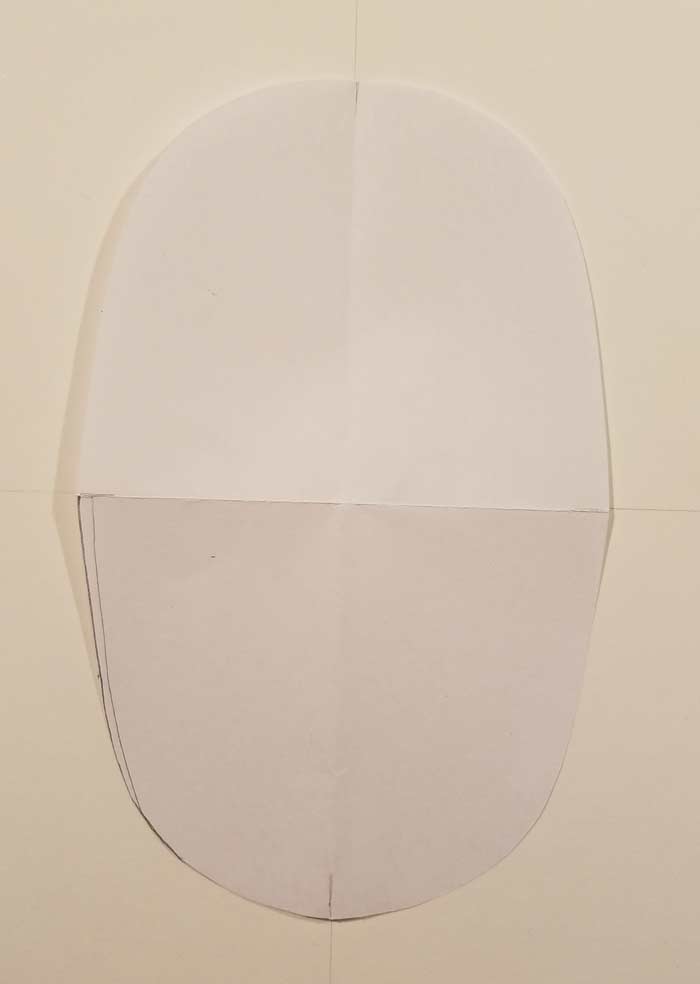
My first step was to create the area to be surrounded by the frame and I knew I wanted an oval shape. I find it far easier to create a symmetrical shape by cutting it from folded paper. I do this with hearts too…
Start with a sheet of inexpensive printer paper and fold it in half. If I were making a heart, I would cut it from this half sheet, but…
I want both ends to match, so folded it in half again. I’m left with one quarter of a page, which I’ll sketch the shape on.
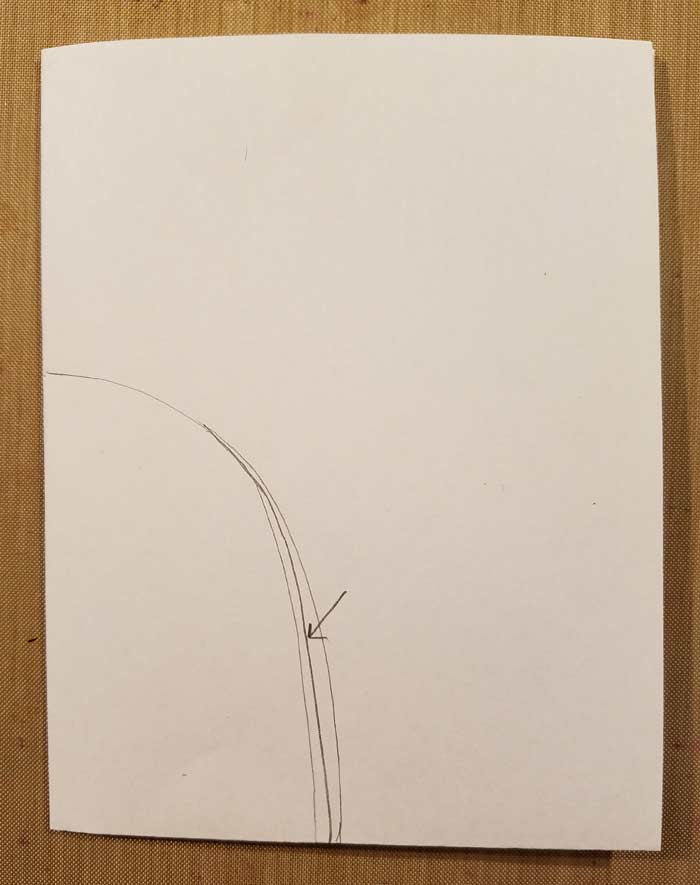
Multiple iterations, because it’s never the way I want the first time. I tried several shapes and test cut them. One had ends that were too pointy, so I tried again. And a second time. I kept sketching till I was satisfied, or thought the cutting would give me the shape I had in mind. That’s the reason for the arrow. I kept messing and wanted to be sure that I cut the one I felt was closest to my desired shape.
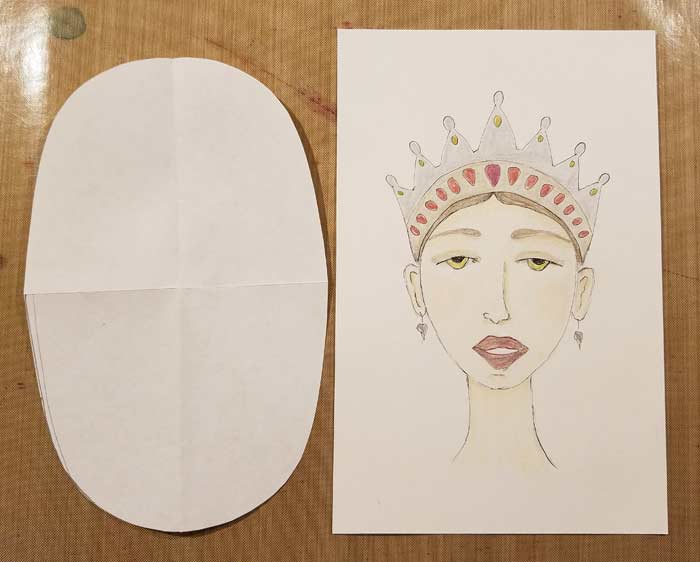
Here’s the oval and the face I thought I’d use. The oval was made to fit this one, but of course I ended up deciding to go in a different direction and sketching another, much less elegant, one instead. I had visions of a stately queen-like portrait, but never got to the point where I felt like it was coming together. So mug shot it was!
To get the oval centered on the page I need to find the center of it and of the oval itself. Then it’s just a matter of matching the lines. Lightly put pencil lines in place so you can align them with the ones on your shape.
Aligning the folds in the paper with the pencil lines means I’m about as close to centered as I’m going to get without using geometry and a protractor. And close enough is more then enough here!
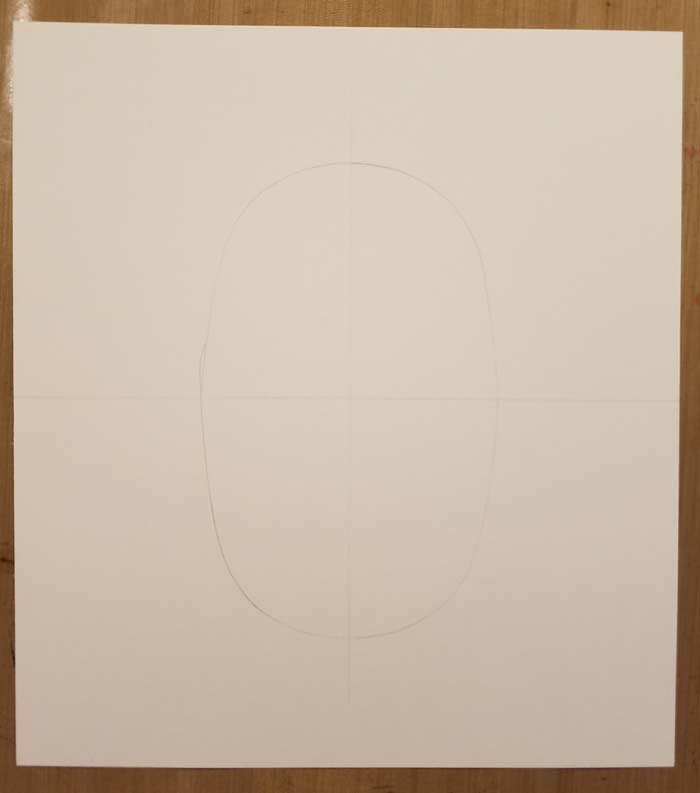
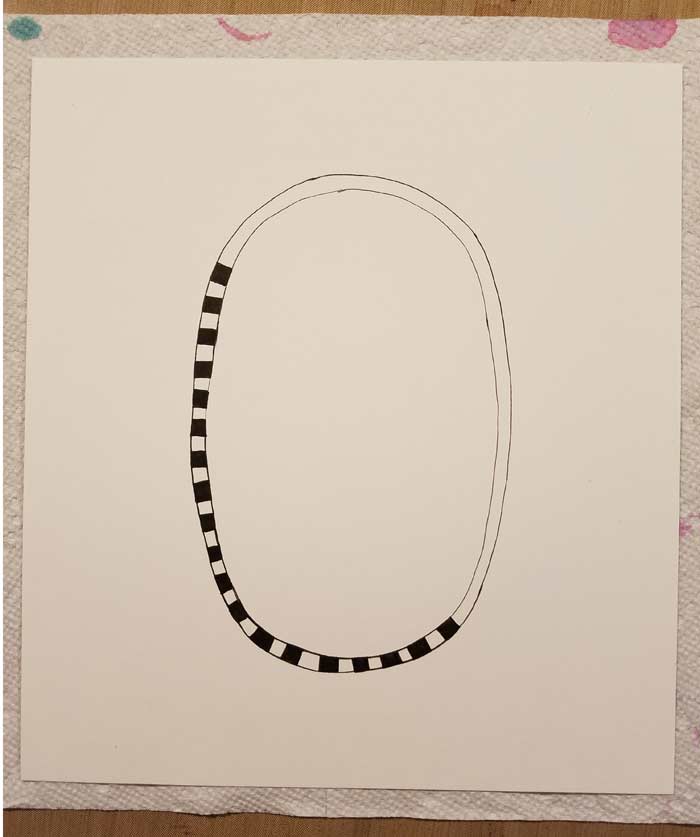
Then it’s just a matter of using the paper oval as a template and sketching around it.
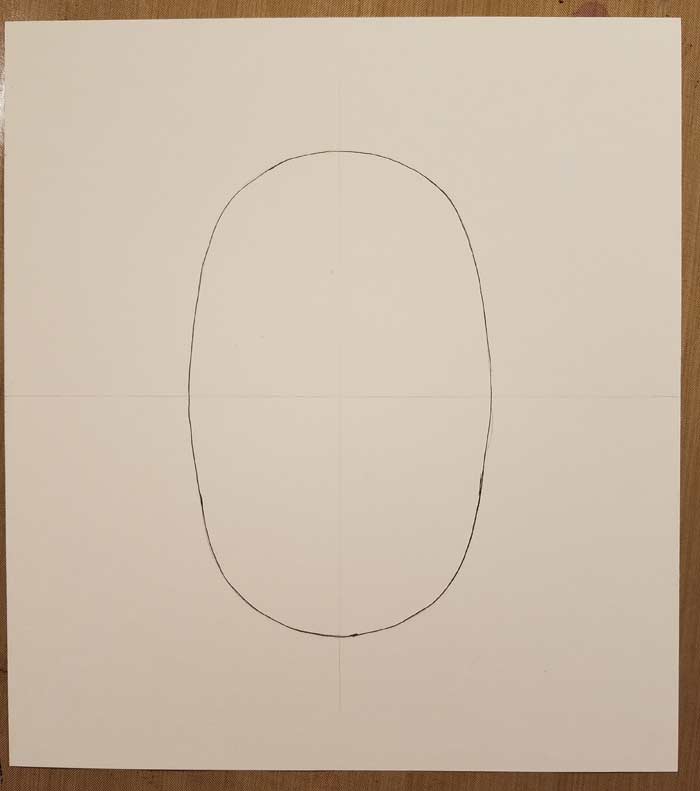
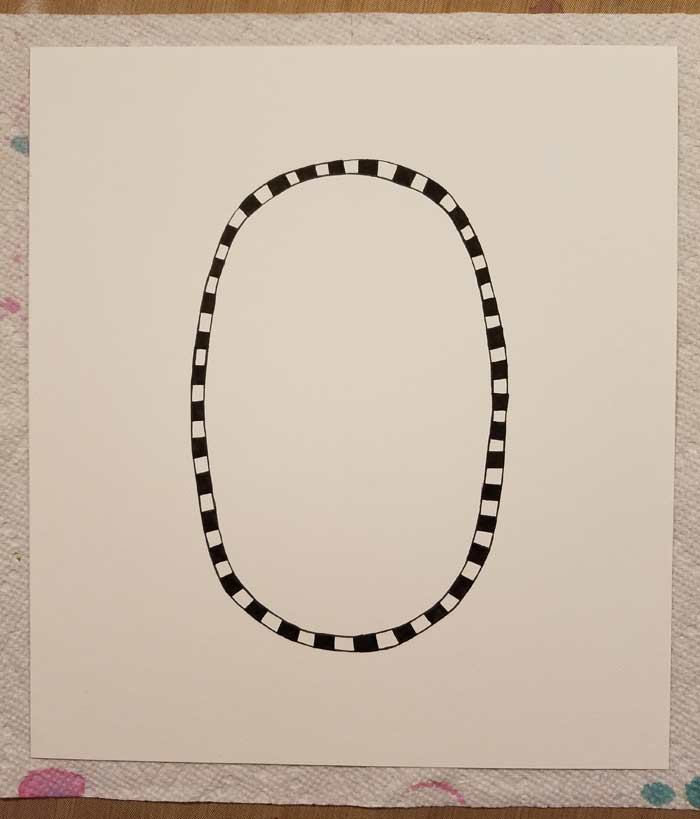
And lining that sketched oval using a PITT Pen. Black, S – Superfine tip. Let the doodles begin…

The paper towel under the page is just to keep the other side from getting soiled. The NonStick Craft Sheet material covering my bench was not scrupulously clean at this moment in time. (imagine that?)
The nice thing about the lines being wobbly? That all disappears into the doodles. For the way I work… this is perfect. :+)
It was right about this time that I decided the original face I’d planned to use was a bit too regal and refined on this somewhat wonkily doodled oval, so I sketched something more in keeping with it.
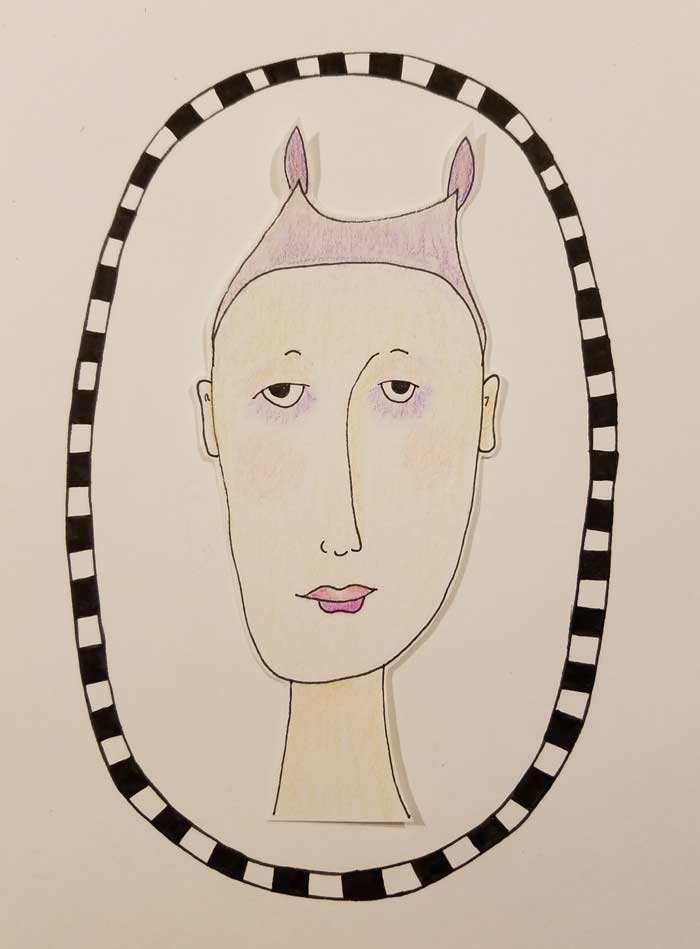
She has a crown, kind of, too. I think she works better with the overall feel of the page, meaning she provides her own “wonky” look, in keeping with the doodled oval. She’s not adhered yet, but will be momentarily.
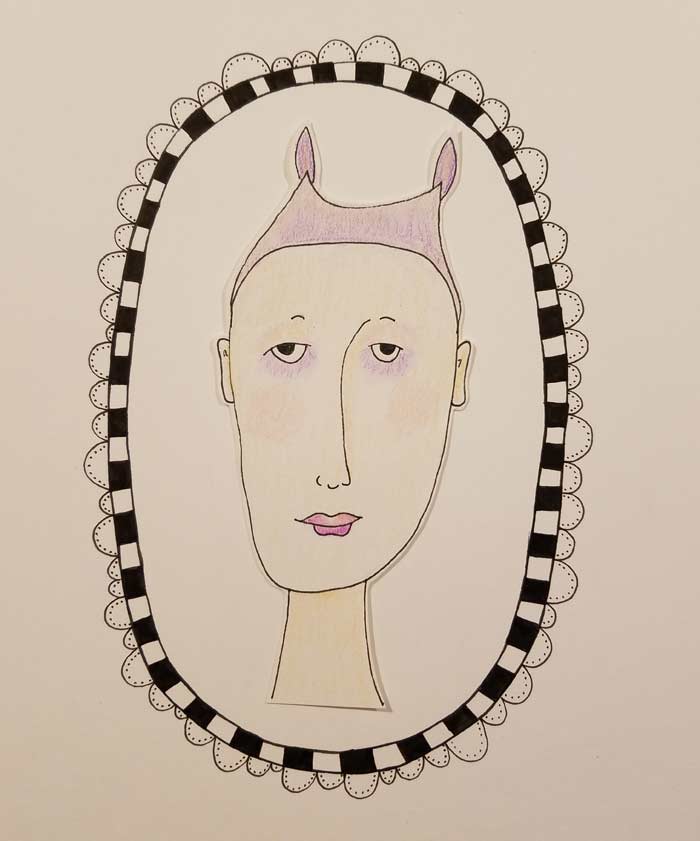
Now she’s in place and I added another layer of doodles around the perimeter of the oval. As I said at the beginning, I’m not convinced that this is finished, but for now I’ll leave it alone. There’s merit in walking away, giving yourself time to think about other things, then come back and decide if there’s more to be done.
3 Comments
I like the idea of making a face separately until I am happy with it then cutting it out and applying it to the page. My faces are weak. Oh that’s an idea…
Haha love the expression on this one. Excited to dive into this one !
I think I saw her at the women’s march last weekend.
Love her!